Archive

Working on our built-in linen cabinet

Okay, we haven’t been posting a lot lately, but it’s because we have been busy working!!! Sometimes when you work until late in the evening there just isn’t time to write.

Our latest project has been stripping, sanding, and re-painting the linen cabinet in our bathroom. We loooove our built-ins, so we have spent way too much time taking all the paint off just to put paint right back on. It is a little painful when you work so hard to just cover it back up, but it looks really nice in the end. (So it is worth it!)

The linen cabinet in our bathroom was still 100% in tact when we bought the house, and it was carefully preserved under 90 years of paint. With a little help from the trusty heat gun and the old paint-stripper we were able get most of the paint off. Then a lot of sanding (by hand) made the surface flat. The sanding really is the most important part since it is what really makes the final finish look good. Make sure to use a fine grain sandpaper to really get it smooth. If you don’t sand enough you might as well have just painted over the existing paint. We like to think of our built-ins as pieces of furniture that are attached to the floor.

The linen cabinet originally had plastered walls, but we decided to line it with the beadboard to tie it back in with the room. Our contractor also built us new shelves.

So here are the photos:

In the beginning… It doesn’t look so bad in the picture, but it was covered with so many layers of paint. The last layer was a flat white latex paint. It was obviously the cheapest paint they could find. It needed some TLC, but you’ll just have to take our word on it.
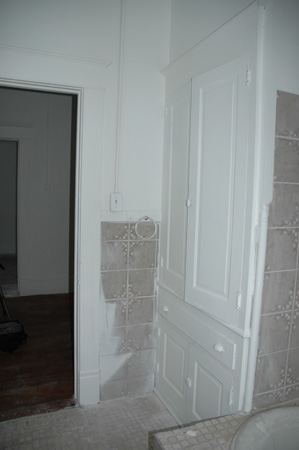
Linen closet before

This is what it looked like when we took it all apart! It looked quite bare in this state. I still can’t believe our bathroom looked like that at one point.
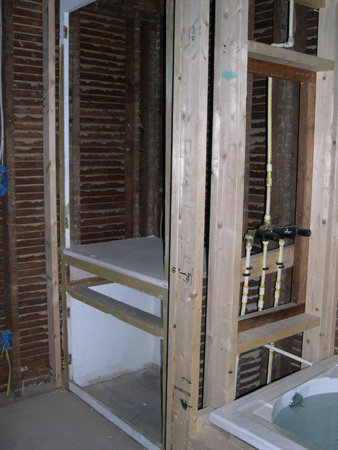
Linen closet construction

And the bottom portion at the same time…
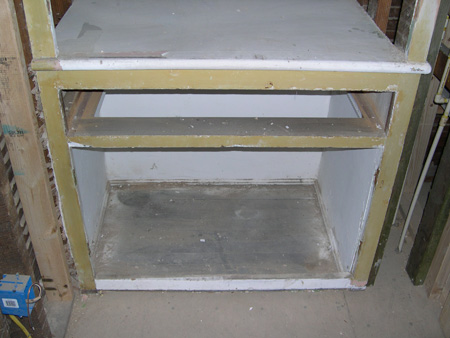
Linen closet paint stripping

Aren’t those colors lovely?! These are a few of the many layers of paint we had to remove.
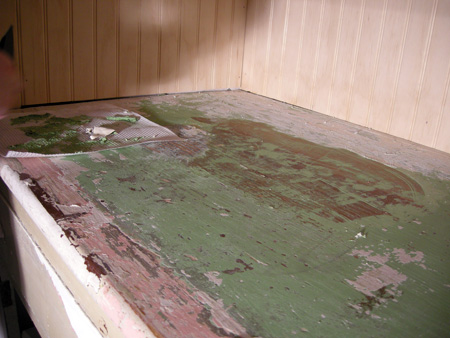
Linen closet historic colors

Working with the heatgun. Yes, we were too lazy to take everything out of the cabinet.
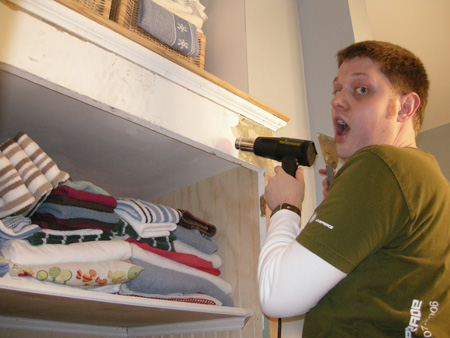
Linen closet paint stripping

Doing the final sanding. This is one of the most important parts.
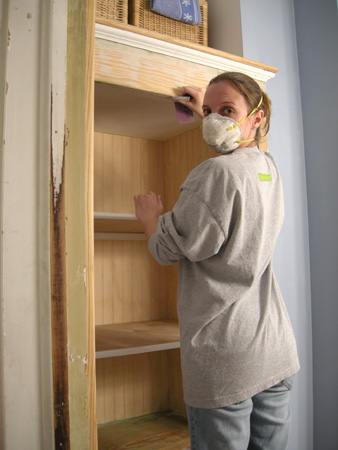
Linen closet sanding

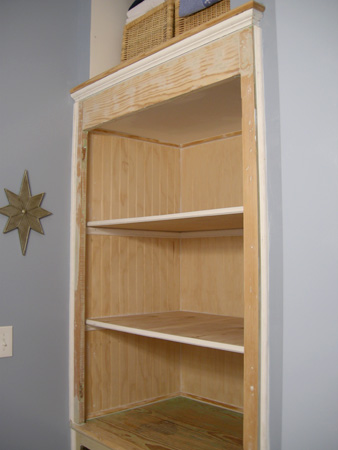
Ready for paint!

Linen closet sanding

Have you ever seen anybody so excited to paint? Didn’t think so…
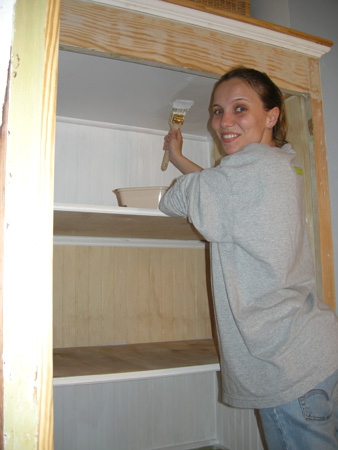
Linen closet painting

I like this view! :) We added this little storage space over the linen cabinet, and we painted it blue to match the walls.
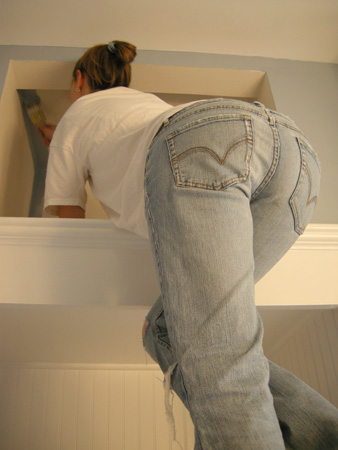
Linen closet painting

The finished product! This is really when all the hard work pays off.
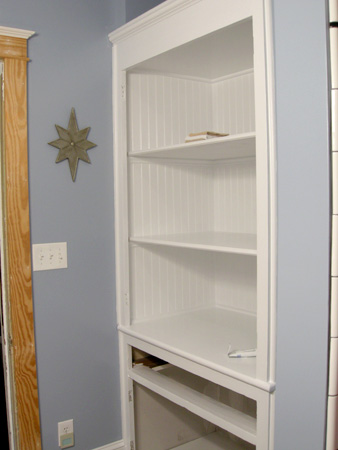
Linen closet painted

We still need to do the doors, and we have started working on the drawer. Of course with the tempature warming up we might be spending more time in the yard over the next few months.

Posted in Our Bungalow, Photos | Tagged , , , , , , , , , , , | Comments Off on Working on our built-in linen cabinet

Some Visible Progress

Lately Patrick and I have had the problem of project skipping. I’m sure everyone’s pretty familiar with this…you start one thing, get fed up or bored with it and move onto the next, etc. Since we were working for months on the kitchen built-in butler’s pantry and got stuck and fed up with it we started various other things. One of those projects has been removing paint from the built-in in the bathroom. Another one was the plan to paint our bedroom. Except for the kitchen and bathroom (which were the main rooms that were re-done) the rest of the house is still a sterile and dull white. We had received a $10 off coupon from Lowe’s, so we thought we’d take the opportunity to buy the paint. We went there on December 31st only to realize the coupon had expired on the 30th, haha. We wanted to proceed with the project anyway and went ahead and bought some paint.

Painting always seems like such a quick and easy thing to do, but it wasn’t until we got to doing it that we realized that it wasn’t so quick and easy after all. Moving all the heavy and bulky furniture, taping off corners, wiping the dust off the walls, making sure you don’t paint the ceiling…it all takes time. In the end it took us a week to finish it. We immediately got used to the painted room and realized how much it helps to make our house feel like a home. The white paint just has that generic renter’s feel, so adding the splash of color was definitely what the room needed. Plus painting it actually made us feel like we’re making progress! The project skipping of course isn’t helping with getting anything done. But the other thing is that the other projects are mostly paint removal, which is a very time consuming task. With the cases of the butler’s pantry and the bathroom built-in we’re just removing paint to put a fresh coast of paint back on, so to outsiders they probably don’t even know the difference or that we’ve been spending 3 months working on one piece of furniture! It’s a little frustrating, but hopefully in the end it’ll make all the difference. In the living and dining room, where we intend to remove the paint and stain the wood, people (and us too) will truly be able to tell that work has been done.

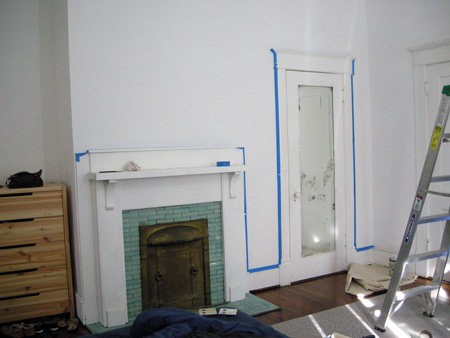
A last glance of the white walls, taped off with blue tape…

Painting bedroom

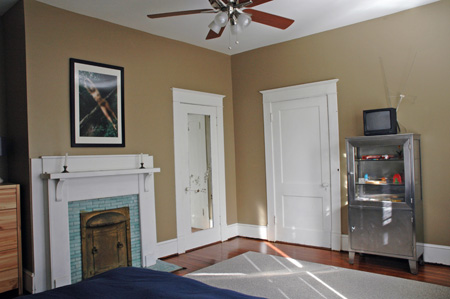
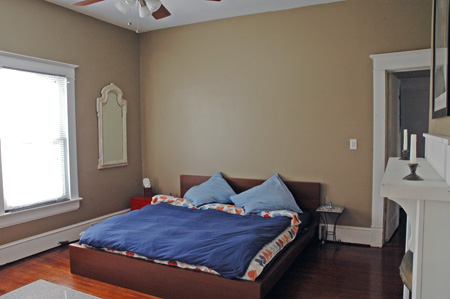
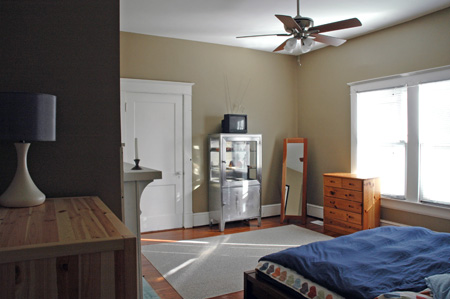
And then the painted room…

Painted bedroom

Painted bedroom

Painted bedroom

The wall above the bed is still a bit bare, but we’ll hang up photos soon. We just have so many we haven’t been able to decide what to put up yet!

Posted in Our Bungalow, Photos | Tagged , , , , , , | Comments Off on Some Visible Progress

Bathroom Procrastination

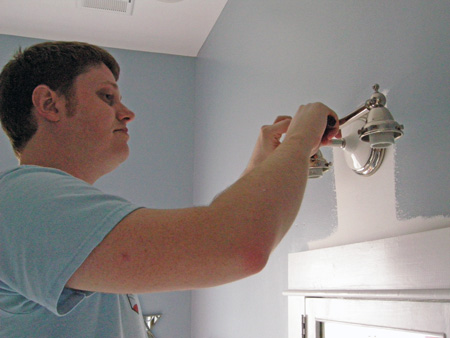
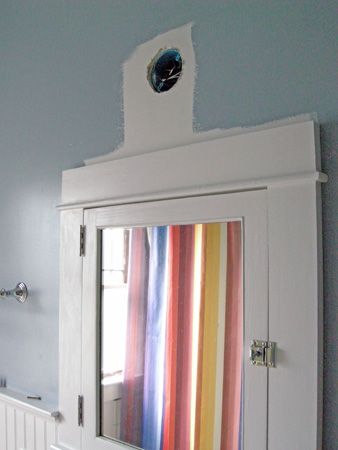
So there are some areas of the bathroom that we have procrastinated on. Painting the wall above the medicine cabinet by the sconce being one of them. When we painted the bathroom the sconce was already on the wall, and doing a proper painting job would involve switching off the electric circuit, removing the sconce from the wall and painting everything then. This weekend we finally got around to the semi-involved project.

Patrick removes the sconce from the wall.

Bathroom sconce

The “paintless” area.

Painting the bathroom

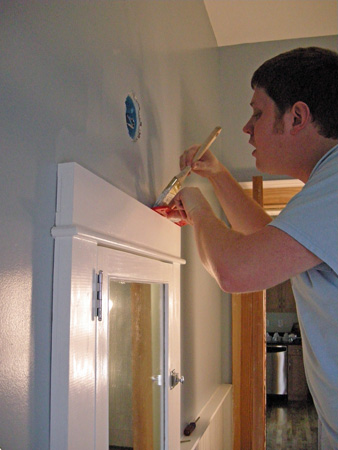
Patrick painting.

Painting the bathroom

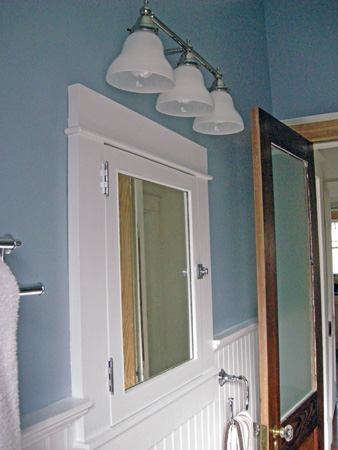
Voila, we finally have paint above our medicine cabinet! In between the last photo and this photo there was once again a struggle. We appear to be having problems reinstalling items (see kitchen butler’s pantry doors). Putting the sconce back on the wall made me feel like I was on some endurance TV show…how long can you hold up the sconce while your significant other is attempting to align the holes before you want to drop the damn thing. I’m happy to announce I passed my 30-45 minute sconce endurance test. :)

Painted bathroom

Next procrastination bathroom project: painting the wall behind the toilet. Our current excuse can always be that due to Atlanta’s current drought we’d be wasting water if we were to drain the toilet tank to remove it and paint behind it. ;-)

Posted in Before and After, Our Bungalow, Photos | Tagged , , , , , , , , , , , , | Comments Off on Bathroom Procrastination

Kitchen Built-in Drawer Pulls

Last week we installed the drawer pulls on the new kitchen cabinets, so this week seemed the appropriate time to also install the drawer pulls on the old built-in. As with most things in this 90-year old house that included some (or a lot of?) prep work…

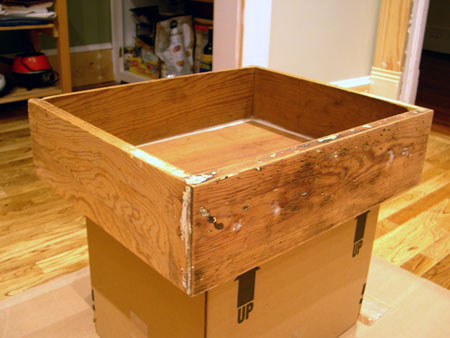
Step 1: Remove X layers of paint and sand it down.

Butler's Pantry Drawer

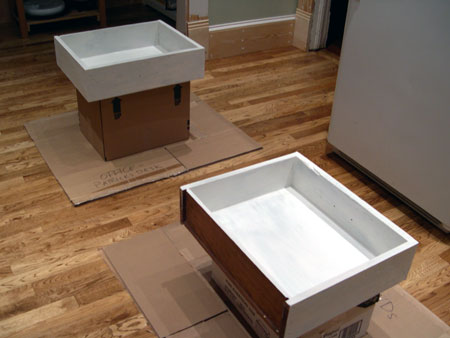
Step 2: Put on fresh paint.

Butler's Pantry Drawer

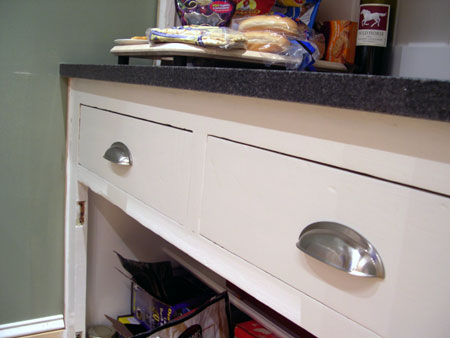
Step 3: Attach pulls and put drawers back in built-in – ahhhhh, isn’t it beautiful!

Butler's Pantry Drawer

I won’t show the rest of the built-in because we really haven’t made any other progress on it. As other old house homeowners will know these little project go one itty bitty step at a time. Next up should be the bottom doors. We’ve already removed paint a little while ago and sanded one of them the other day. We’ll see when we get them done and back on the built-in!

Posted in Our Bungalow, Photos | Tagged , , , , , , , , , , , | Comments Off on Kitchen Built-in Drawer Pulls

Finally Some Bathroom Work

I feel like we finally made far enough progress with the bathroom to be able to show it. It’s been a slow process with all the prep work, but we’re very happy with how our results look.

Part of the prep work consisted of taking the paint off the detail work from the medicine cabinet mirror. (When we relocated the medicine cabinet the only original piece we kept was the actual mirror, hence why it needed the most prep work.) It took me a good 3 days to try and get in those grooves and everything. I was able to take the paint in the grooves off to a point that felt satisfying enough – it is a 90 year-old mirror after all, so if it shows a little sign of age it isn’t necessarily a bad thing.

Medicine cabinet

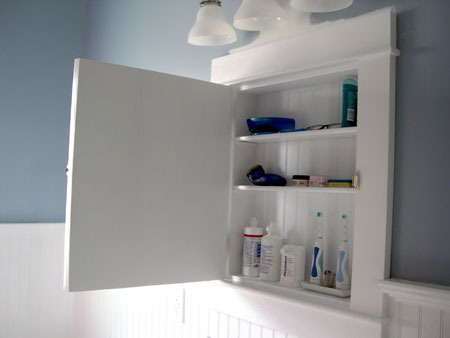
The inside of the medicine cabinet all painted….

Medicine cabinet

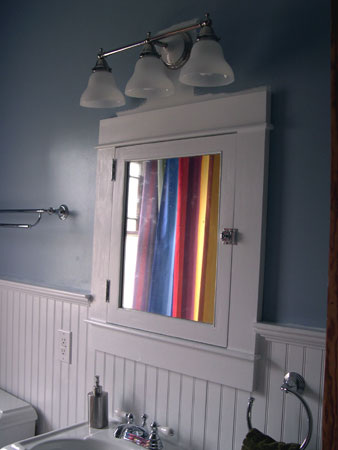
…and the exterior of the medicine cabinet all painted. Don’t pay too close attention to the missing blue paint between the medicine cabinet and the lights, teehee. We need to take off the light to do that and have been avoiding the work. (Same goes for behind the toilet and behind the sink, oopsies.)

Medicine cabinet

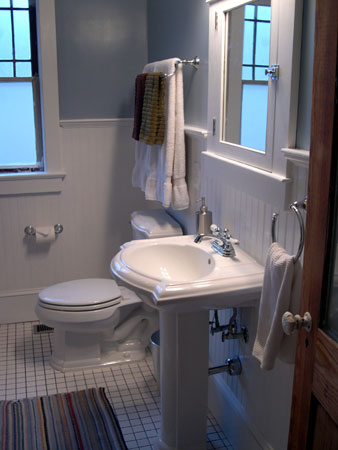
The other painting job we had worked on was the base molding. And finally after 4.5 months of living in the house we have a toilet paper holder and the hand and body towel bars! The body towel bar was tricky because the only space it would actually fit was above the toilet. Not the best place in the world, but pretty much our only option. Every now and then I still catch myself reaching for the toilet paper on the windowsill…only to realize that it’s not located there anymore!

Medicine cabinet

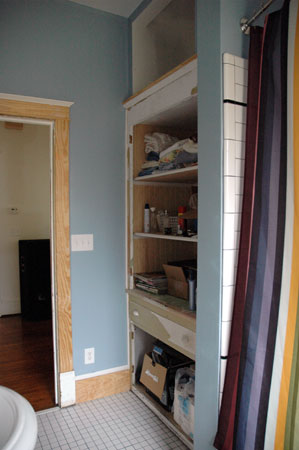
Unfortunately the other view is not quite as finished. We haven’t painted the door molding or the base molding because we want to finish removing the paint from the built-in before we get to putting it back on.

Linen closet

Posted in Our Bungalow, Photos | Tagged , , , , , , , , , , , | Comments Off on Finally Some Bathroom Work