Archive

Bay Window/Dining Room Paint Removal

Despite back-to-back wedding weekends we were able to get some more work done around the house. We’ve tried to get back to working more regularly on the dining room again. Mainly on weekdays for an hour or two after work and dinner. (We worked on it some more today and since I feel like I’m done for the day I thought I’d blog about the progress instead.) That translates to somewhere around three to five layers removed due to the time you have to wait between each chemical application. For now you can see the change because we were able to work on a large surface, but before long I won’t have any interesting photos to show since the miniature details won’t be noticeable on camera! (Just tedious work that doesn’t feel very accomplishing since it’s so hard to tell the difference!) The changes are looking pretty nice though. Ever so slowly the room is changing. At least we’re getting it down to a color and smoothness that’s pretty nice – but I’m scared of the process after that where we’ll presumably have to sand everything down (including all those tedious details!), which is going to be sooooo much more work.

Our friend came by the other day and commented “Shouldn’t you be done with this room by now?” I could have killed him, ha! So either we’re just incredibly slow and incompetent at doing this, or else he greatly underestimates the time it takes to remove all this paint and stain (which is the answer I’m rooting for).

Patrick is working on the area where we hadn’t unscrewed the hinges.
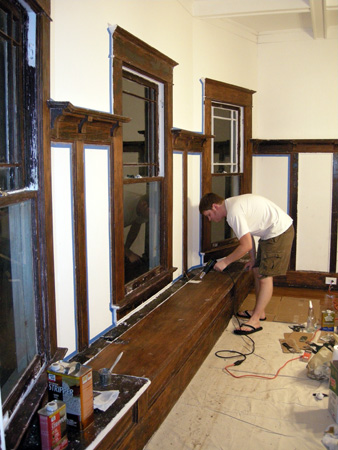
Dining room paint stripping

The hinge area now looks like the rest of the bay window seat.
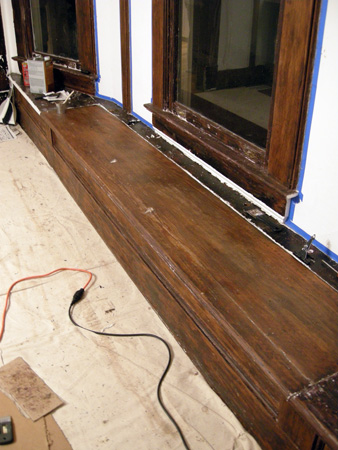
Dining room paint stripping

Different stages of the removal process. On the “cleaner” area we first used the heat gun, then the chemical paint remover and plastic scraper, then the chemical stain remover and “scrubbed down” with Brillo pads. The other area has only had paint removed with the heat gun – and perhaps already a coat of paint remover.
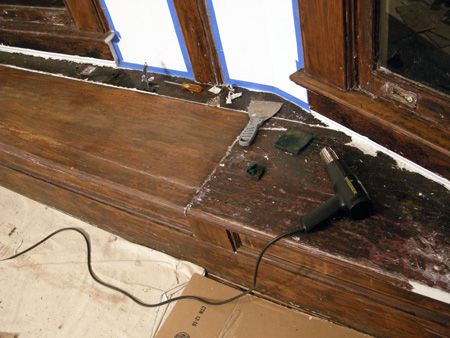
Dining room paint stripping

Here we’ve gone through all three steps on the seating surface.
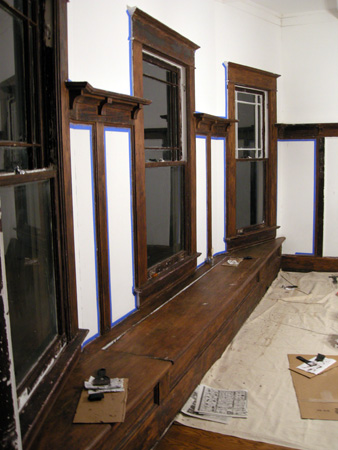
Dining room paint stripping

Posted in Our Bungalow, Photos | Tagged , , , , , , , , , , | Comments Off on Bay Window/Dining Room Paint Removal

Working on our built-in linen cabinet

Okay, we haven’t been posting a lot lately, but it’s because we have been busy working!!! Sometimes when you work until late in the evening there just isn’t time to write.

Our latest project has been stripping, sanding, and re-painting the linen cabinet in our bathroom. We loooove our built-ins, so we have spent way too much time taking all the paint off just to put paint right back on. It is a little painful when you work so hard to just cover it back up, but it looks really nice in the end. (So it is worth it!)

The linen cabinet in our bathroom was still 100% in tact when we bought the house, and it was carefully preserved under 90 years of paint. With a little help from the trusty heat gun and the old paint-stripper we were able get most of the paint off. Then a lot of sanding (by hand) made the surface flat. The sanding really is the most important part since it is what really makes the final finish look good. Make sure to use a fine grain sandpaper to really get it smooth. If you don’t sand enough you might as well have just painted over the existing paint. We like to think of our built-ins as pieces of furniture that are attached to the floor.

The linen cabinet originally had plastered walls, but we decided to line it with the beadboard to tie it back in with the room. Our contractor also built us new shelves.

So here are the photos:

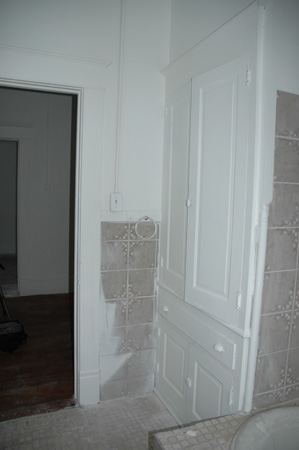
In the beginning… It doesn’t look so bad in the picture, but it was covered with so many layers of paint. The last layer was a flat white latex paint. It was obviously the cheapest paint they could find. It needed some TLC, but you’ll just have to take our word on it.

Linen closet before

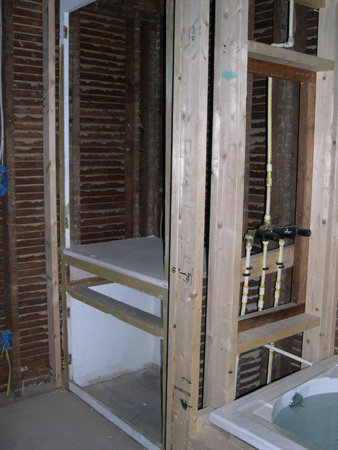
This is what it looked like when we took it all apart! It looked quite bare in this state. I still can’t believe our bathroom looked like that at one point.

Linen closet construction

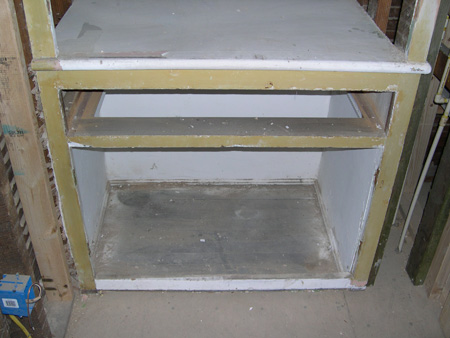
And the bottom portion at the same time…

Linen closet paint stripping

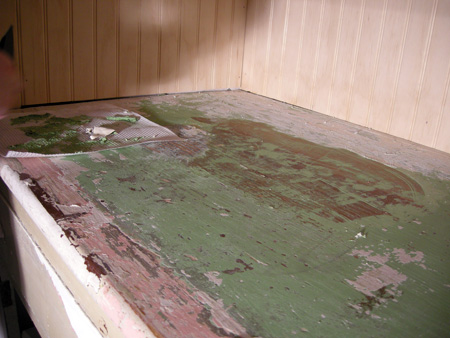
Aren’t those colors lovely?! These are a few of the many layers of paint we had to remove.

Linen closet historic colors

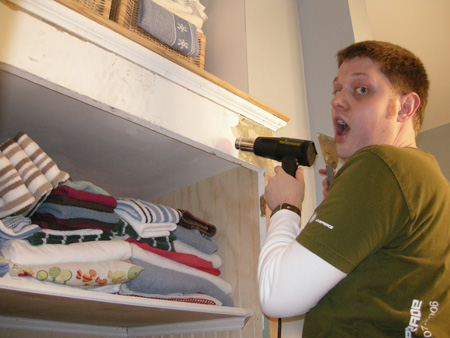
Working with the heatgun. Yes, we were too lazy to take everything out of the cabinet.

Linen closet paint stripping

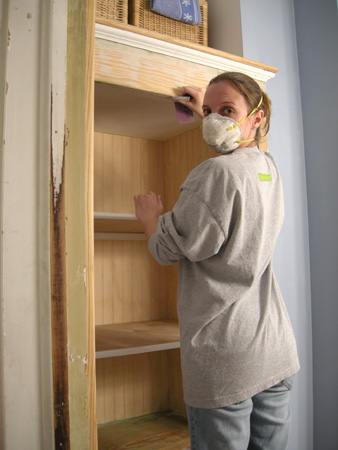
Doing the final sanding. This is one of the most important parts.

Linen closet sanding

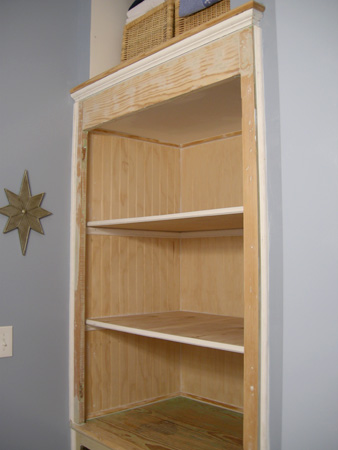
Ready for paint!

Linen closet sanding

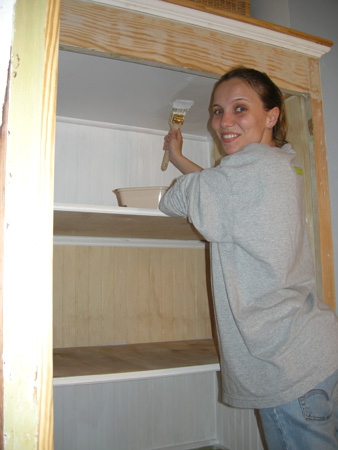
Have you ever seen anybody so excited to paint? Didn’t think so…

Linen closet painting

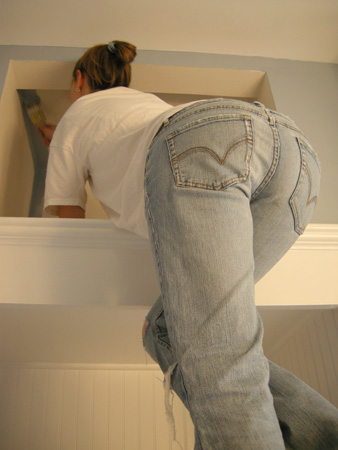
I like this view! :) We added this little storage space over the linen cabinet, and we painted it blue to match the walls.

Linen closet painting

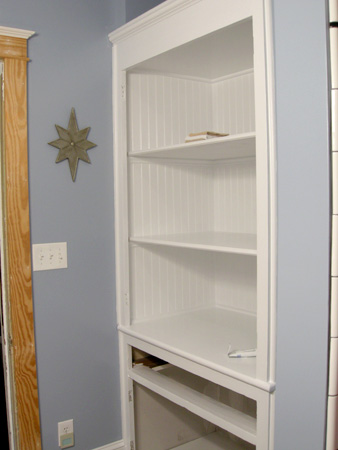
The finished product! This is really when all the hard work pays off.

Linen closet painted

We still need to do the doors, and we have started working on the drawer. Of course with the tempature warming up we might be spending more time in the yard over the next few months.

Posted in Our Bungalow, Photos | Tagged , , , , , , , , , , , | Comments Off on Working on our built-in linen cabinet