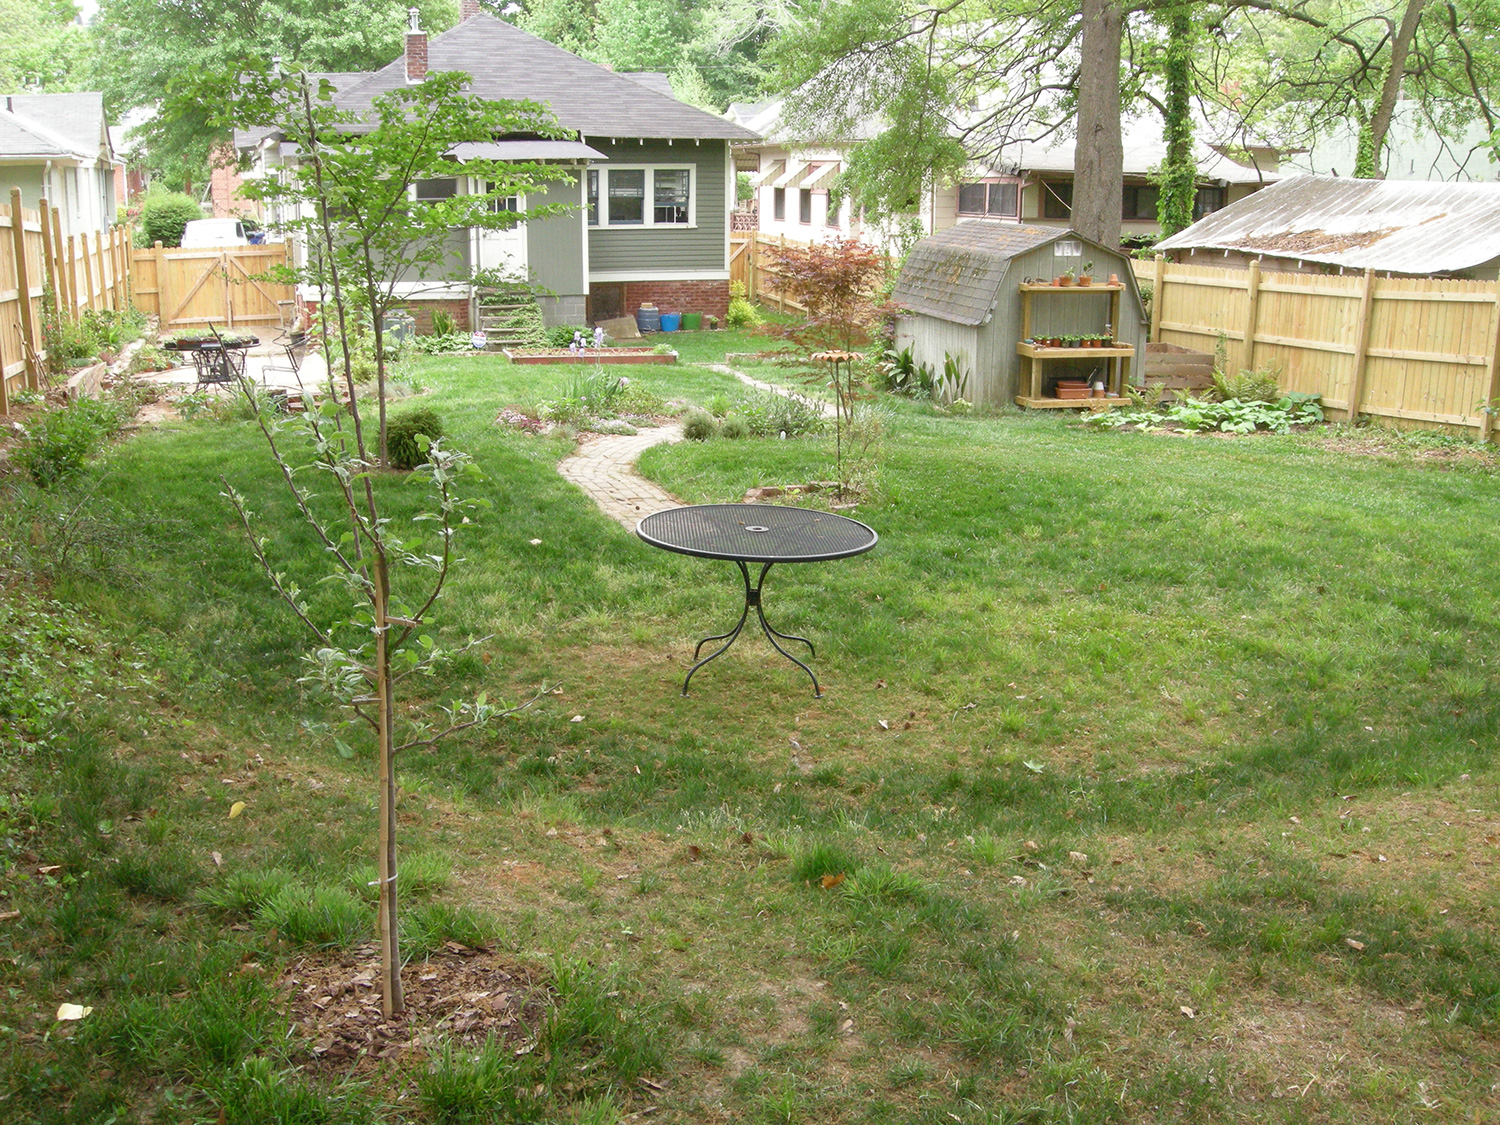
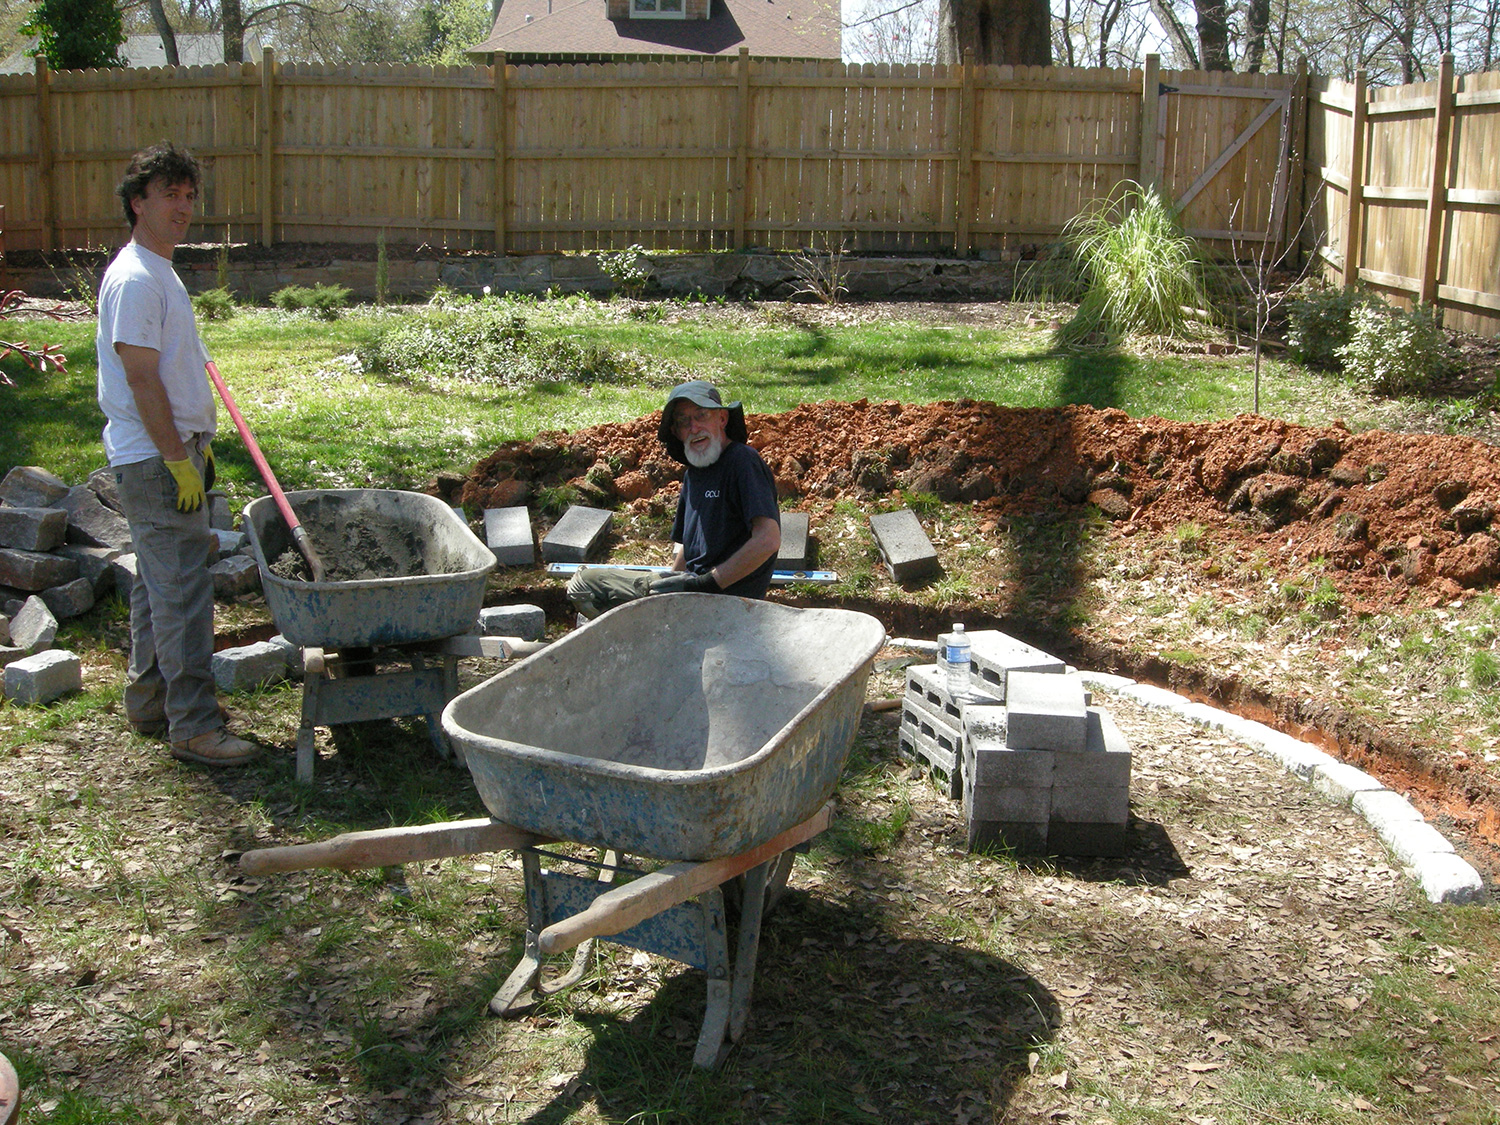
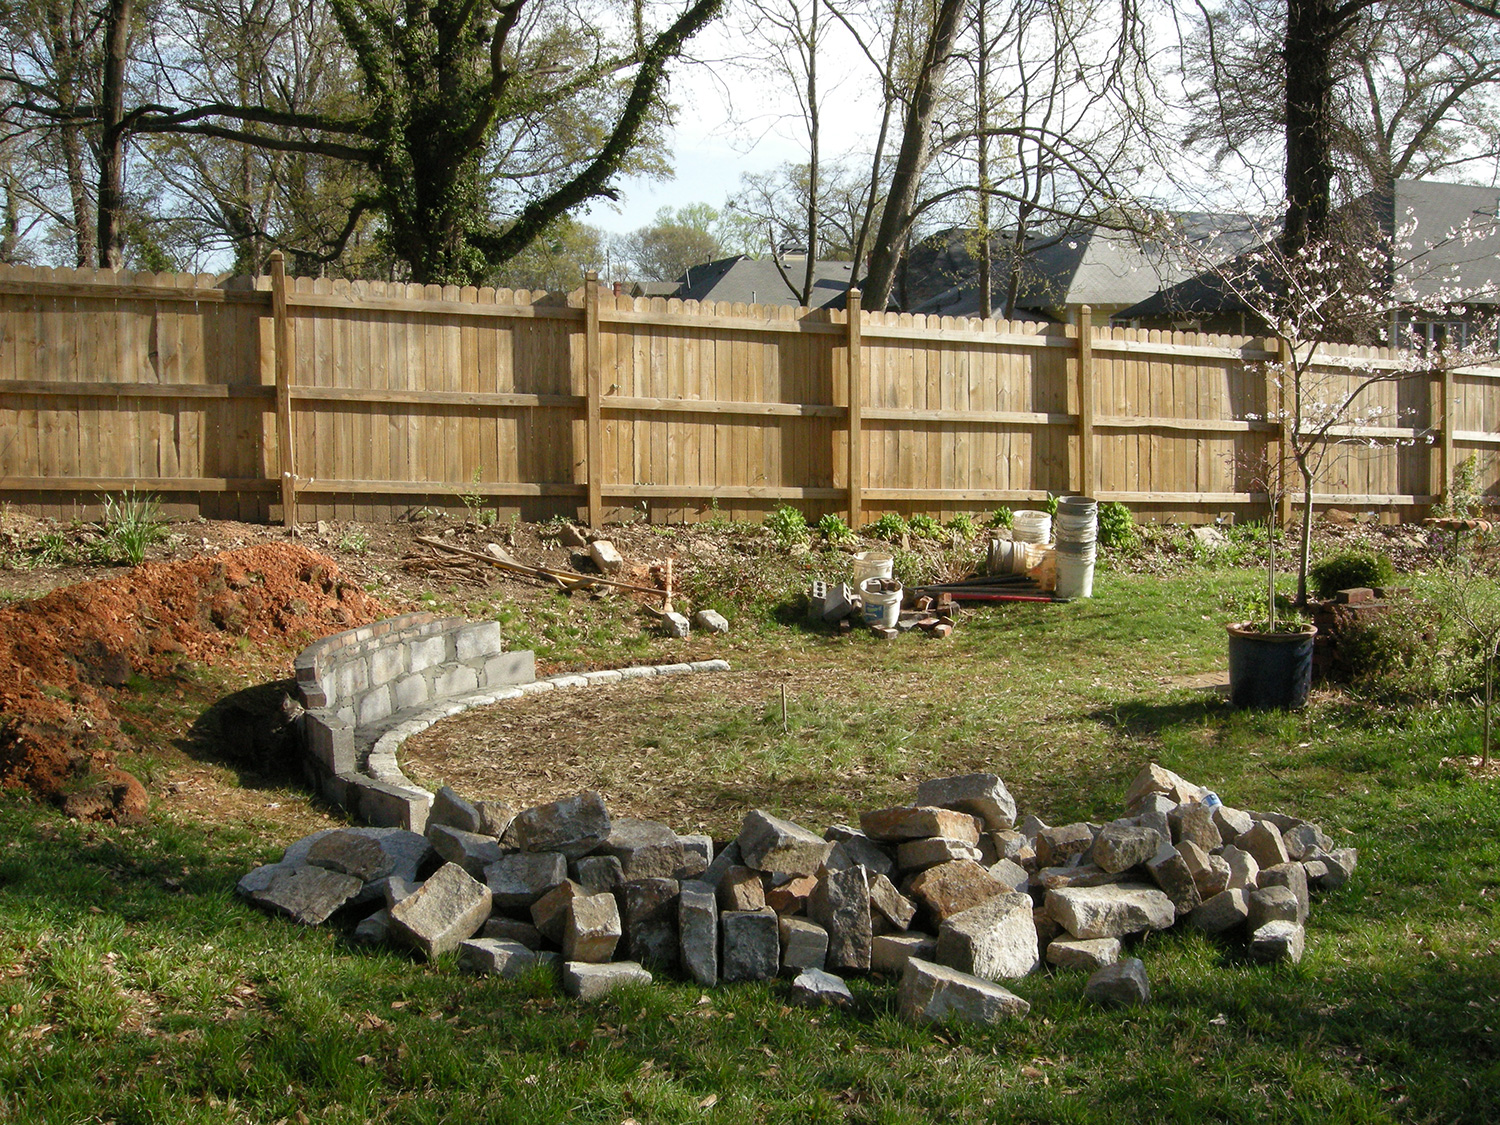
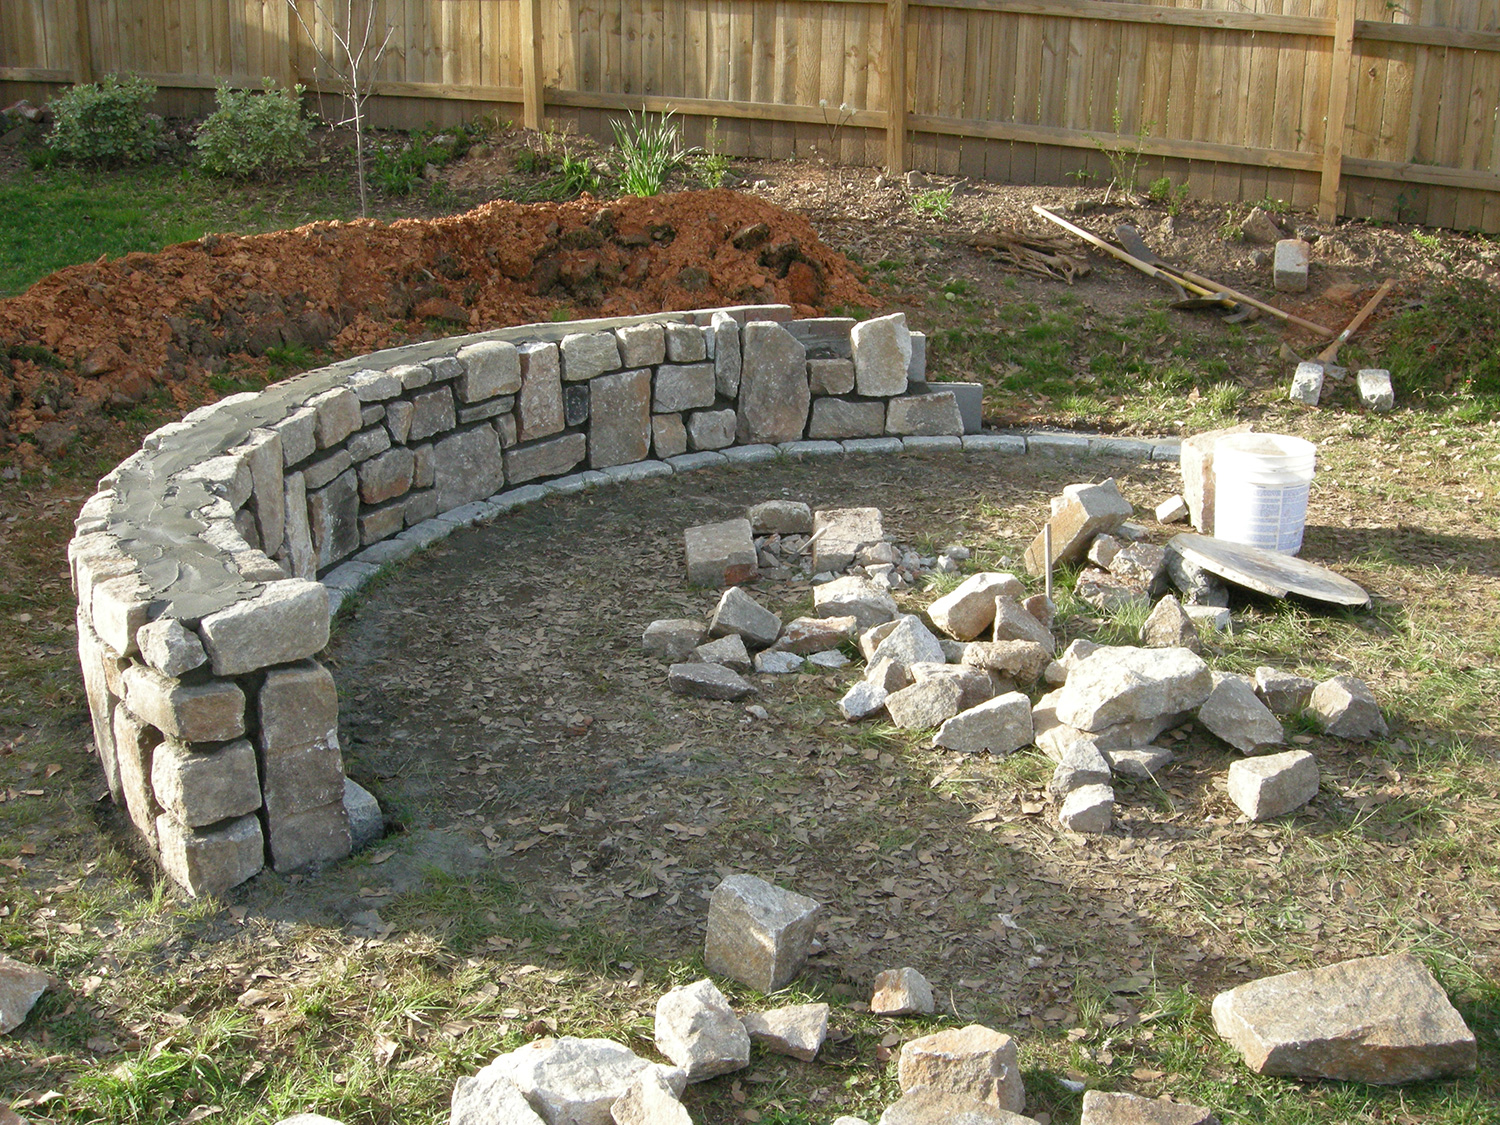
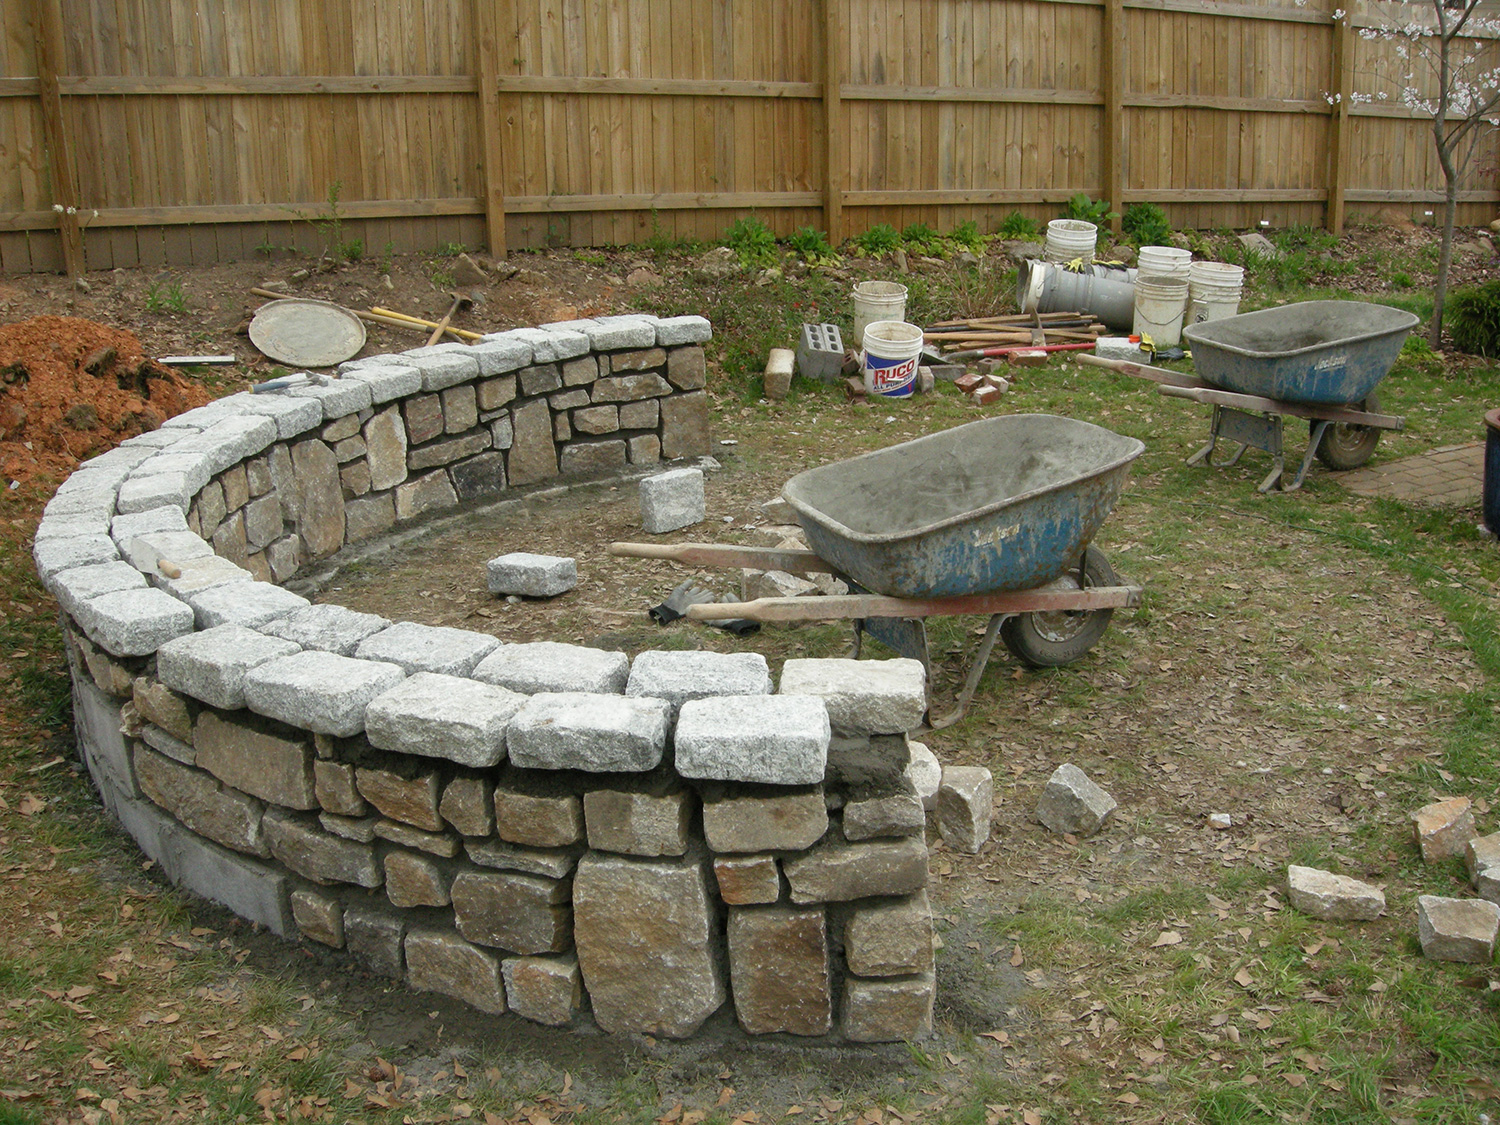
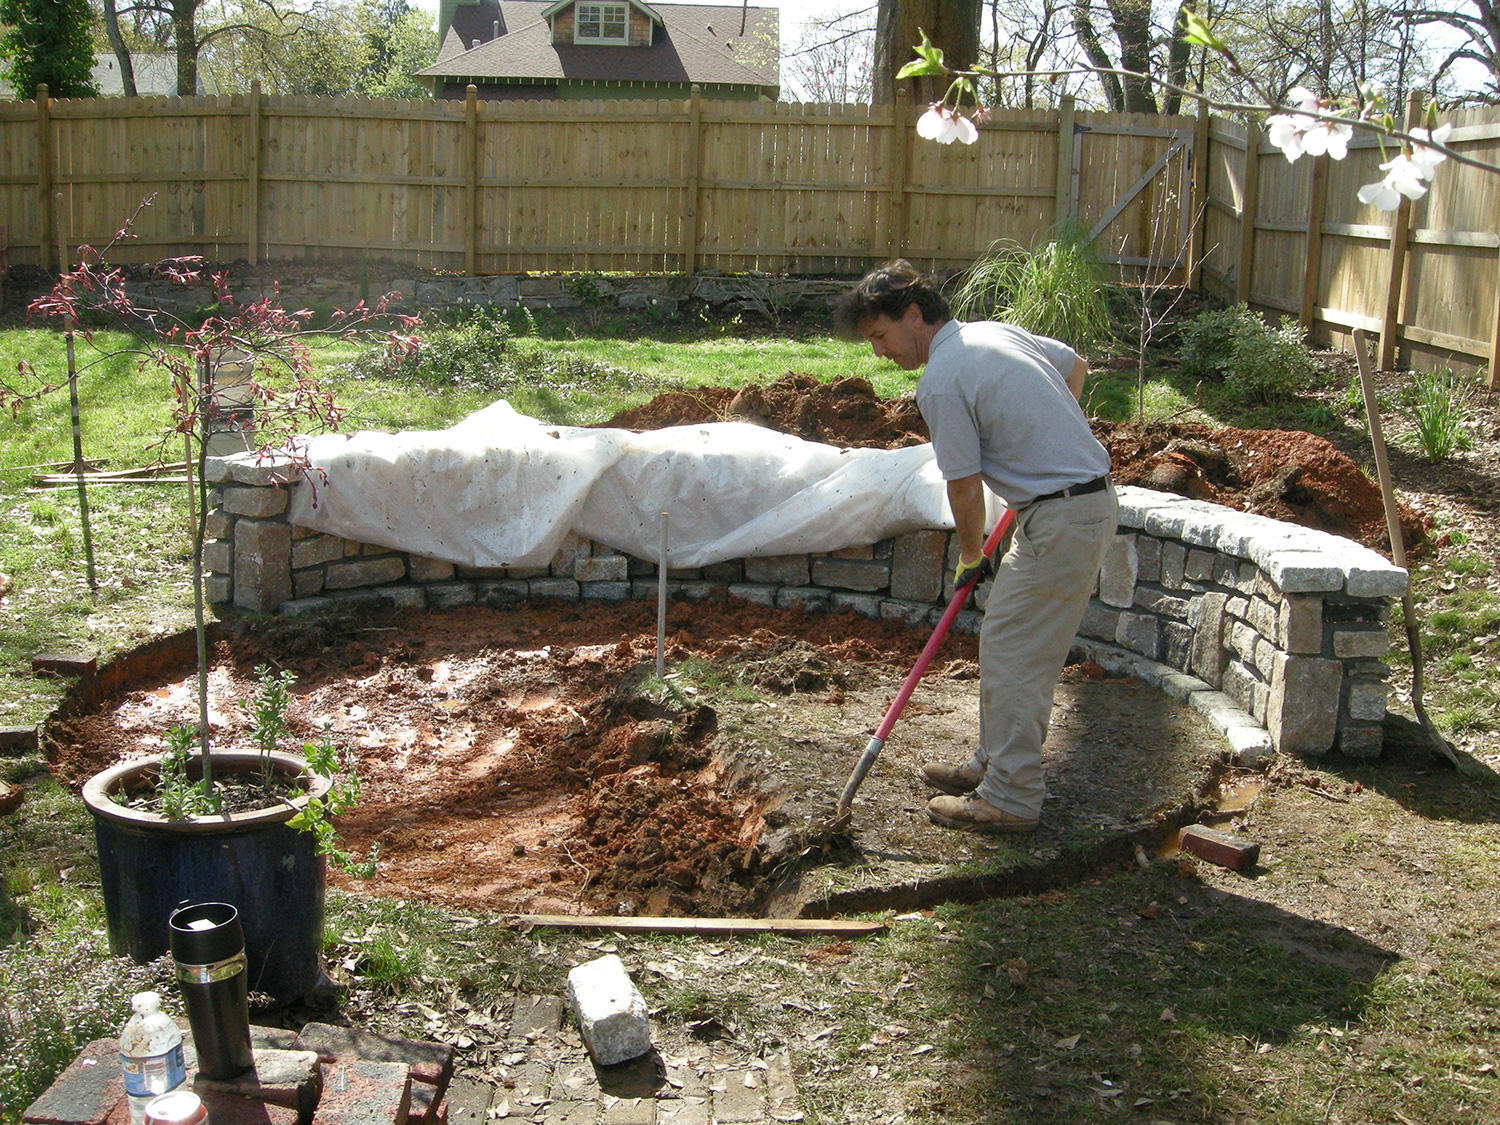
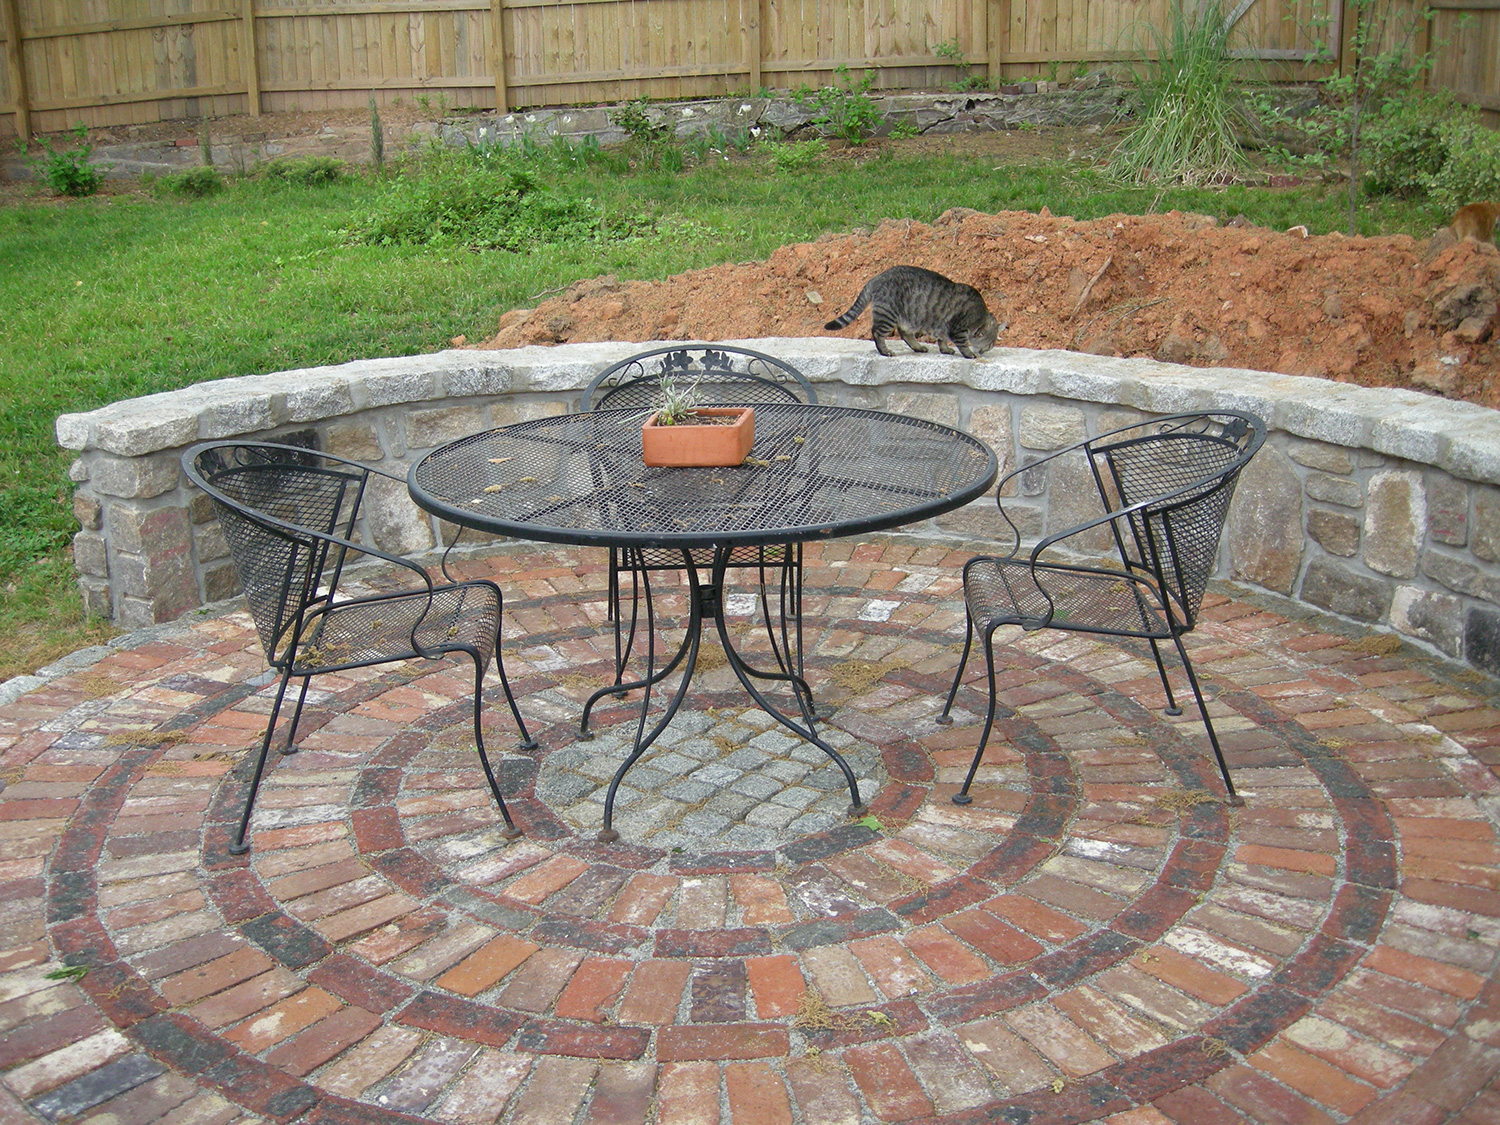
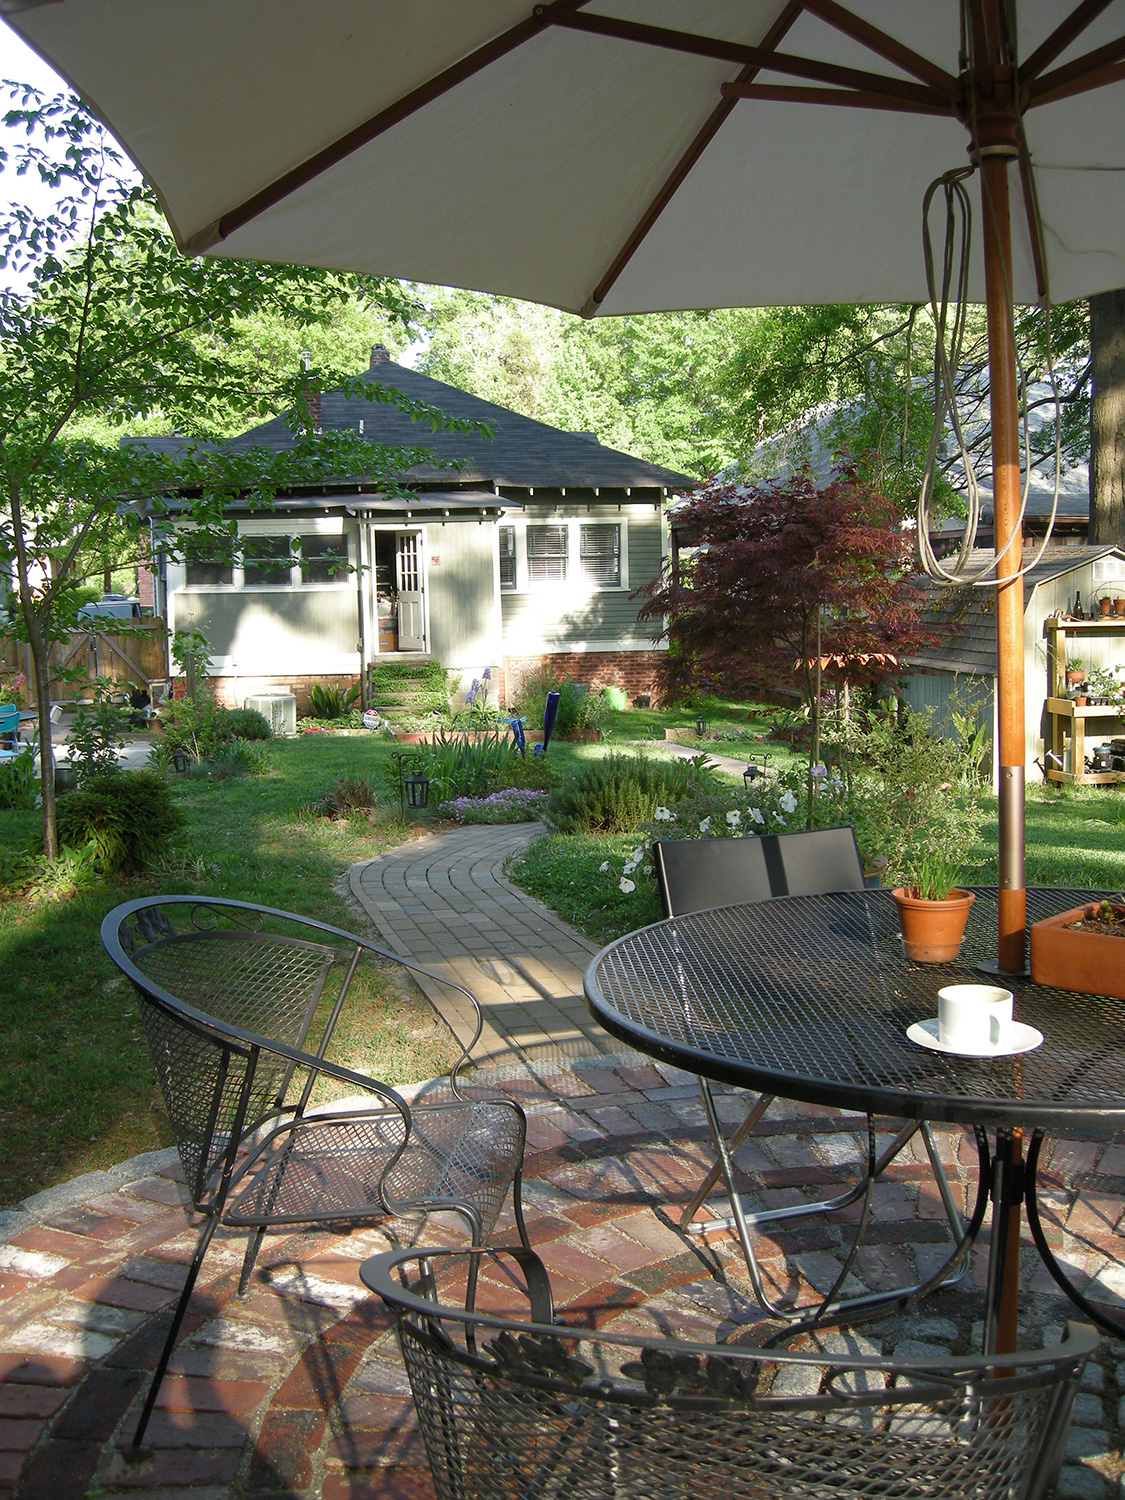
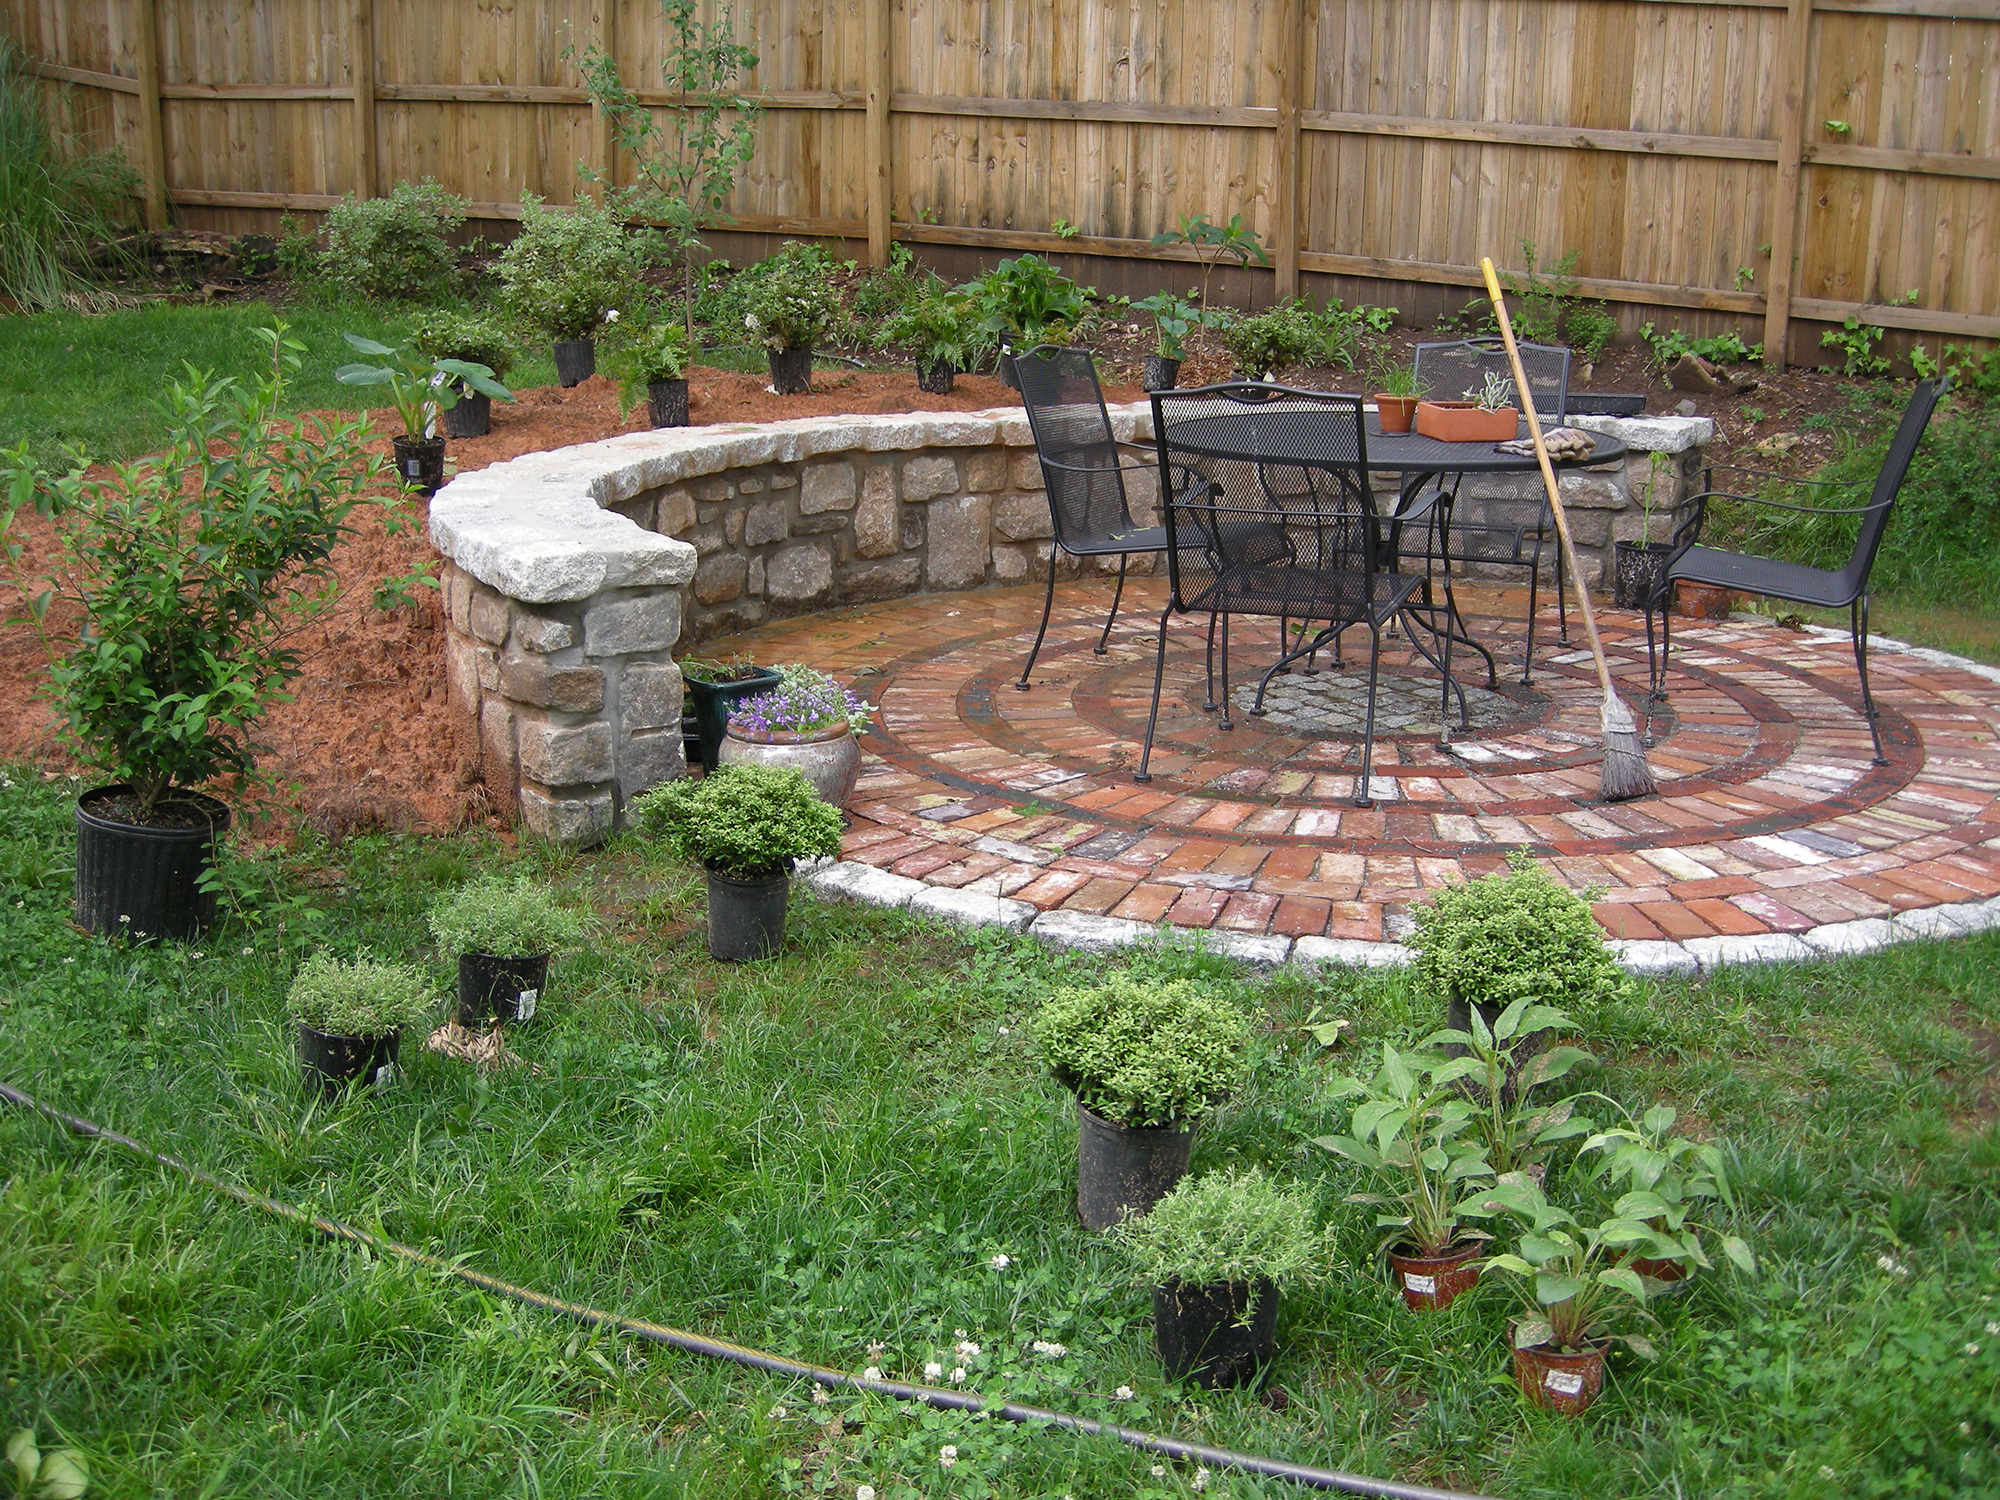
I wanted to give a quick update on the progress on our new patio. We’ve been loving this new addition to our yard, and it has provided us a lot of extra space for landscaping. We’ve been busy tilling, plant shopping, hole digging, planting and mulching.
To get started we made a trip to our favorite garden center, Grower’s Outlet, to pick out some plants. Since part of the area around the patio is sun/part-sun and part of it is shade we were able to get a nice variety of shrubs and perennials. When we got home we set them out to determine the size of the new bed.
Setting out new plants around the patio.
The next stop was to Northside Tool Rental to pick up a tiller. This was our first time renting from them, and the experience was very positive. I called ahead to make sure they had the tiller we wanted, and in no time we were busy tilling. We rented the Mantis, which I would highly recommend for projects of this size. If you need to do a bigger space I would probably recommend something larger, but for creating flower beds it was perfect.
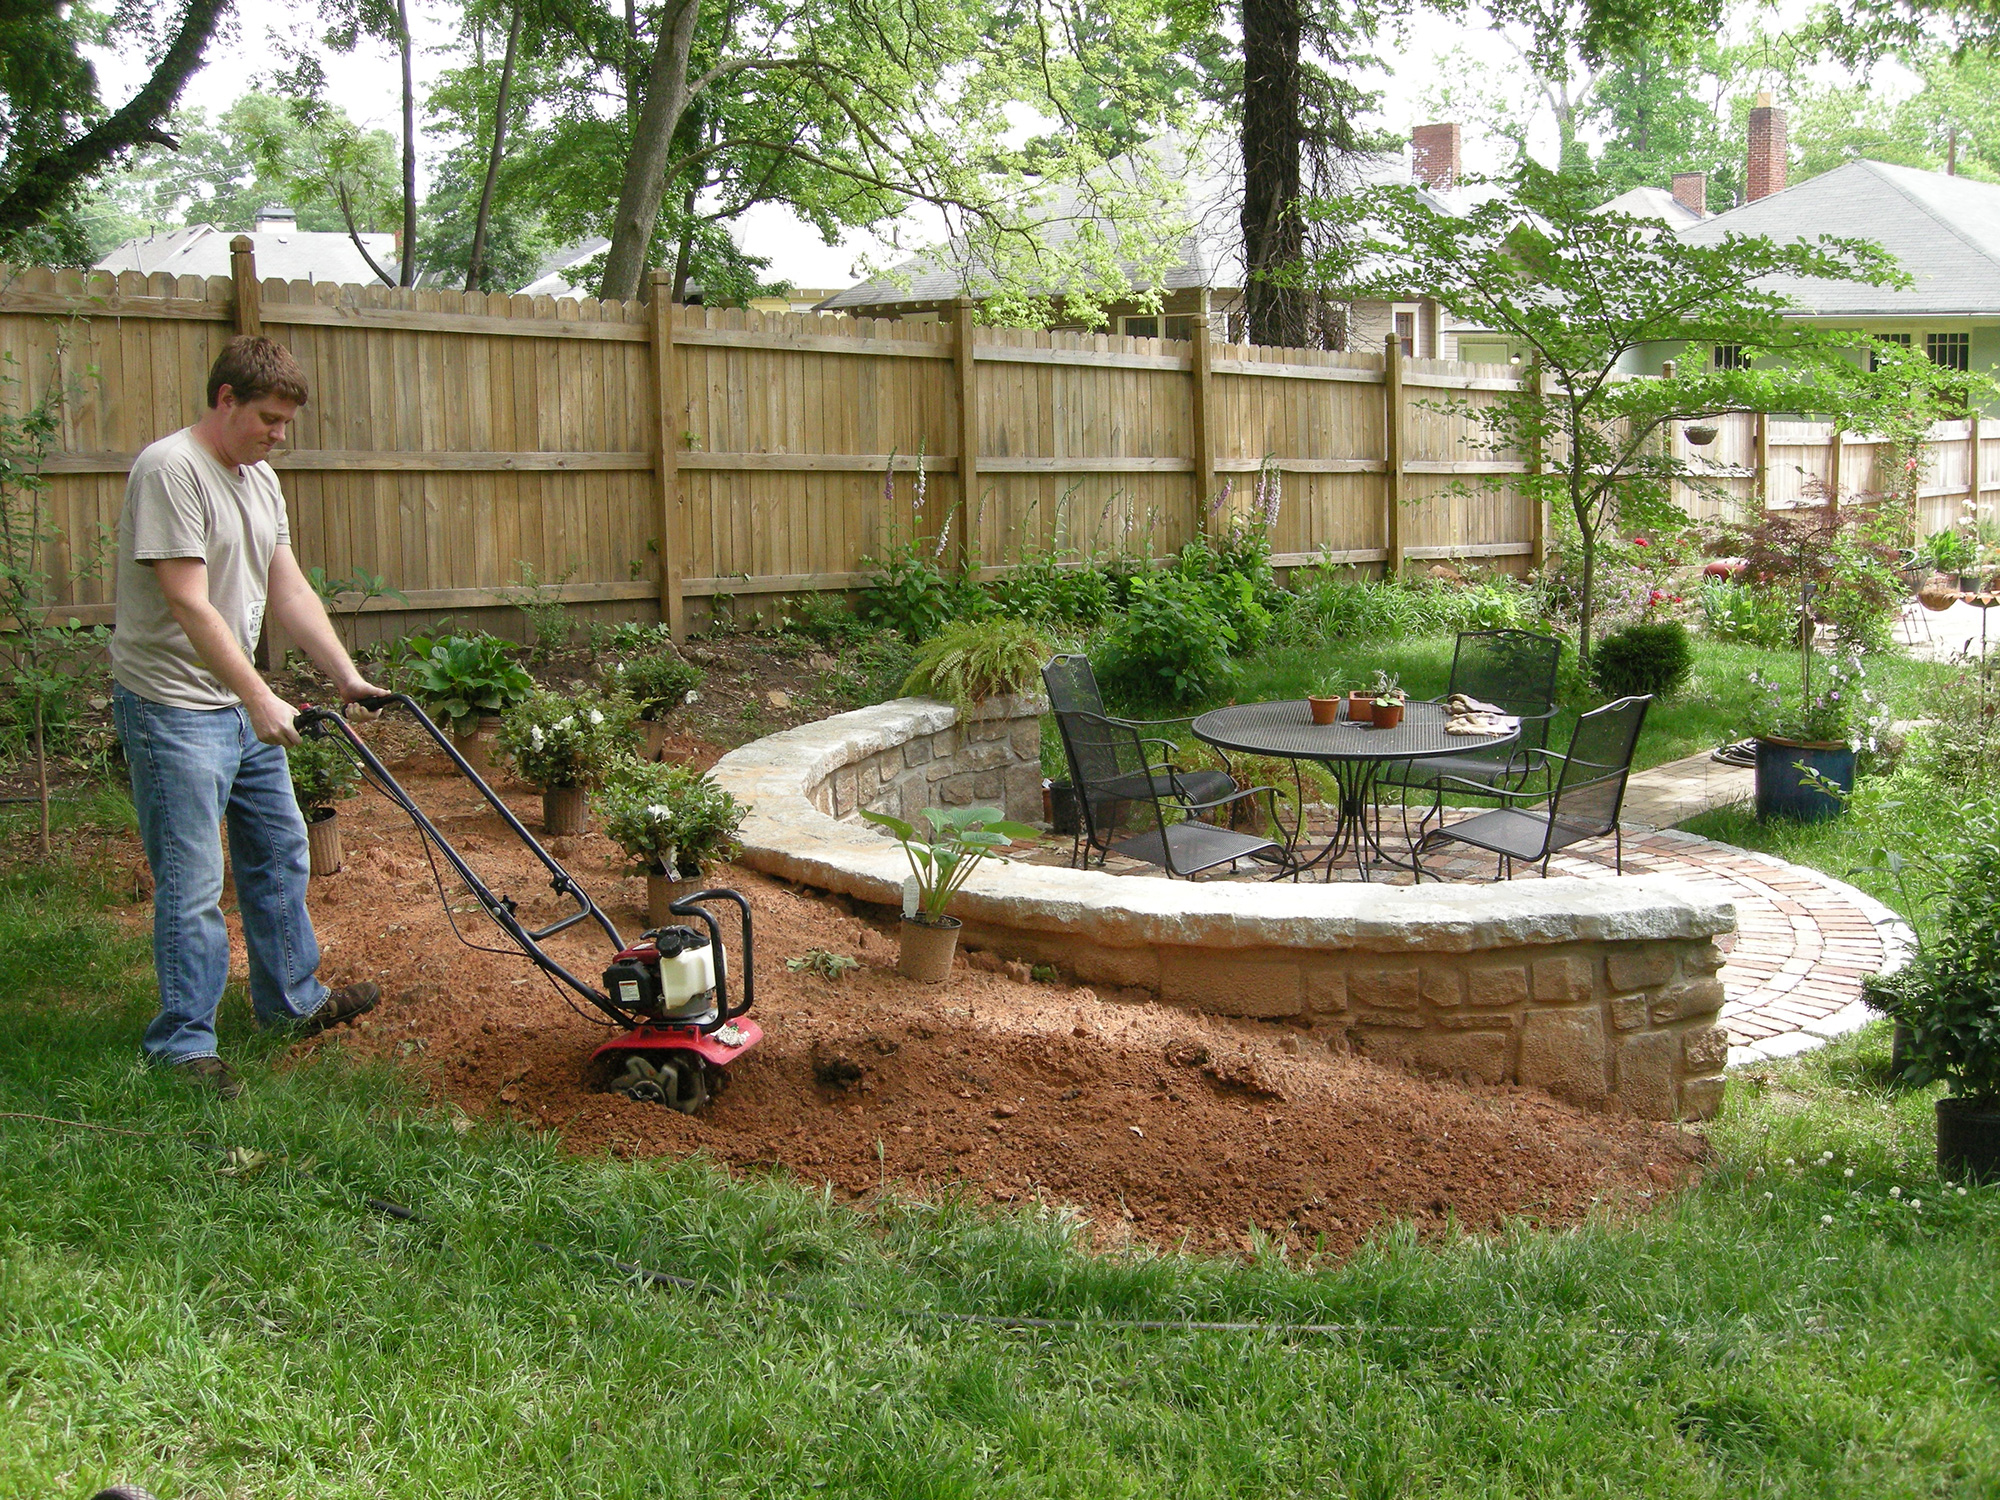
The Mantis tiller hard at work!
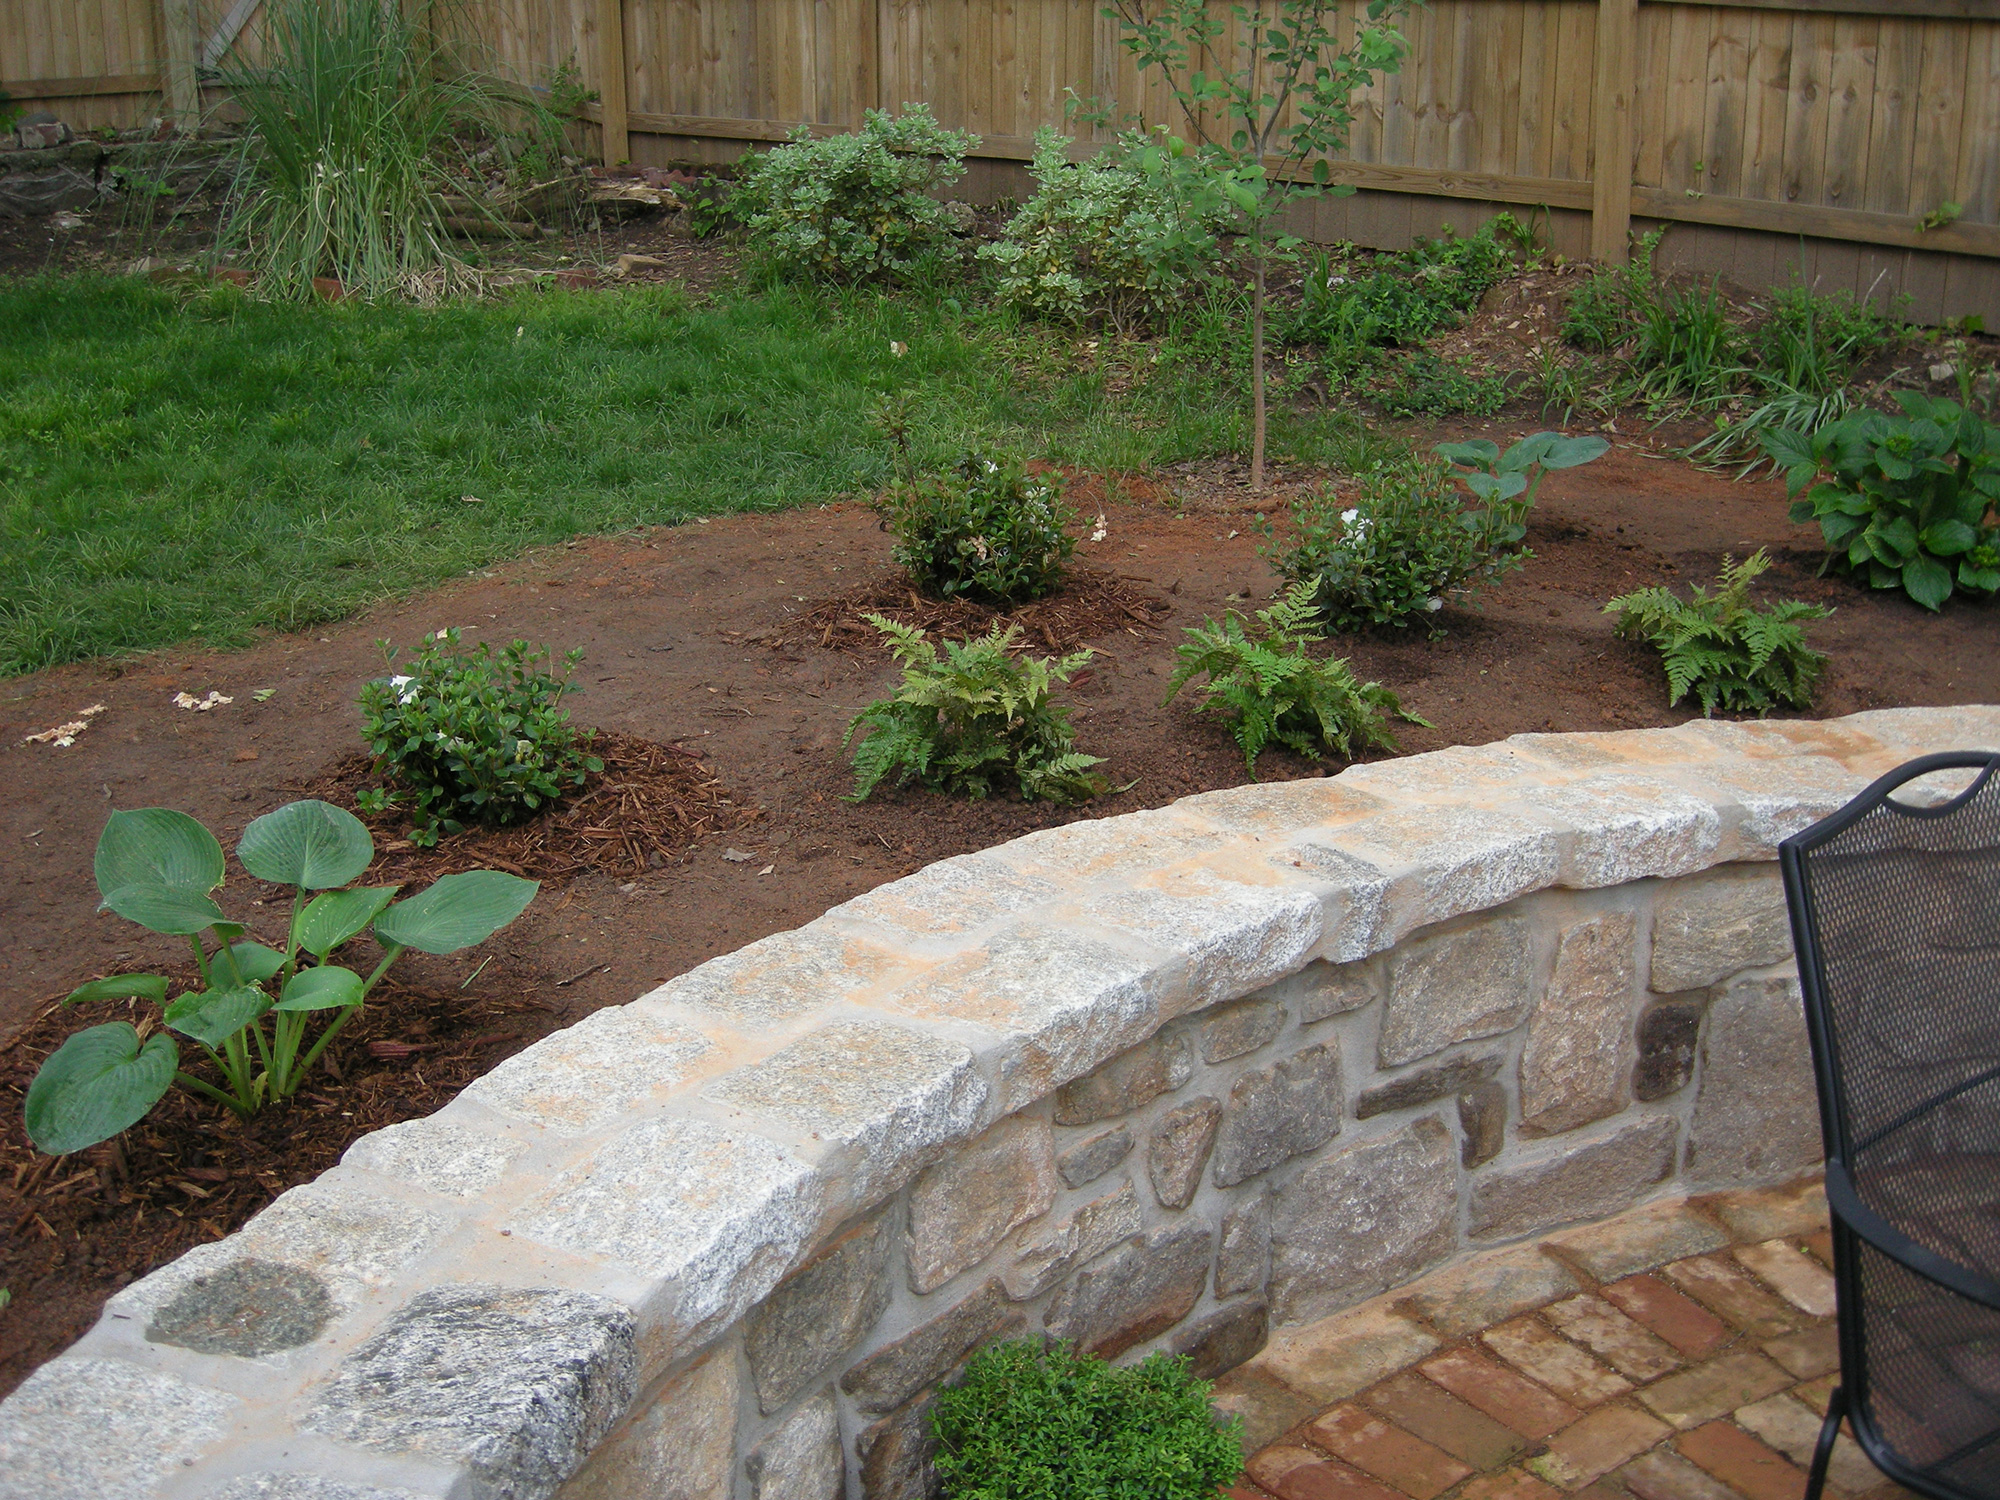
Once the initial tilling was done we used the garden rake to shift some dirt around, and then I went over it again with the tiller to ensure the dirt was nice and loose.

Steffi raking the dirt in the new flower bed.
And finally we can start planting! For the shade area we planted some white azaleas, hostas, ferns and a lacecap hydrangea.
Azaleas, hostas, ferns, and a hydrangea in the shady area behind the patio.
For the sunny spots we have a forsythia, purple coneflowers, small “soft touch” holly bushes…
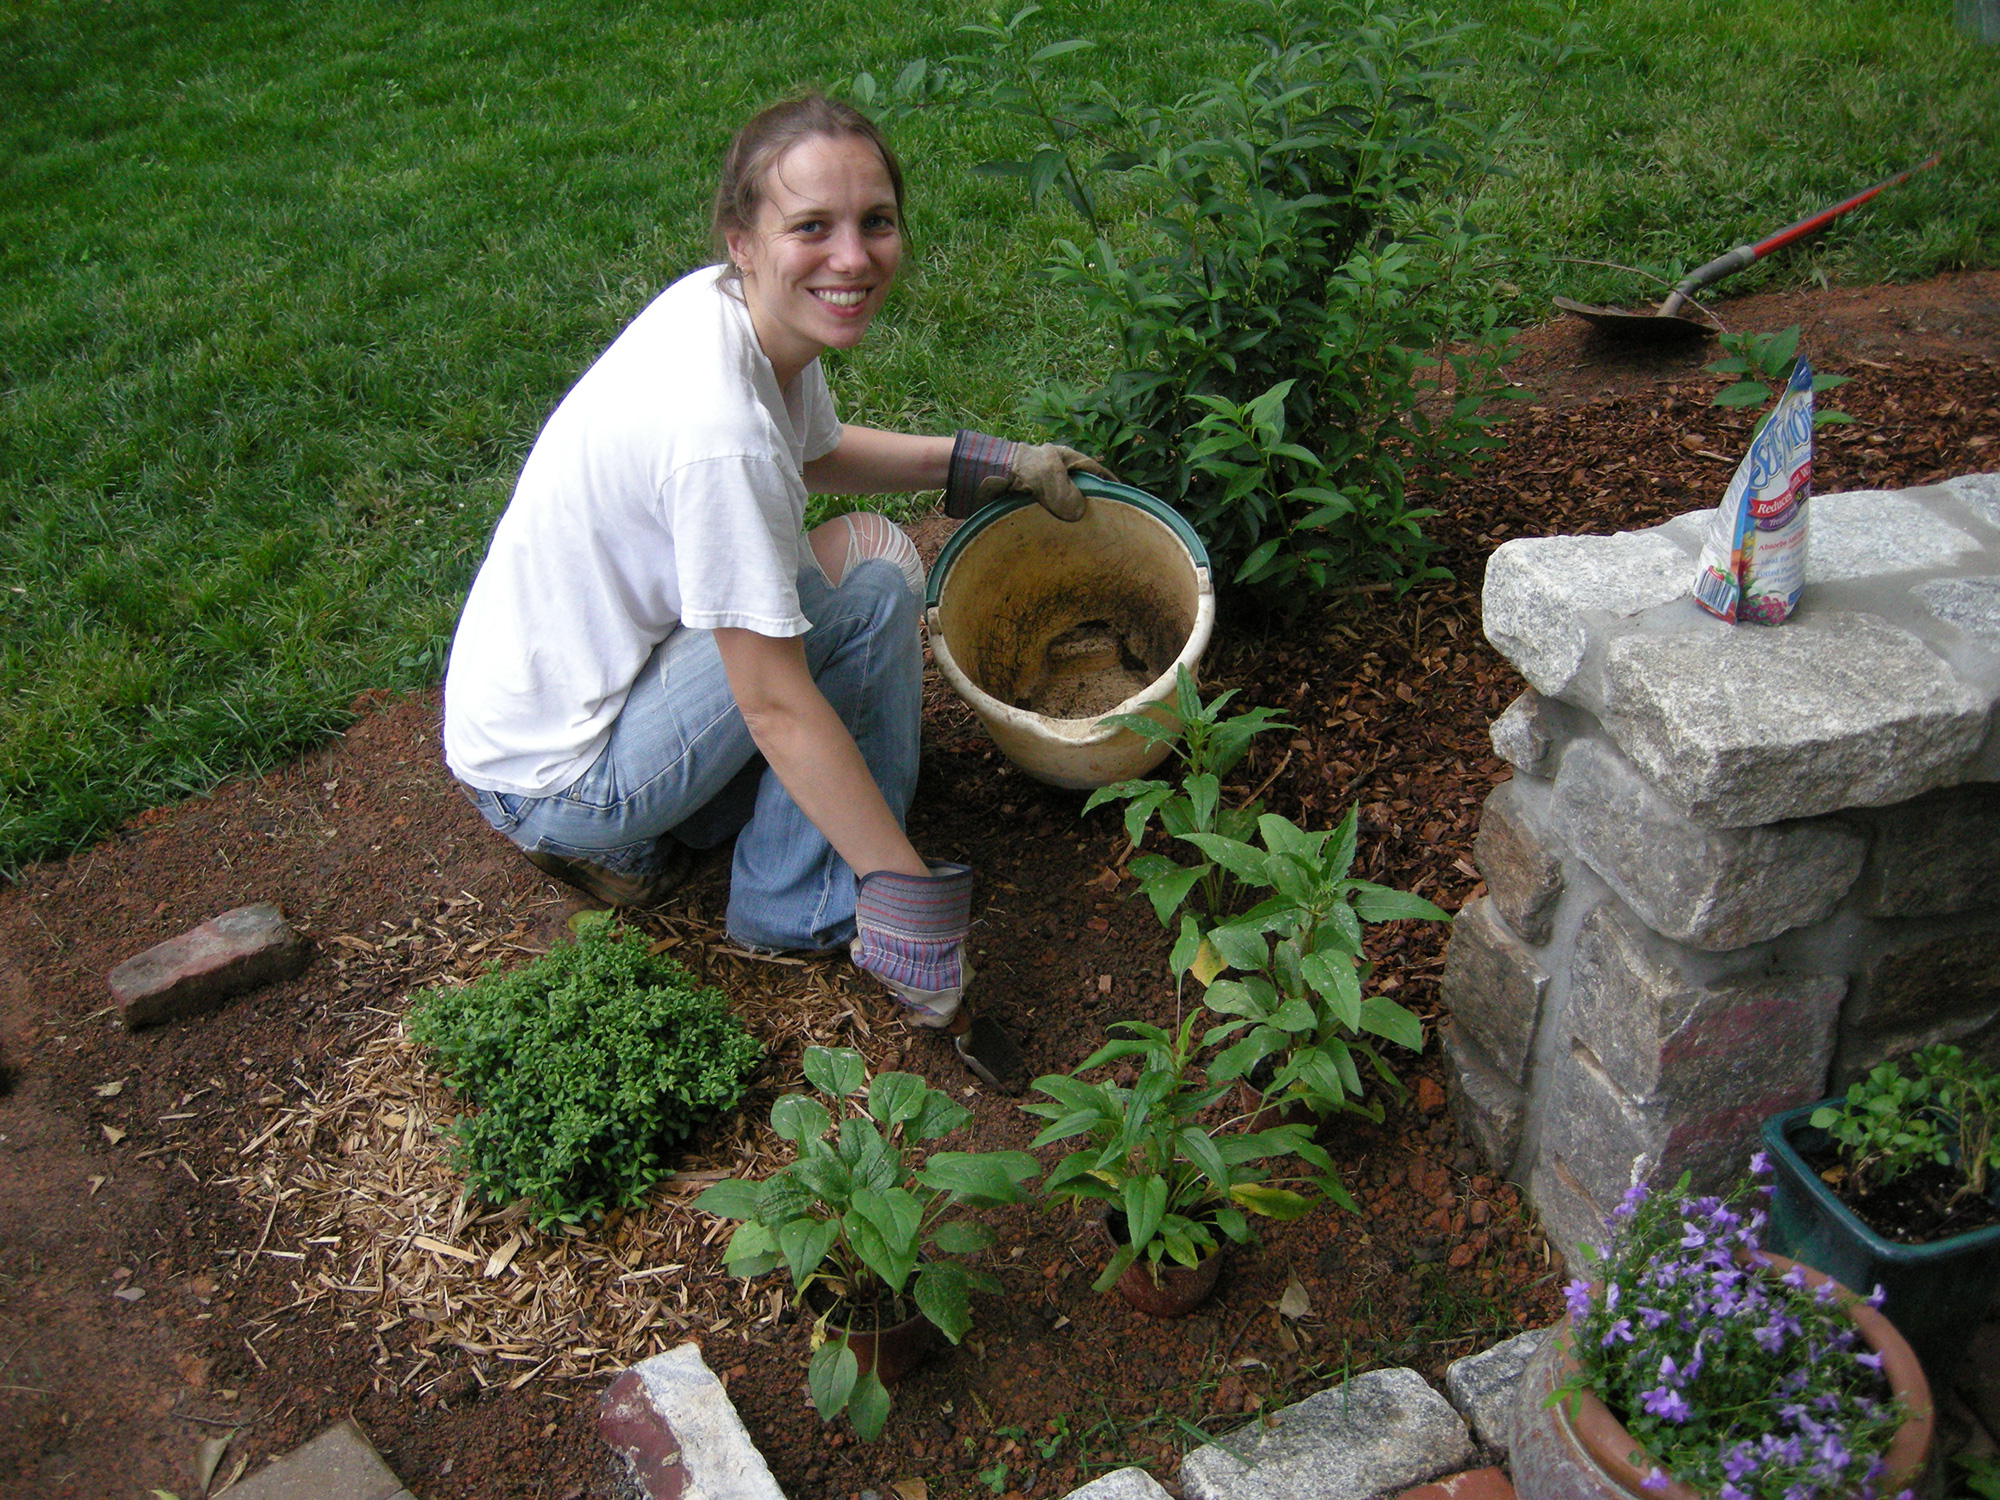
Steffi working on planting the cone flowers.
And this amazing David Austin “Bishop’s Castle” rose that we bought at Pike Nursery. It is extremely fragrant, so we hope we will be able to smell it while sitting on the patio.

David Austin Bishop’s Castle Rose
Last but not least, we put down a lot of mulch. Hopefully it will help with weeds, moisture, splashing mud, etc. We still have a few more plants to add, so check back soon for more updates! Also, we setup a Facebook page for Westview Bungalow so you can stay in touch and always be alerted when we have new updates, so hop over there and “like” us!
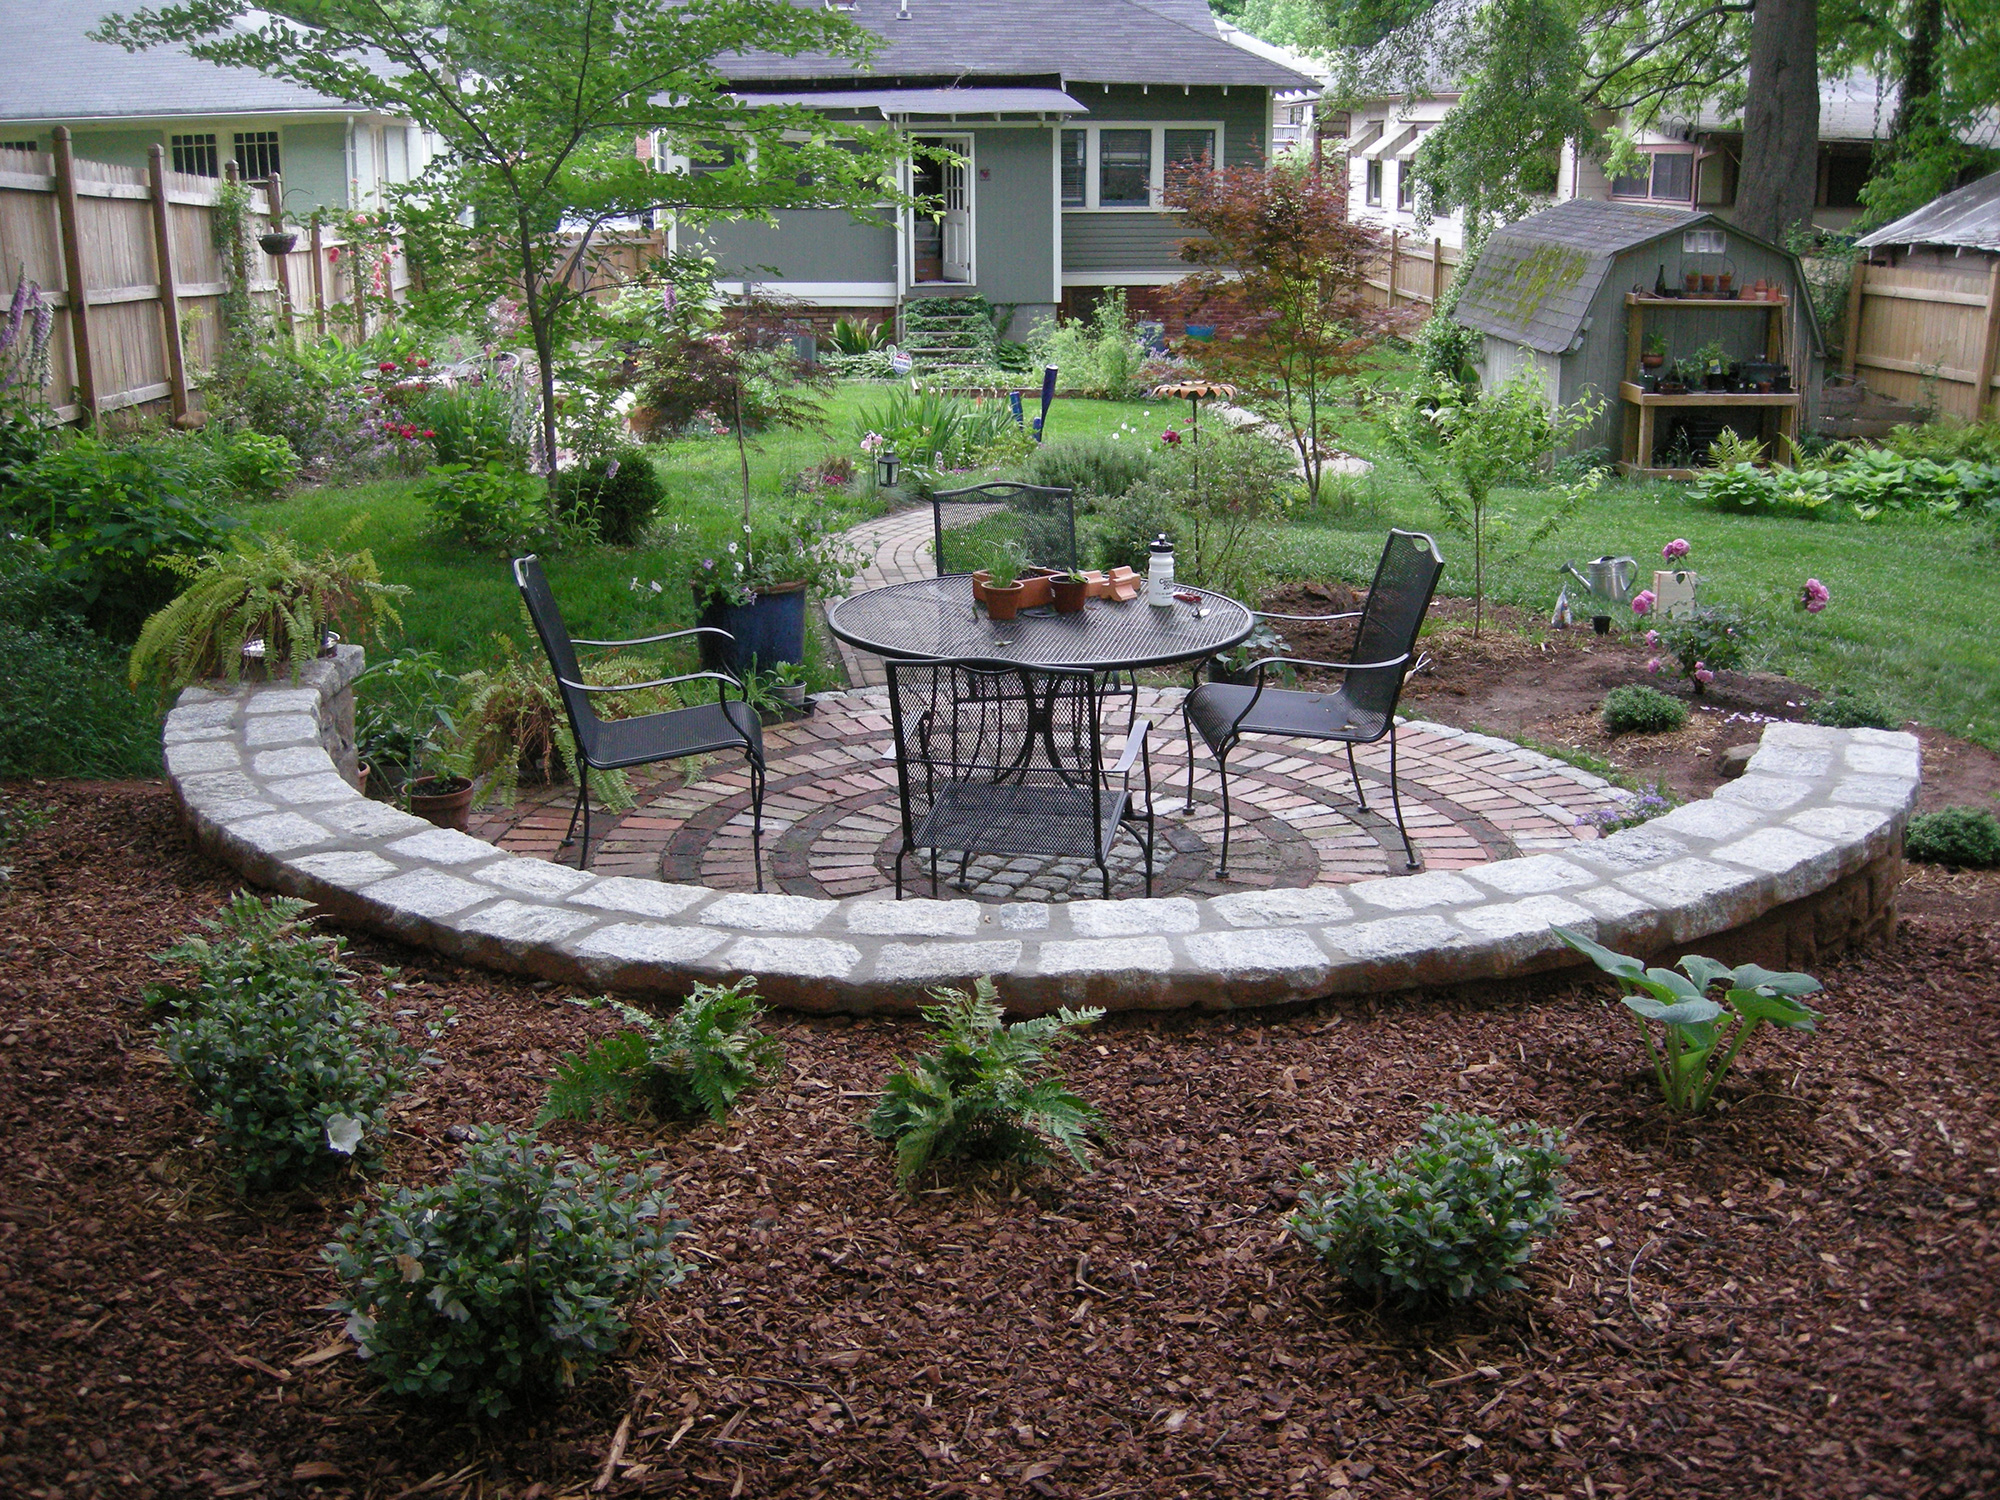
It always looks so nice when freshly mulched! If only it would stay that way…