Category Archive: Gardening

Spring is Here!

There’s so much news to share this spring, but first the big news…. we’re expecting a new addition in September! No, not a new addition to the house – a new addition to our family!! The addition to the house has to wait for now, but needless to say we need to wrap up some existing house projects before the wee one arrives, so we’ve been busy.

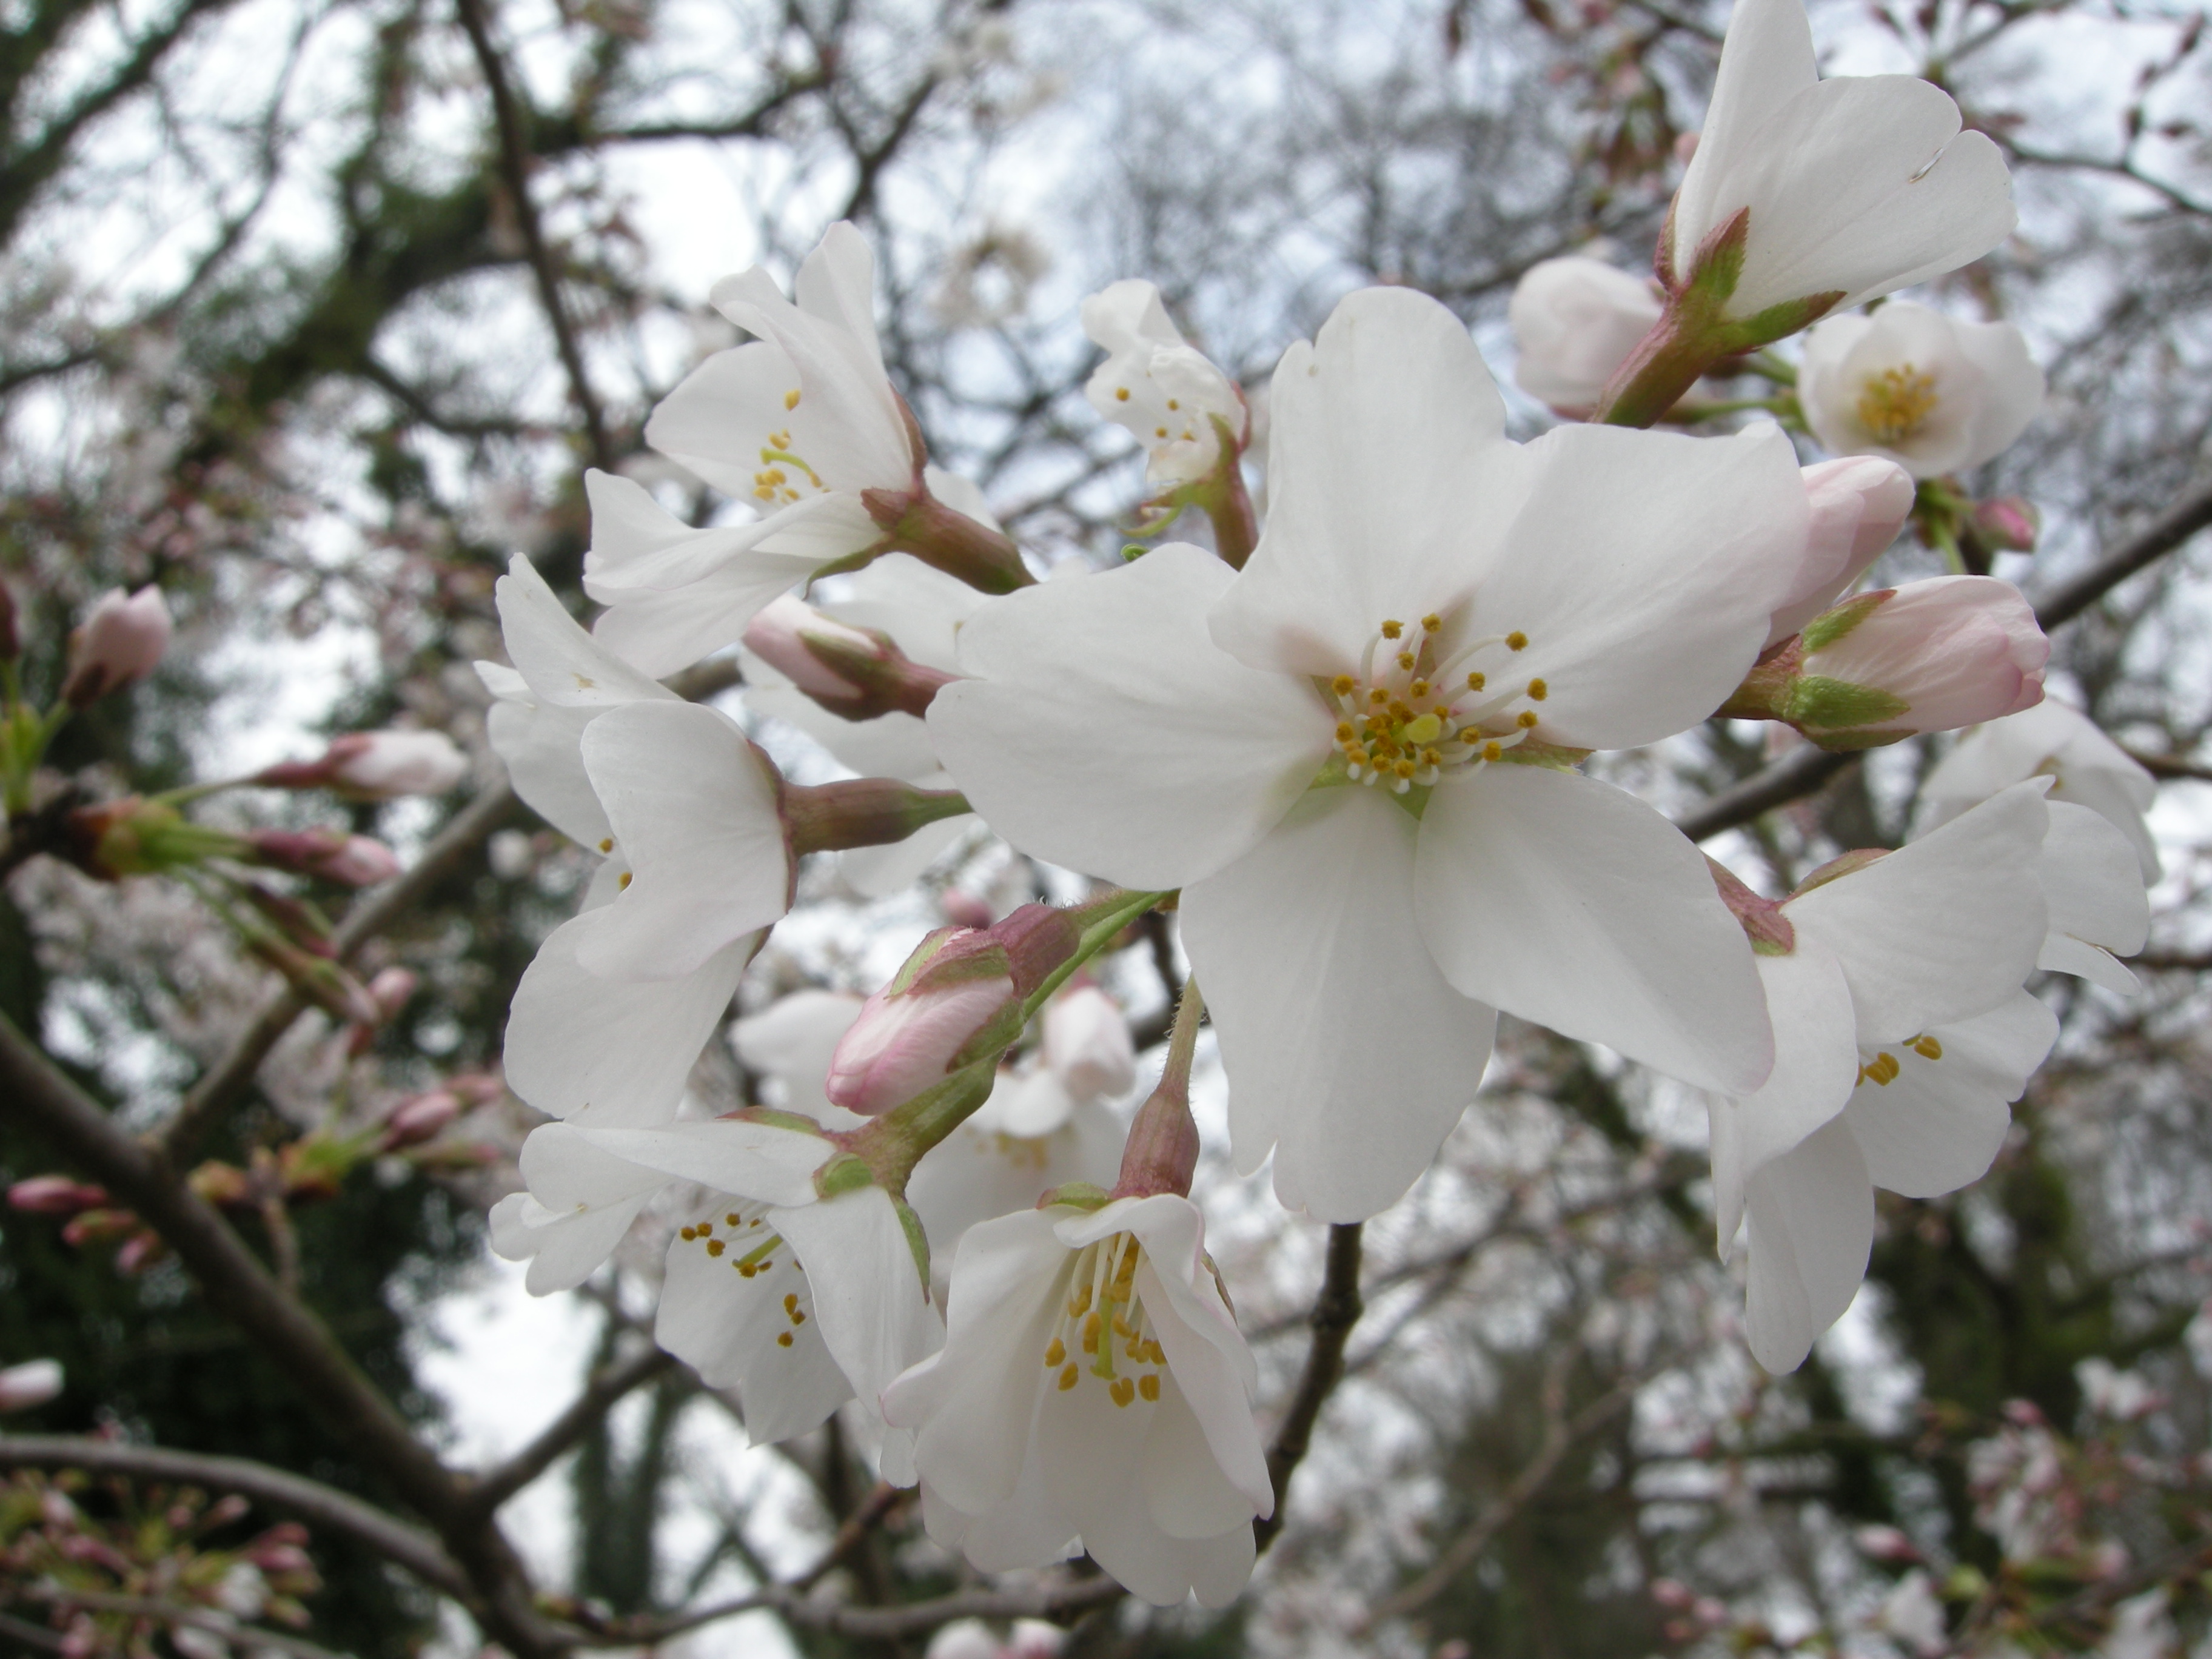
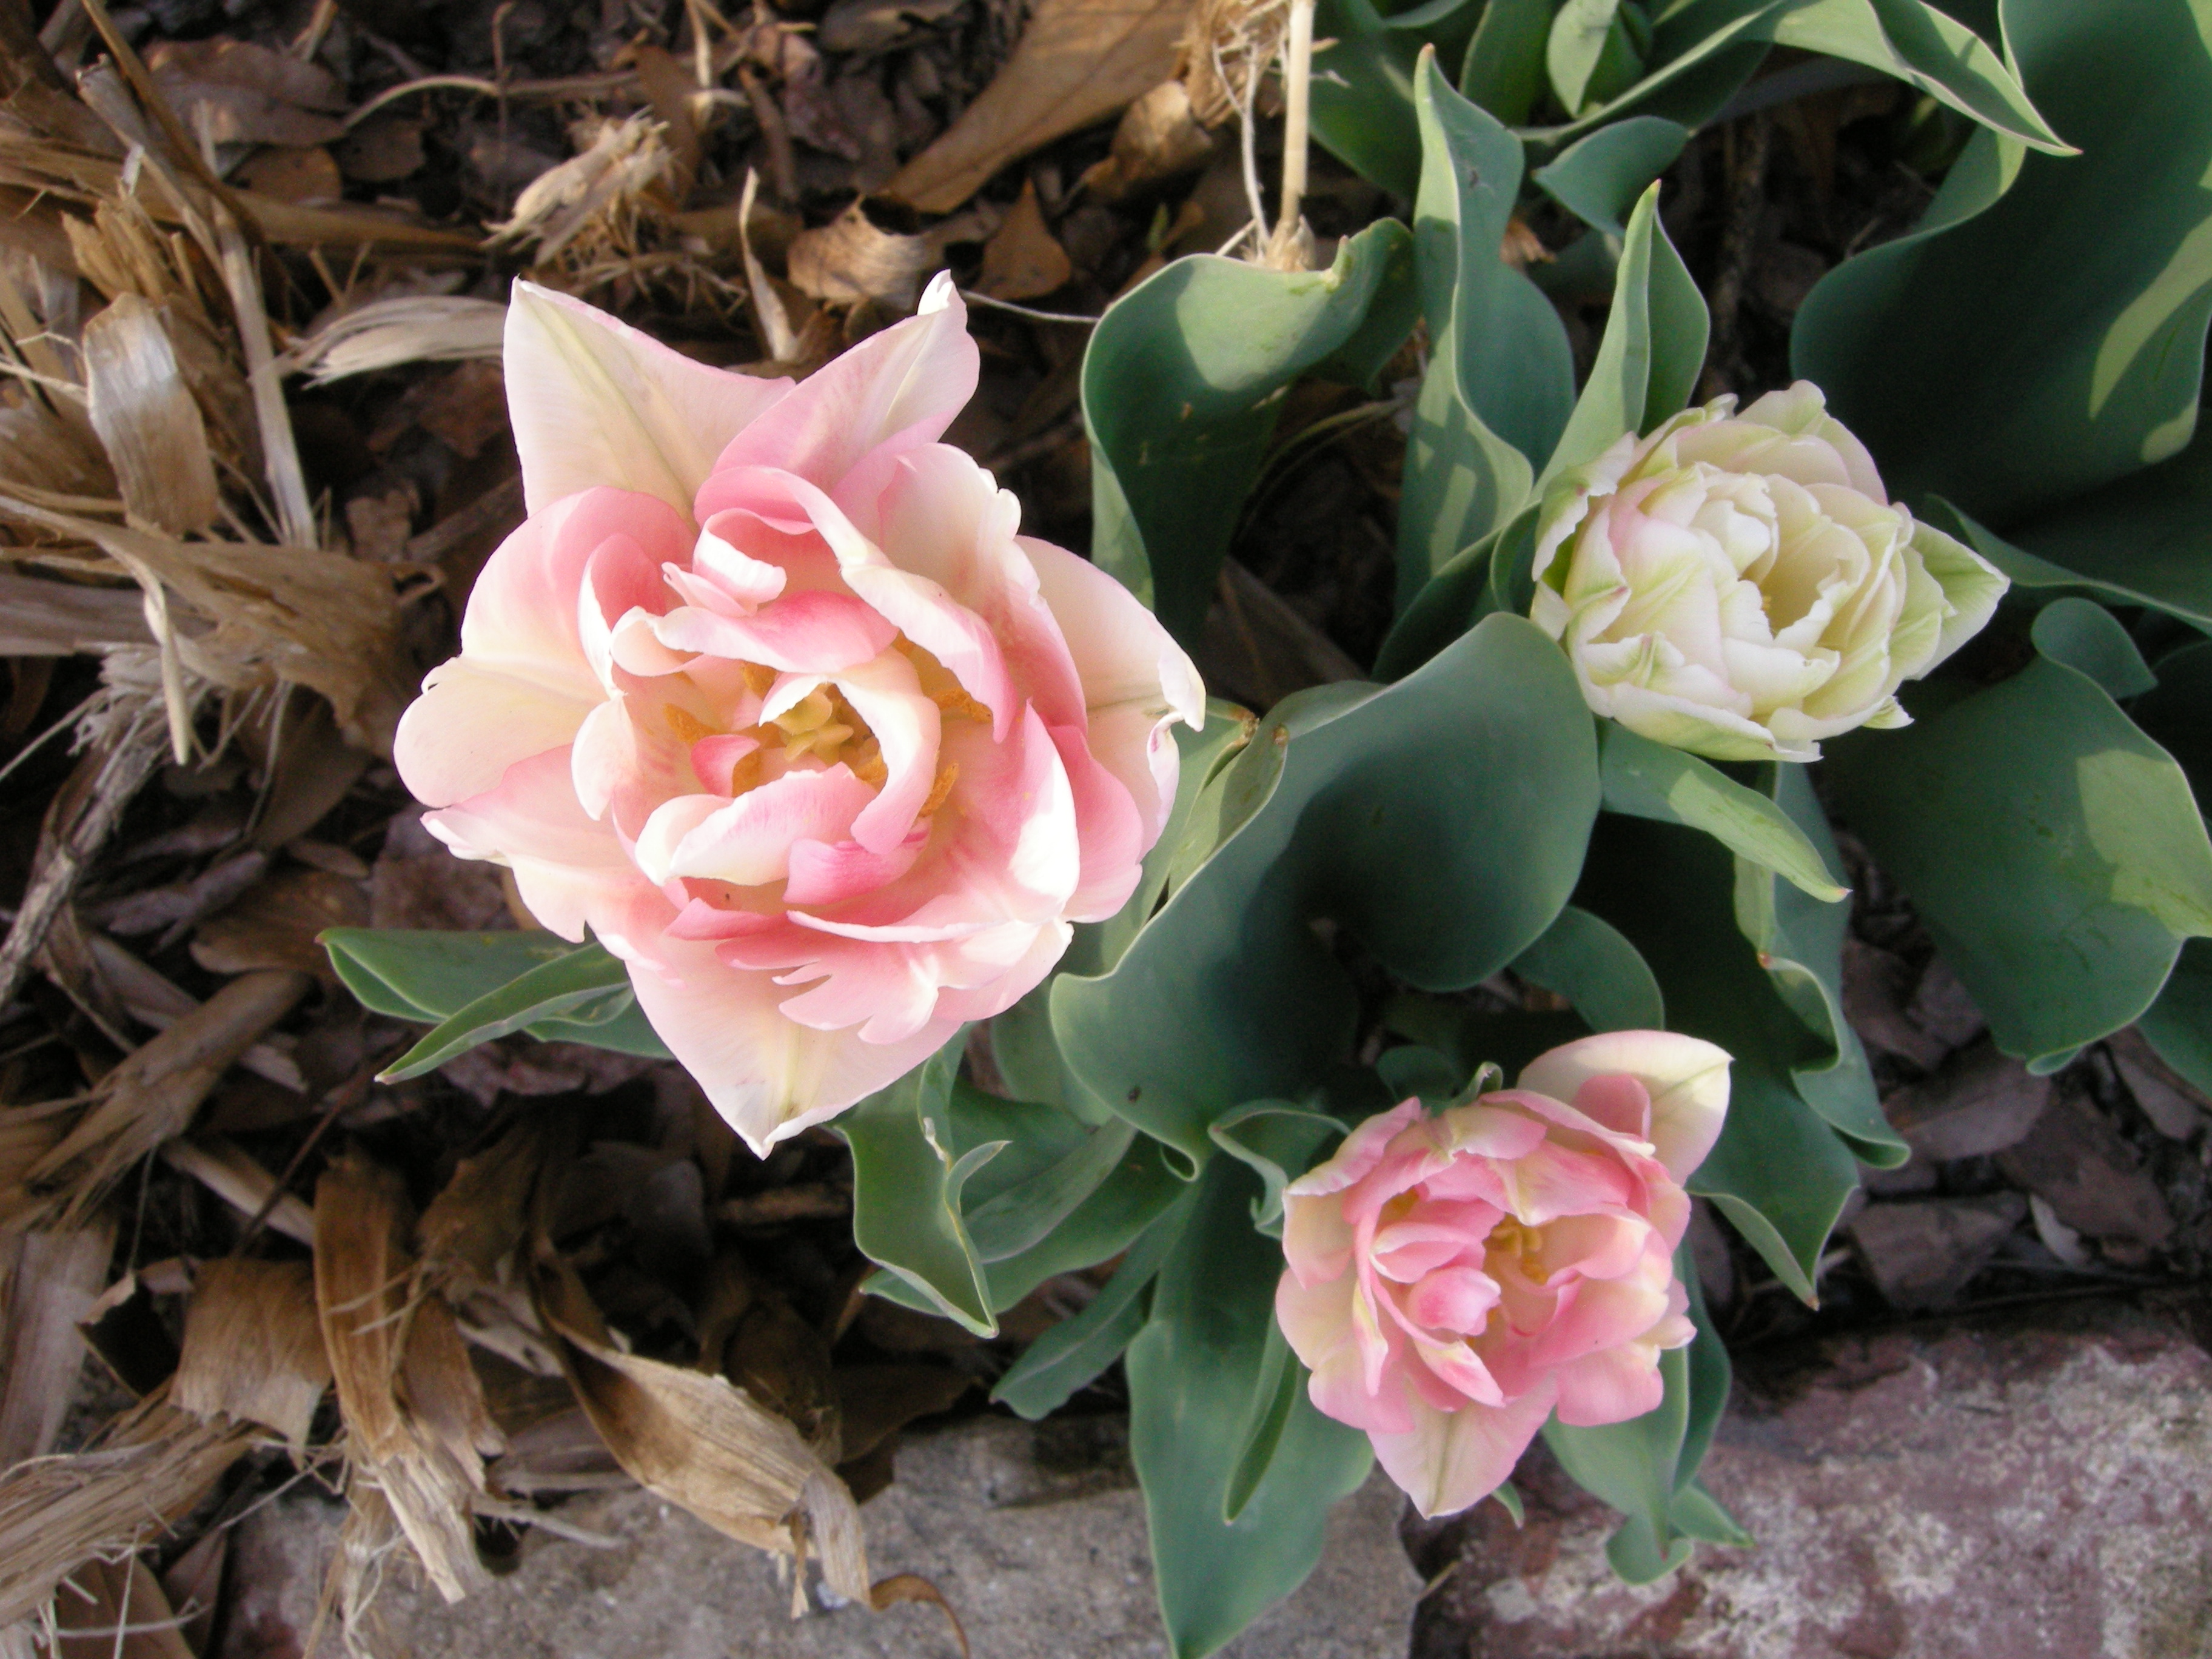
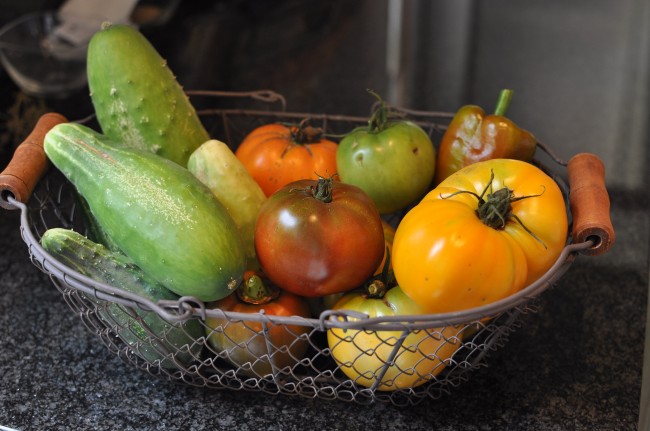
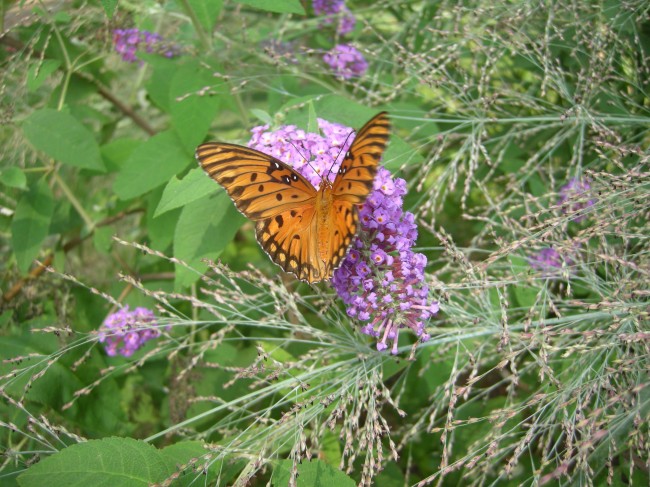
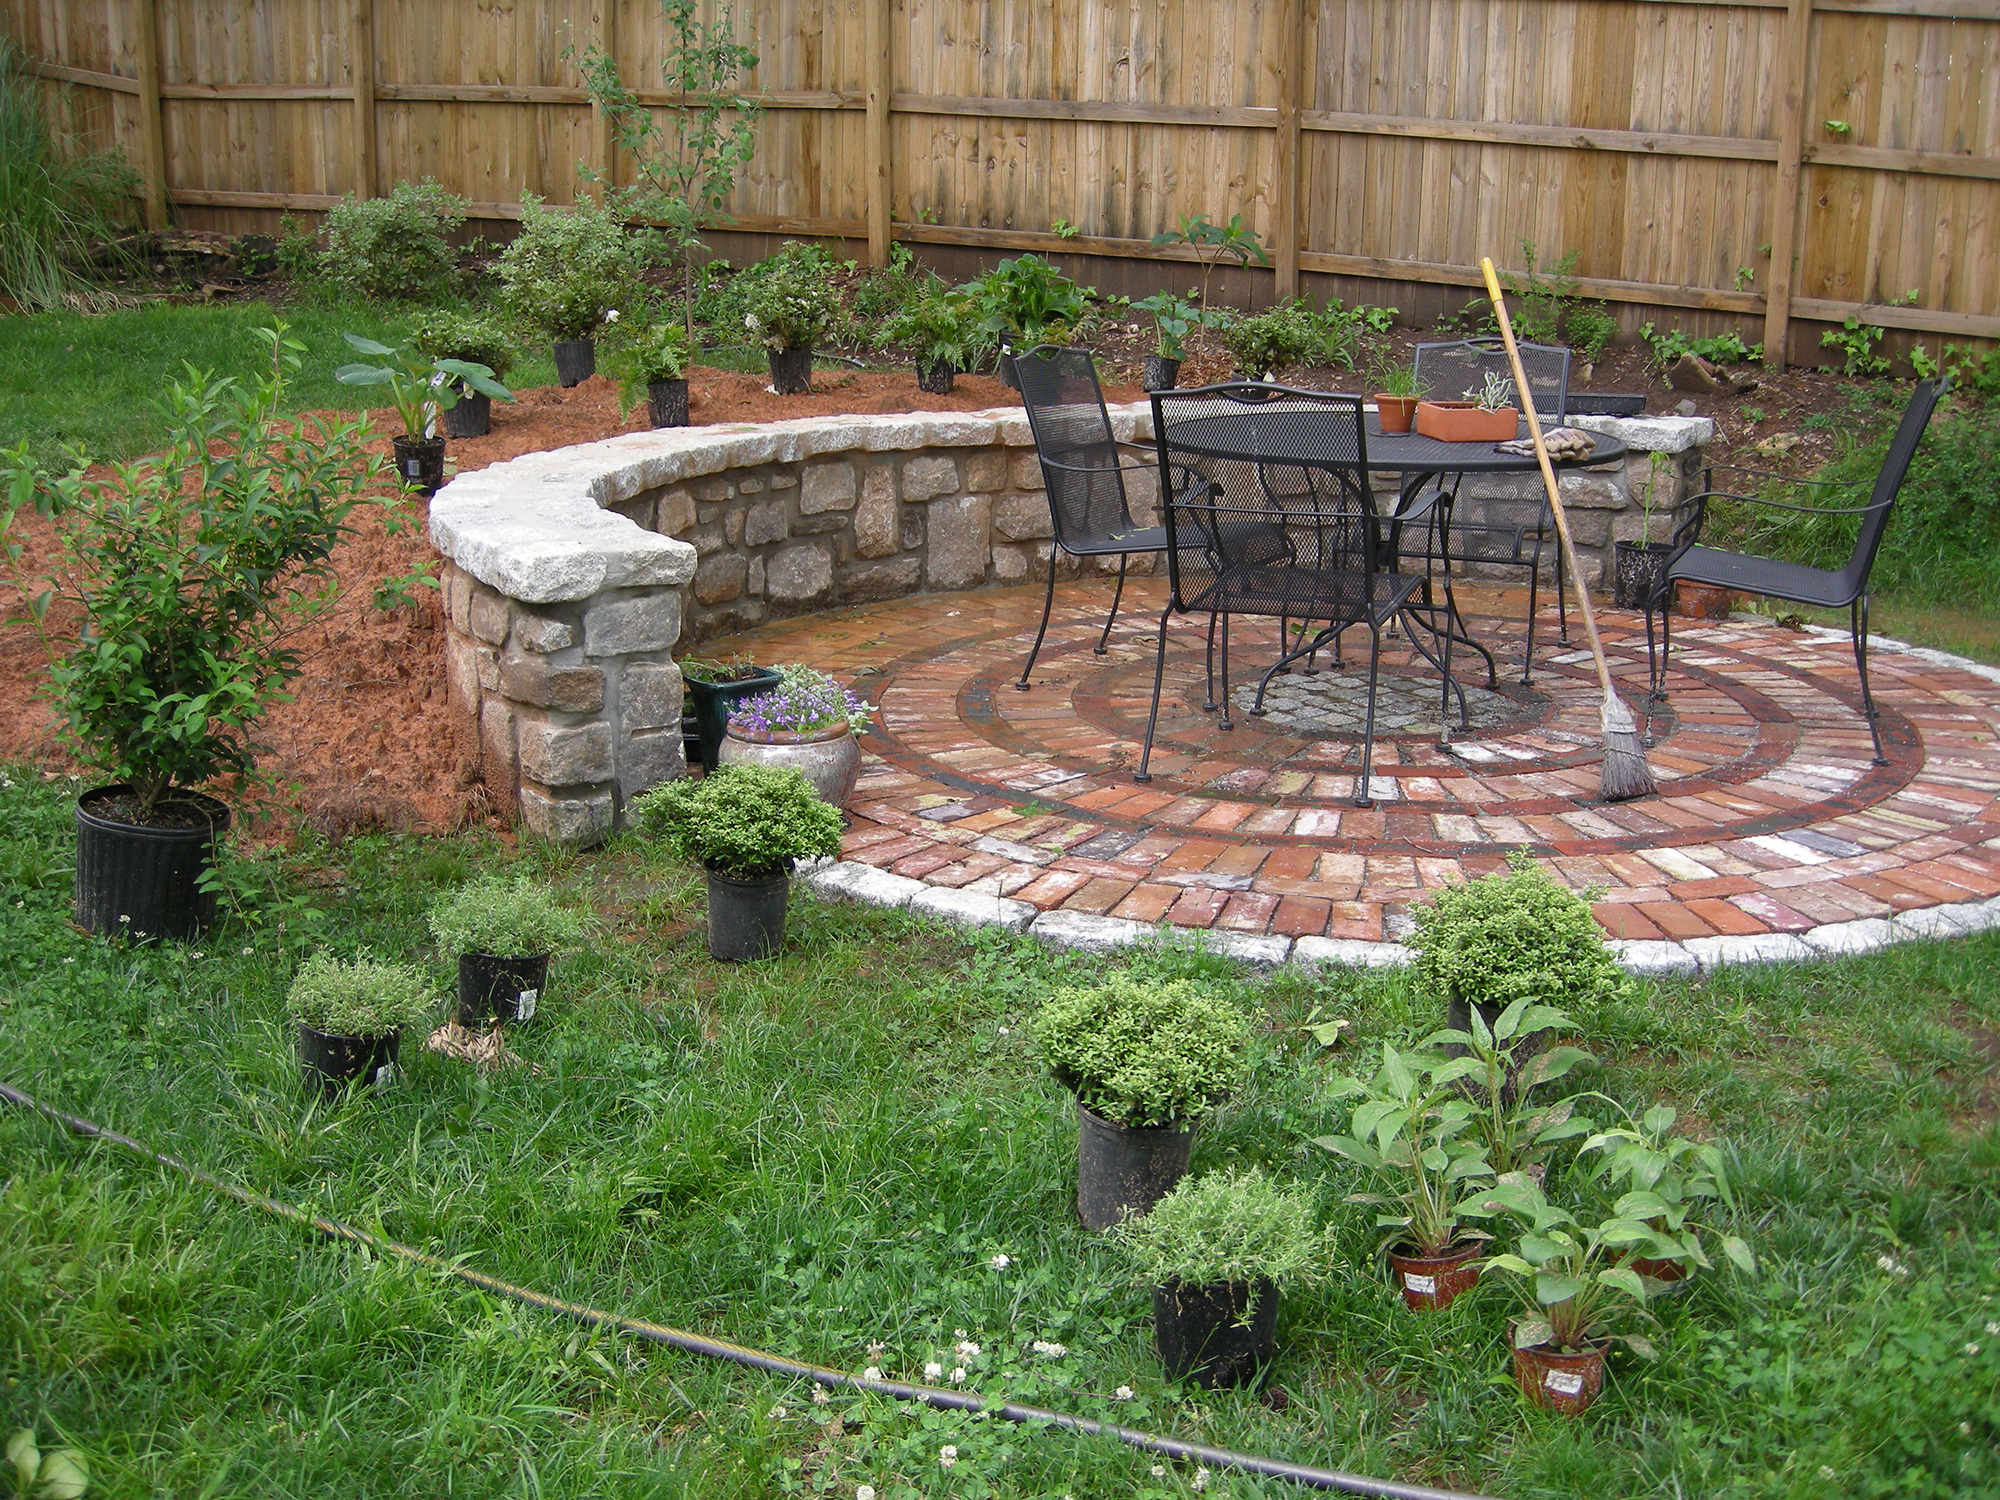
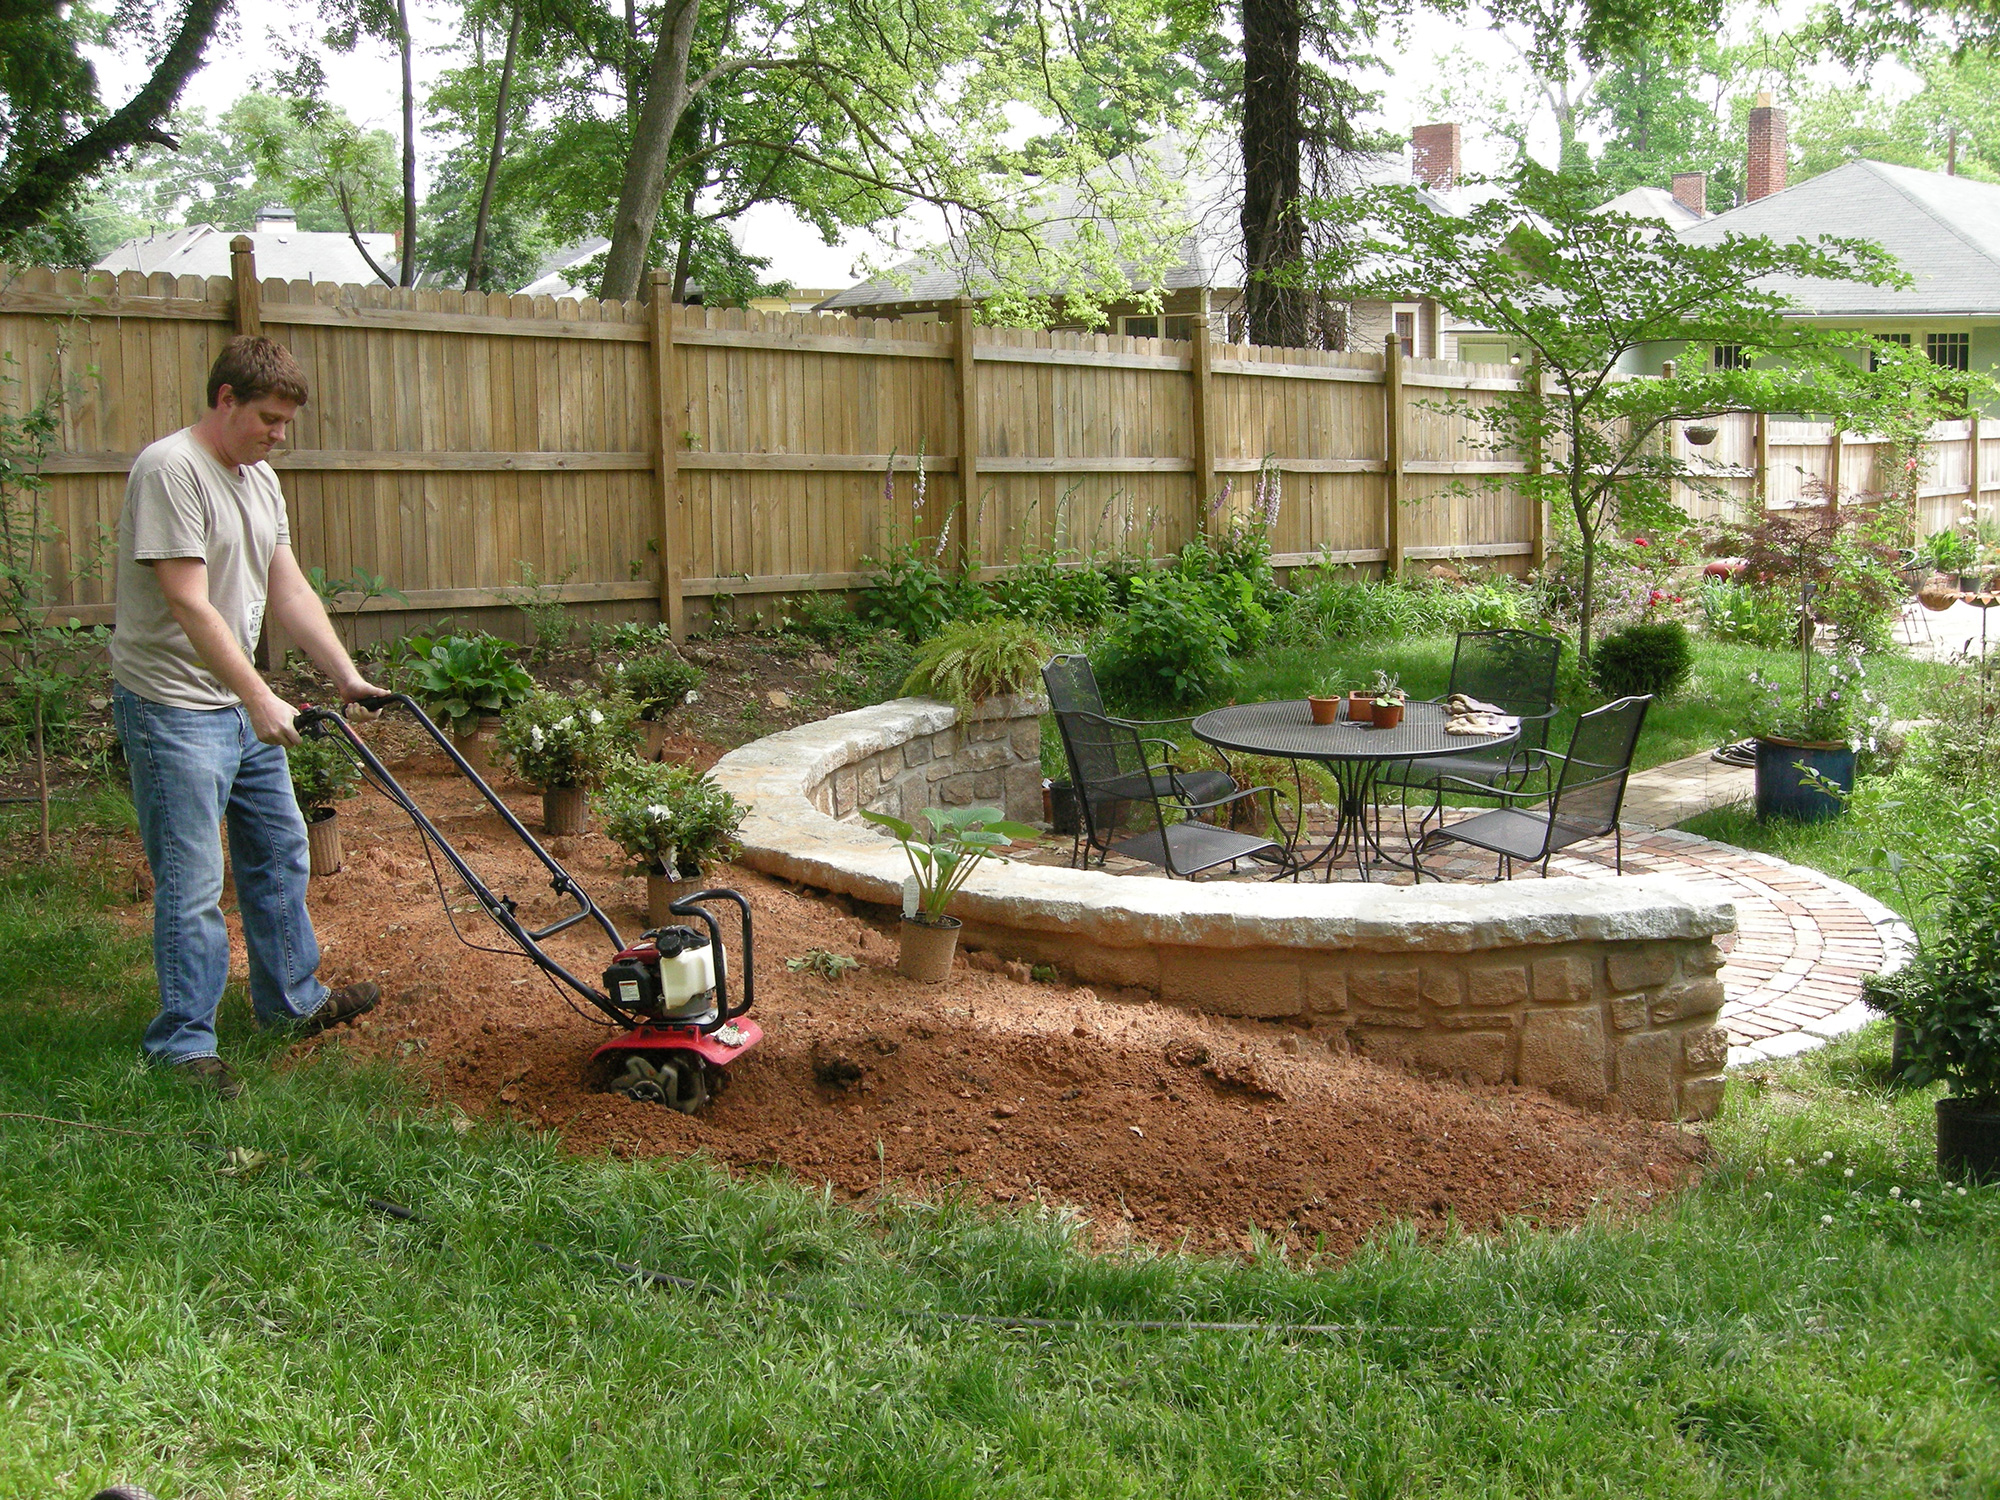
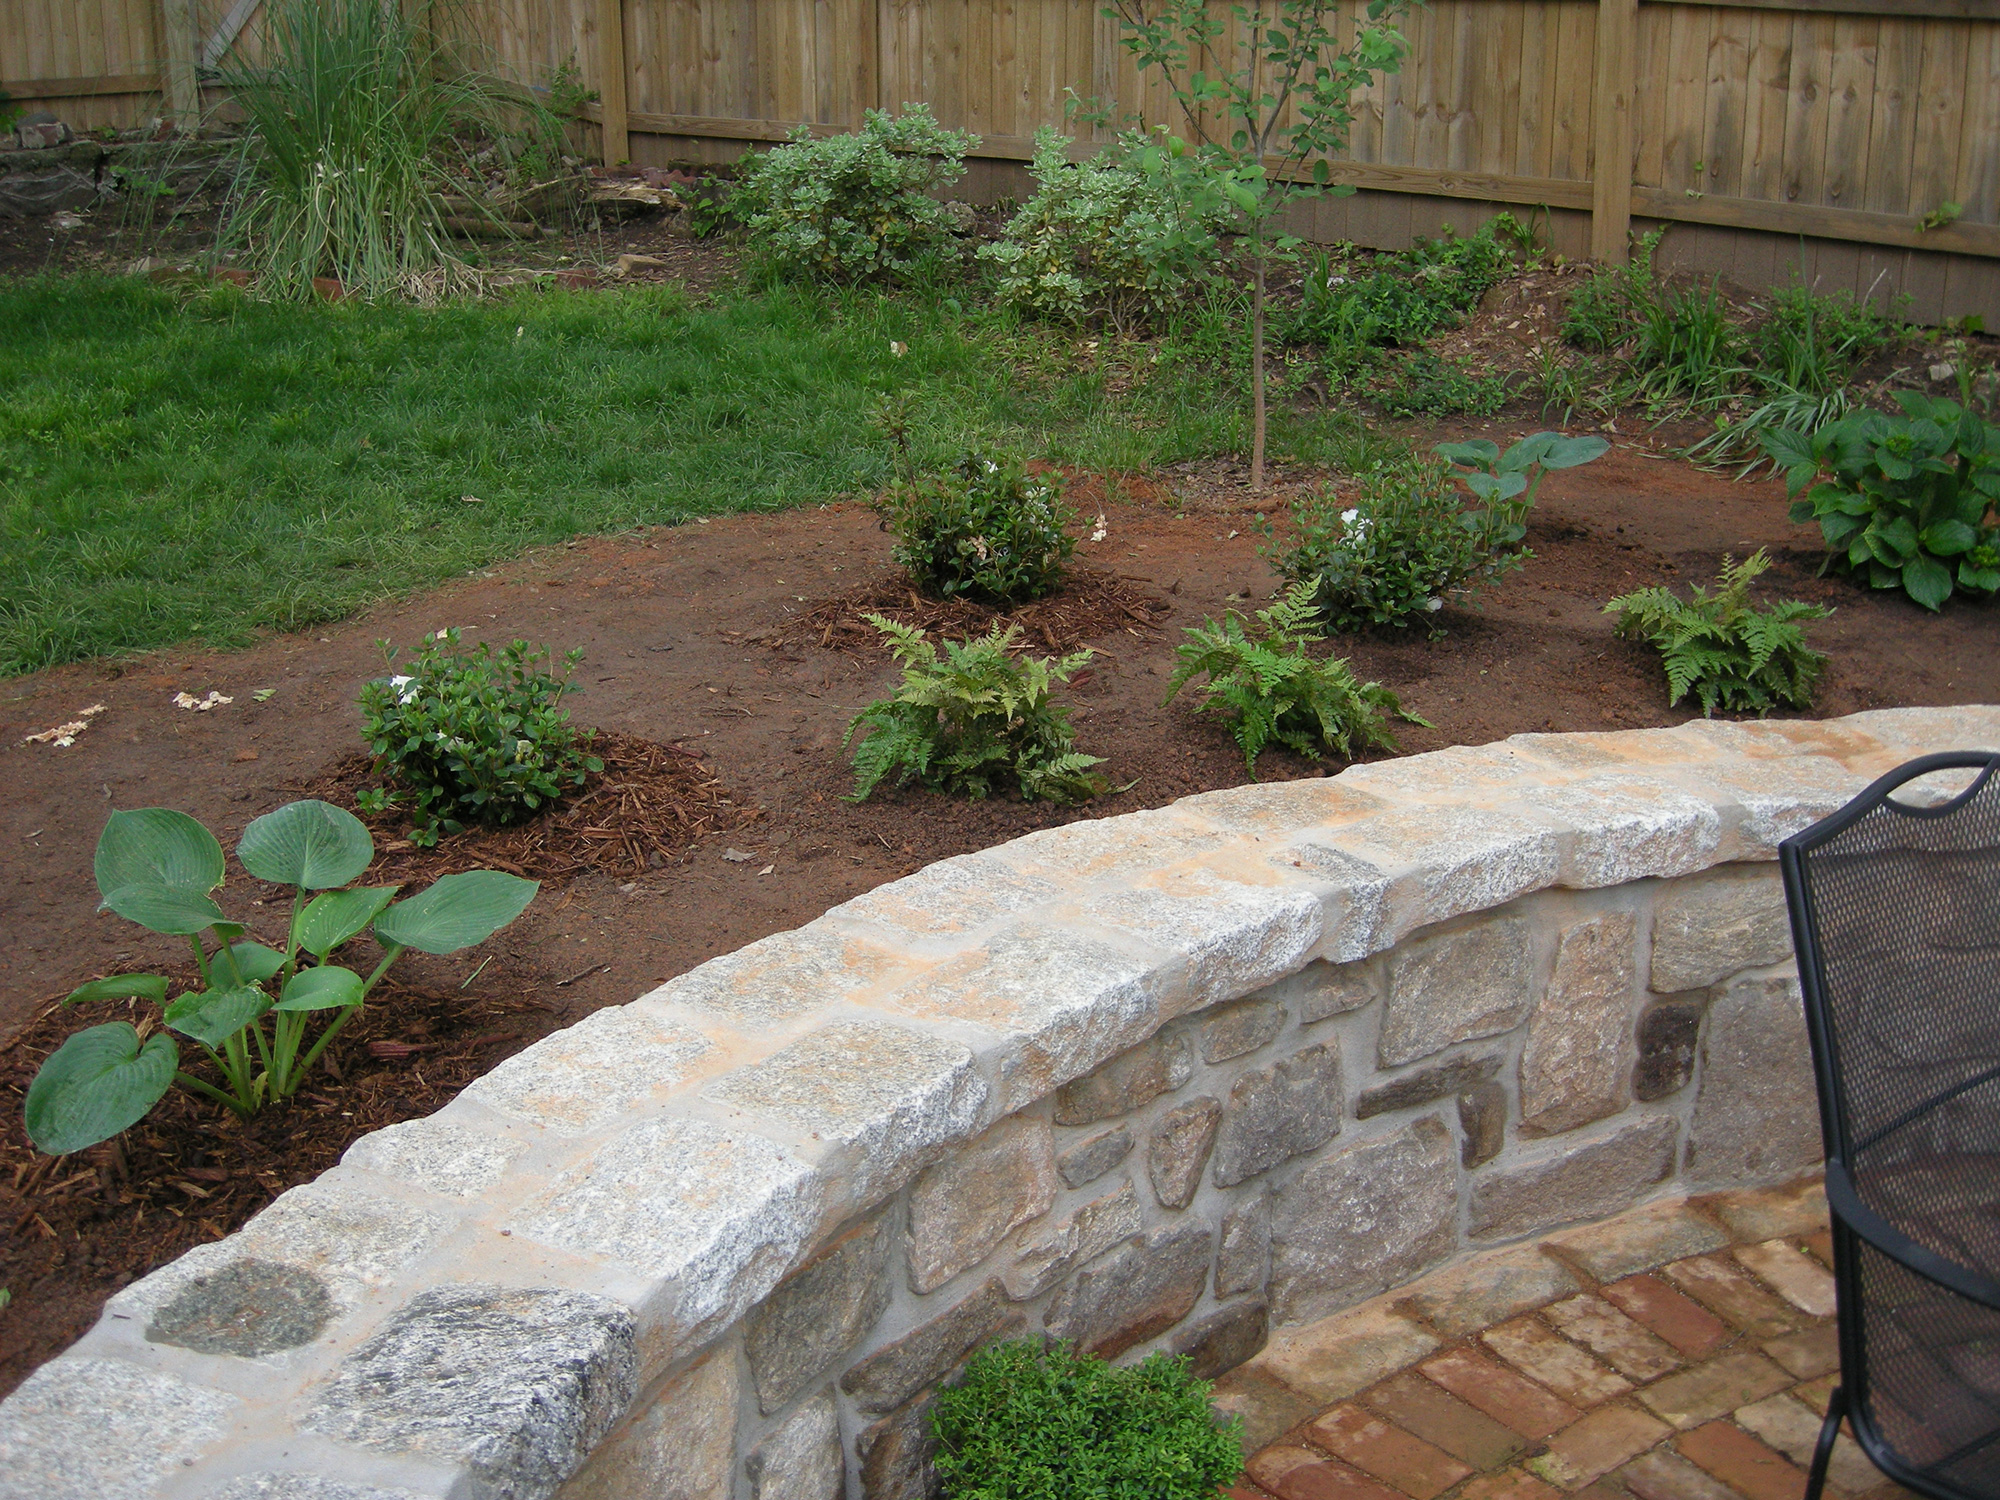
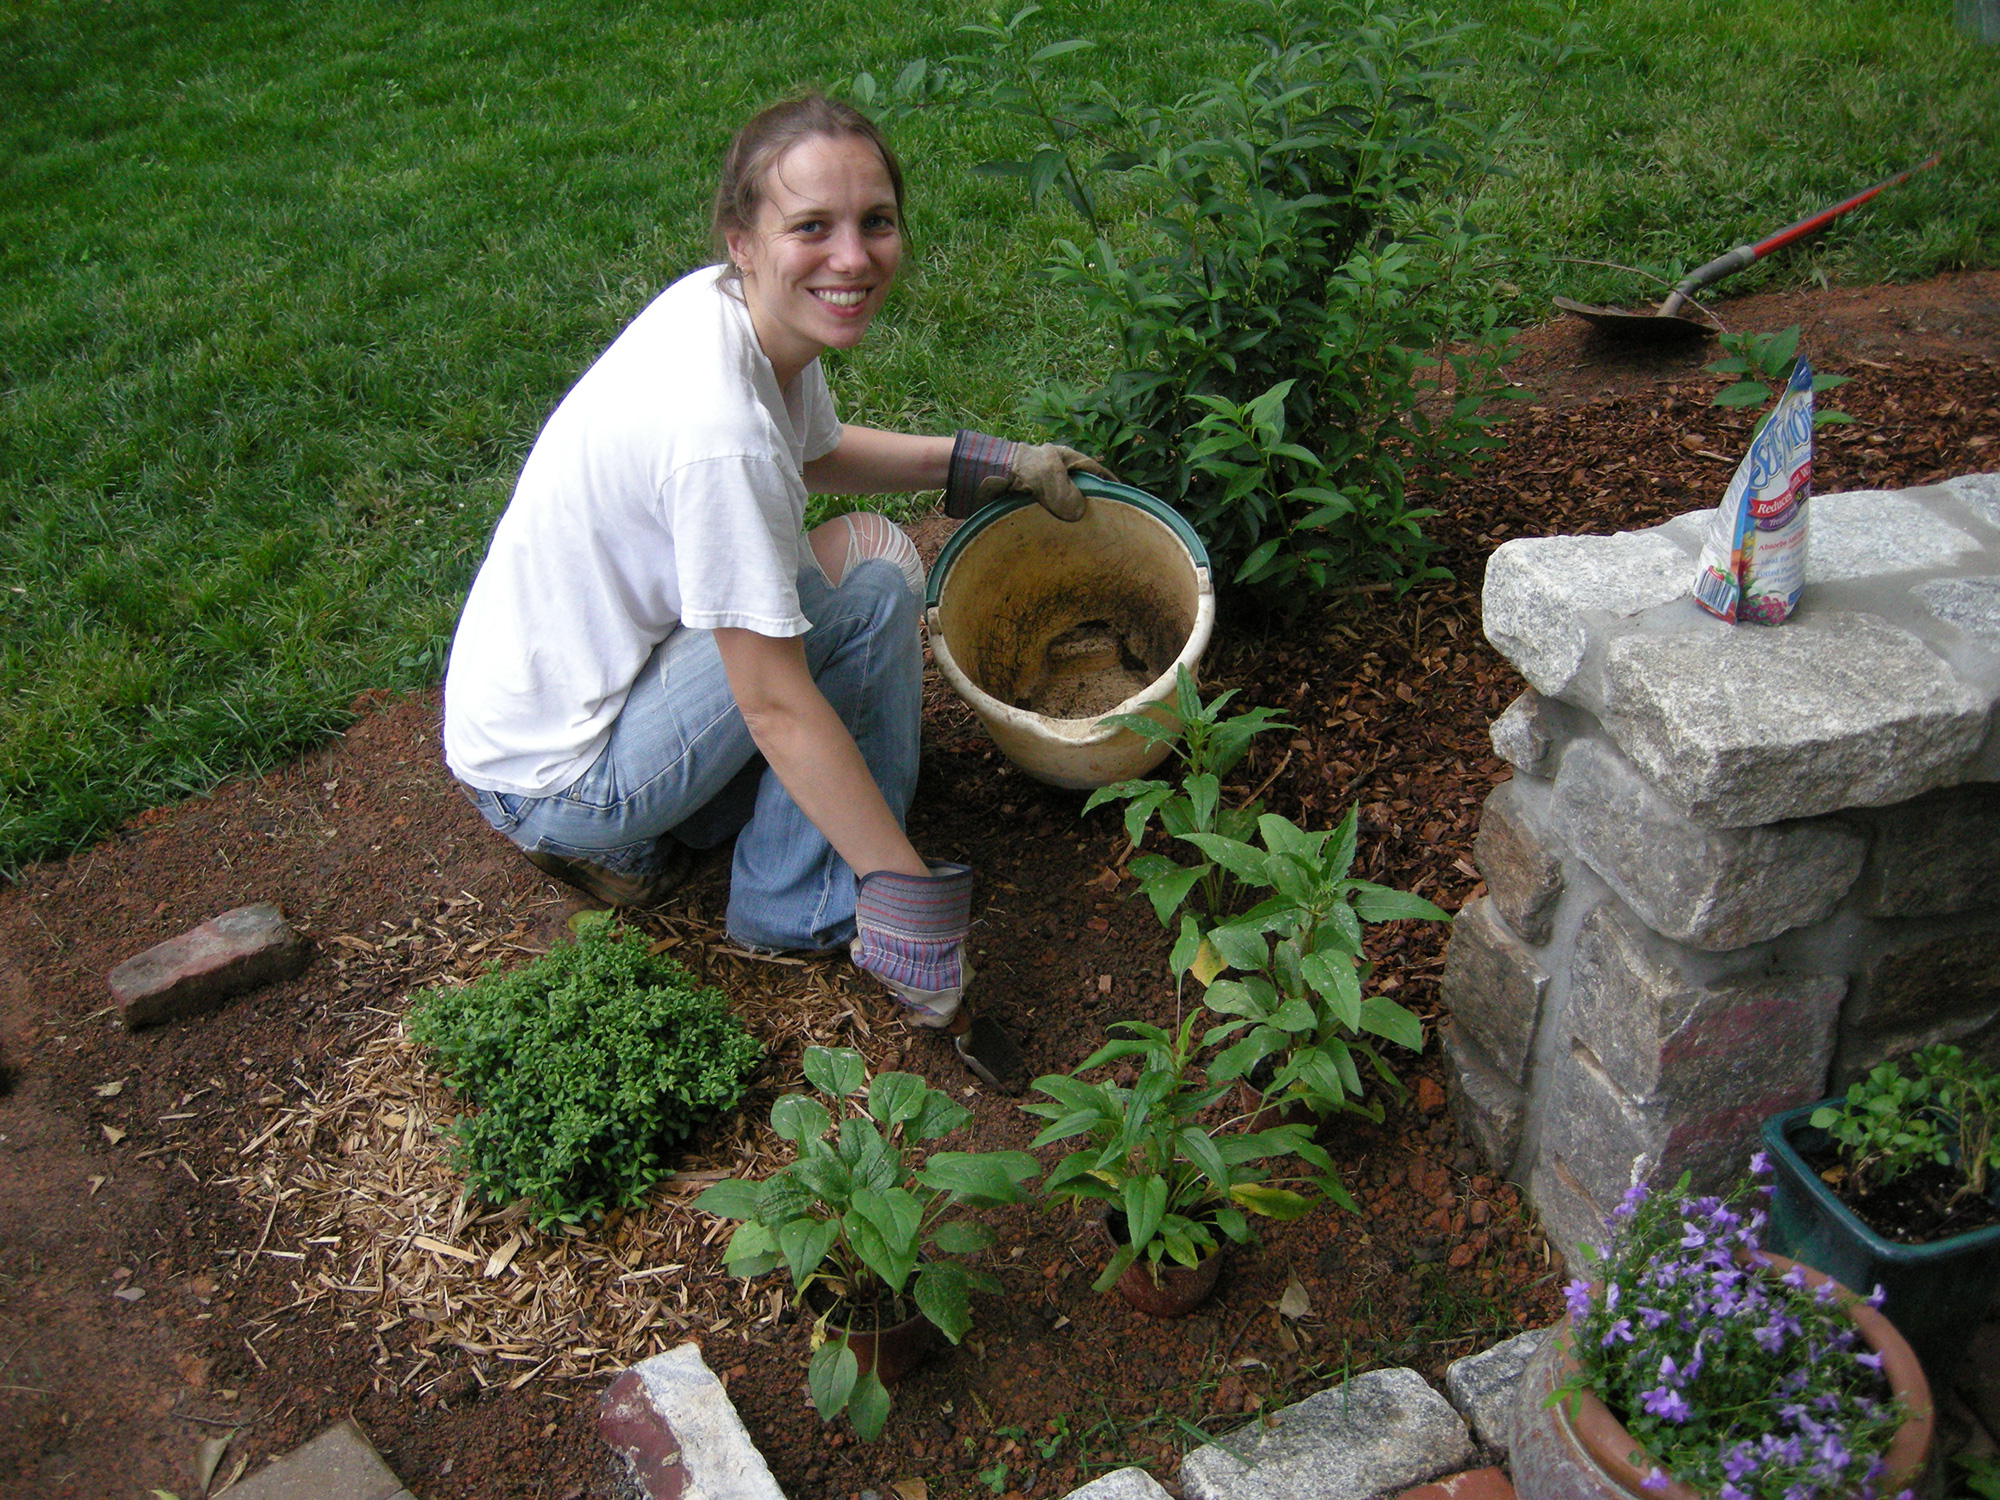
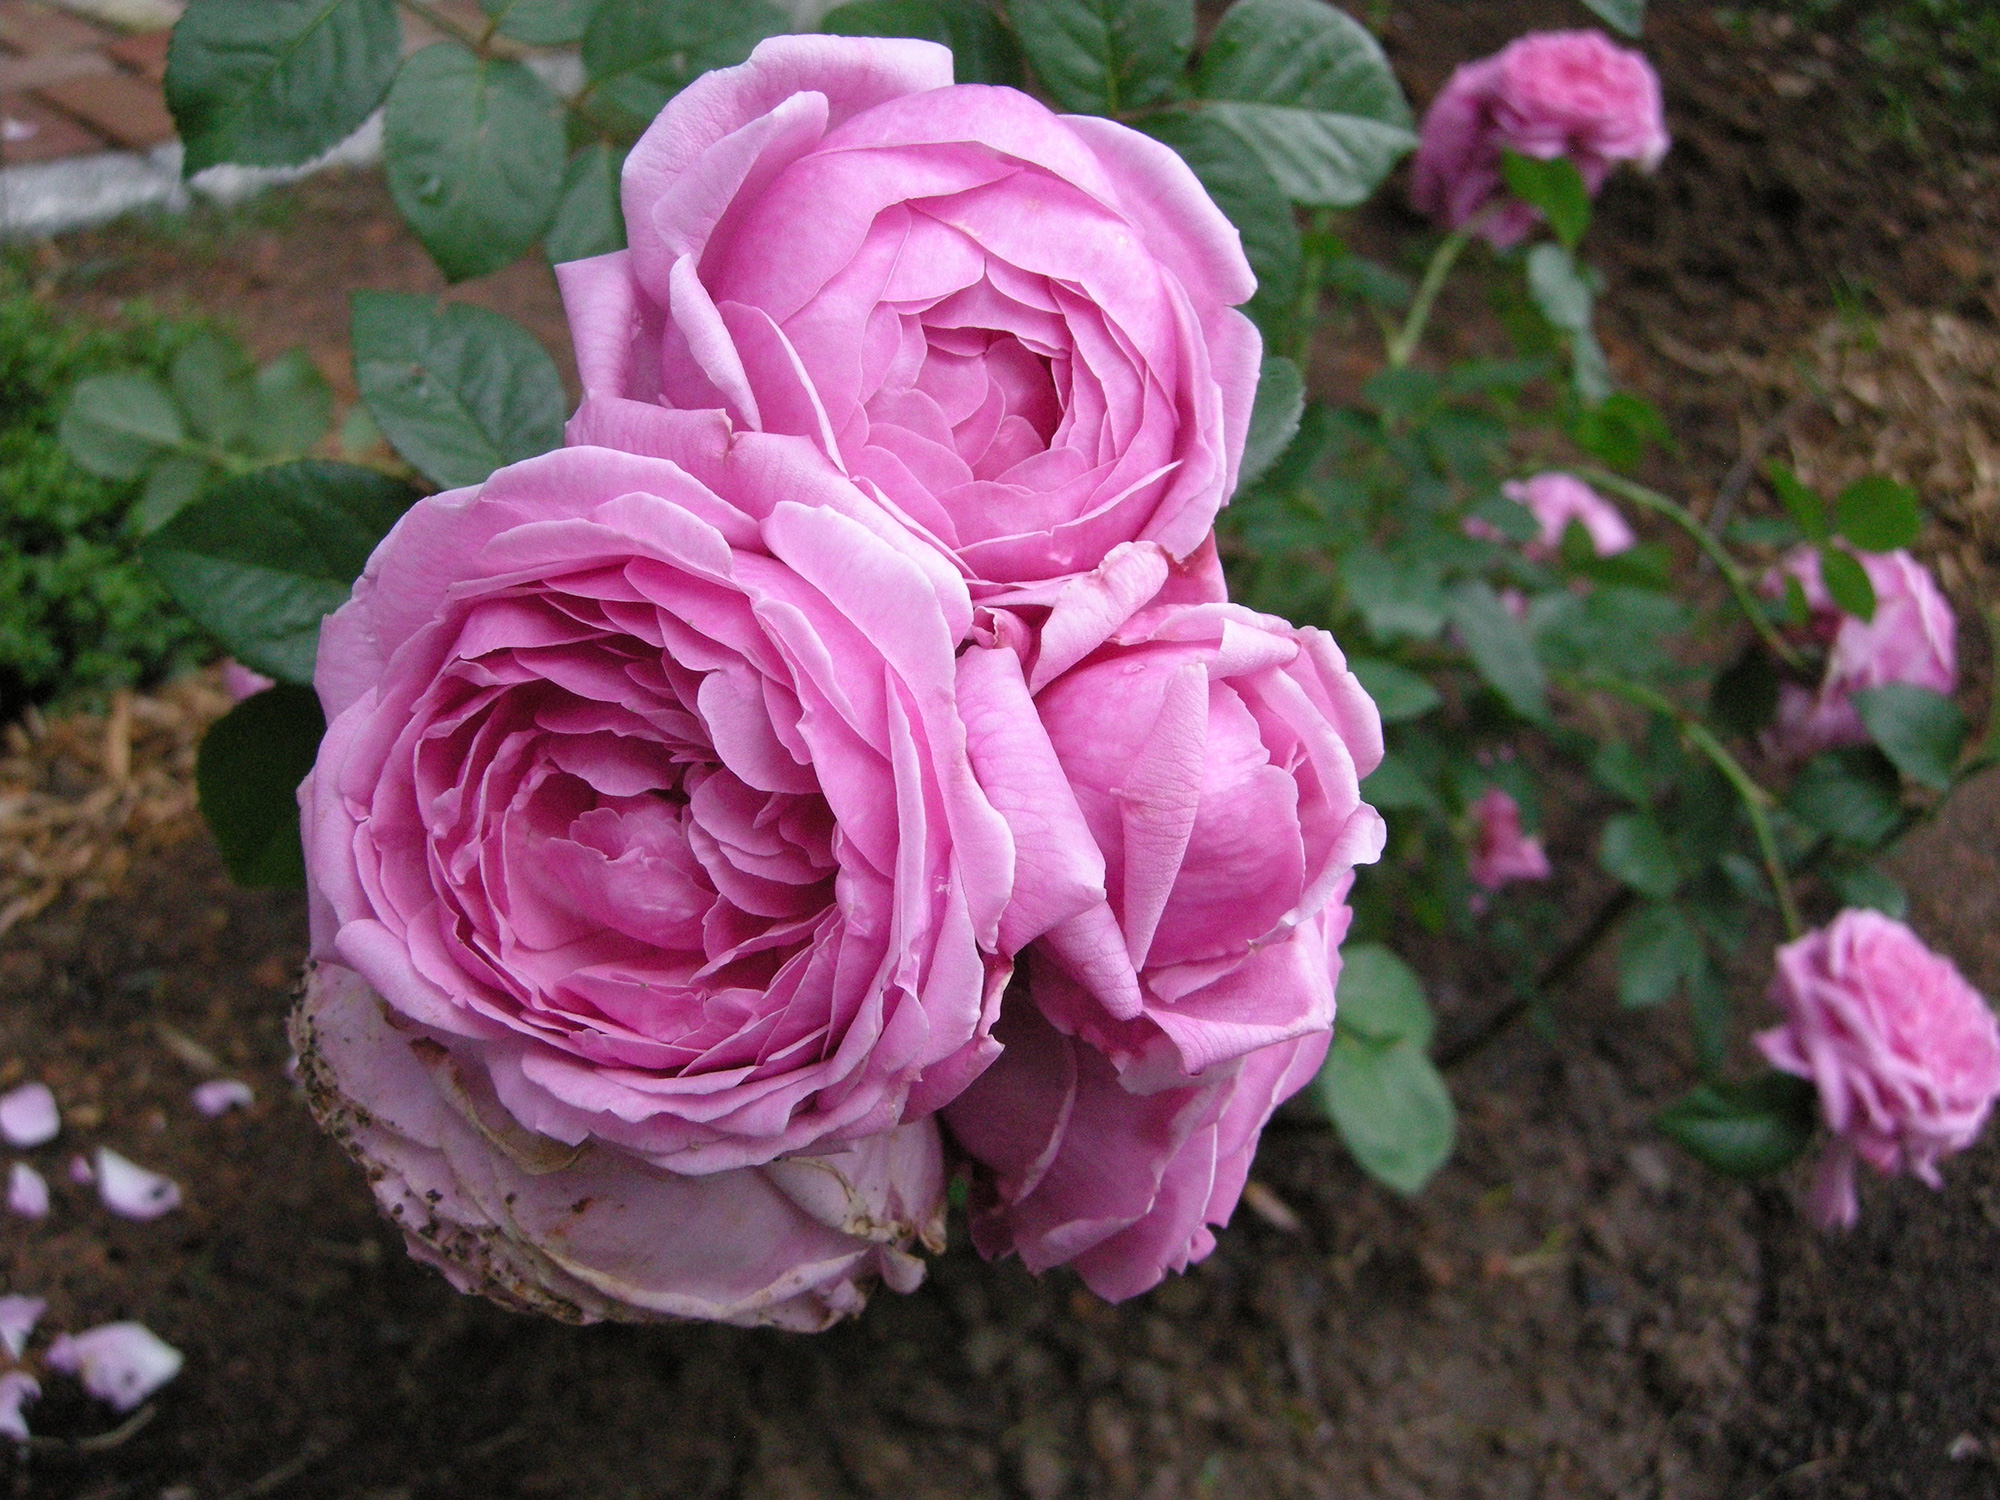
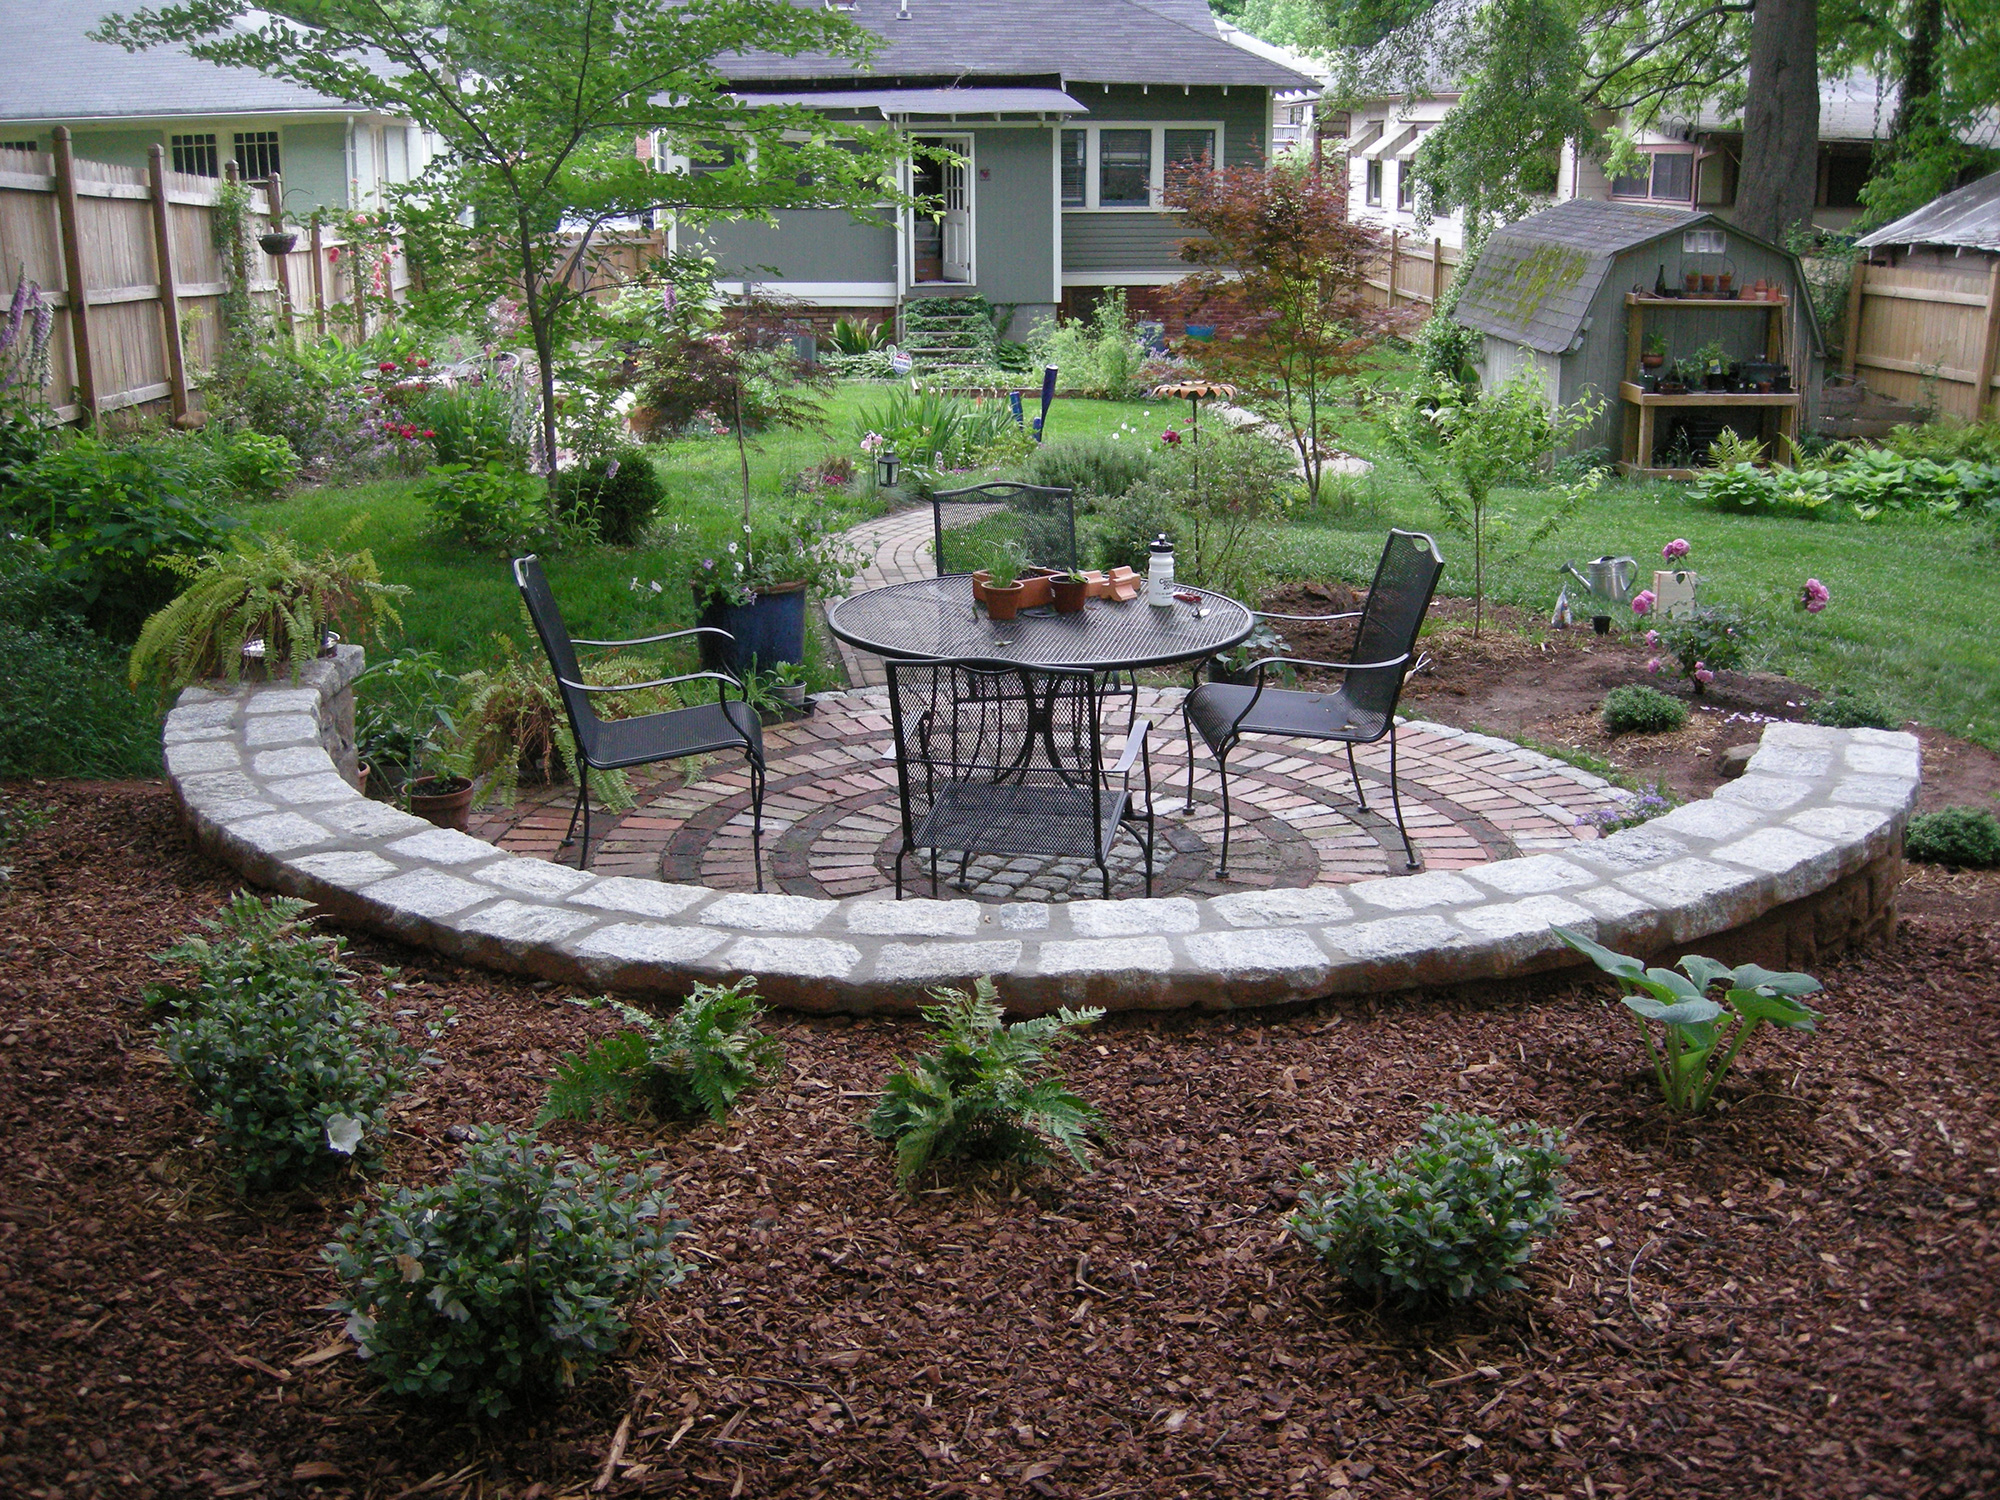
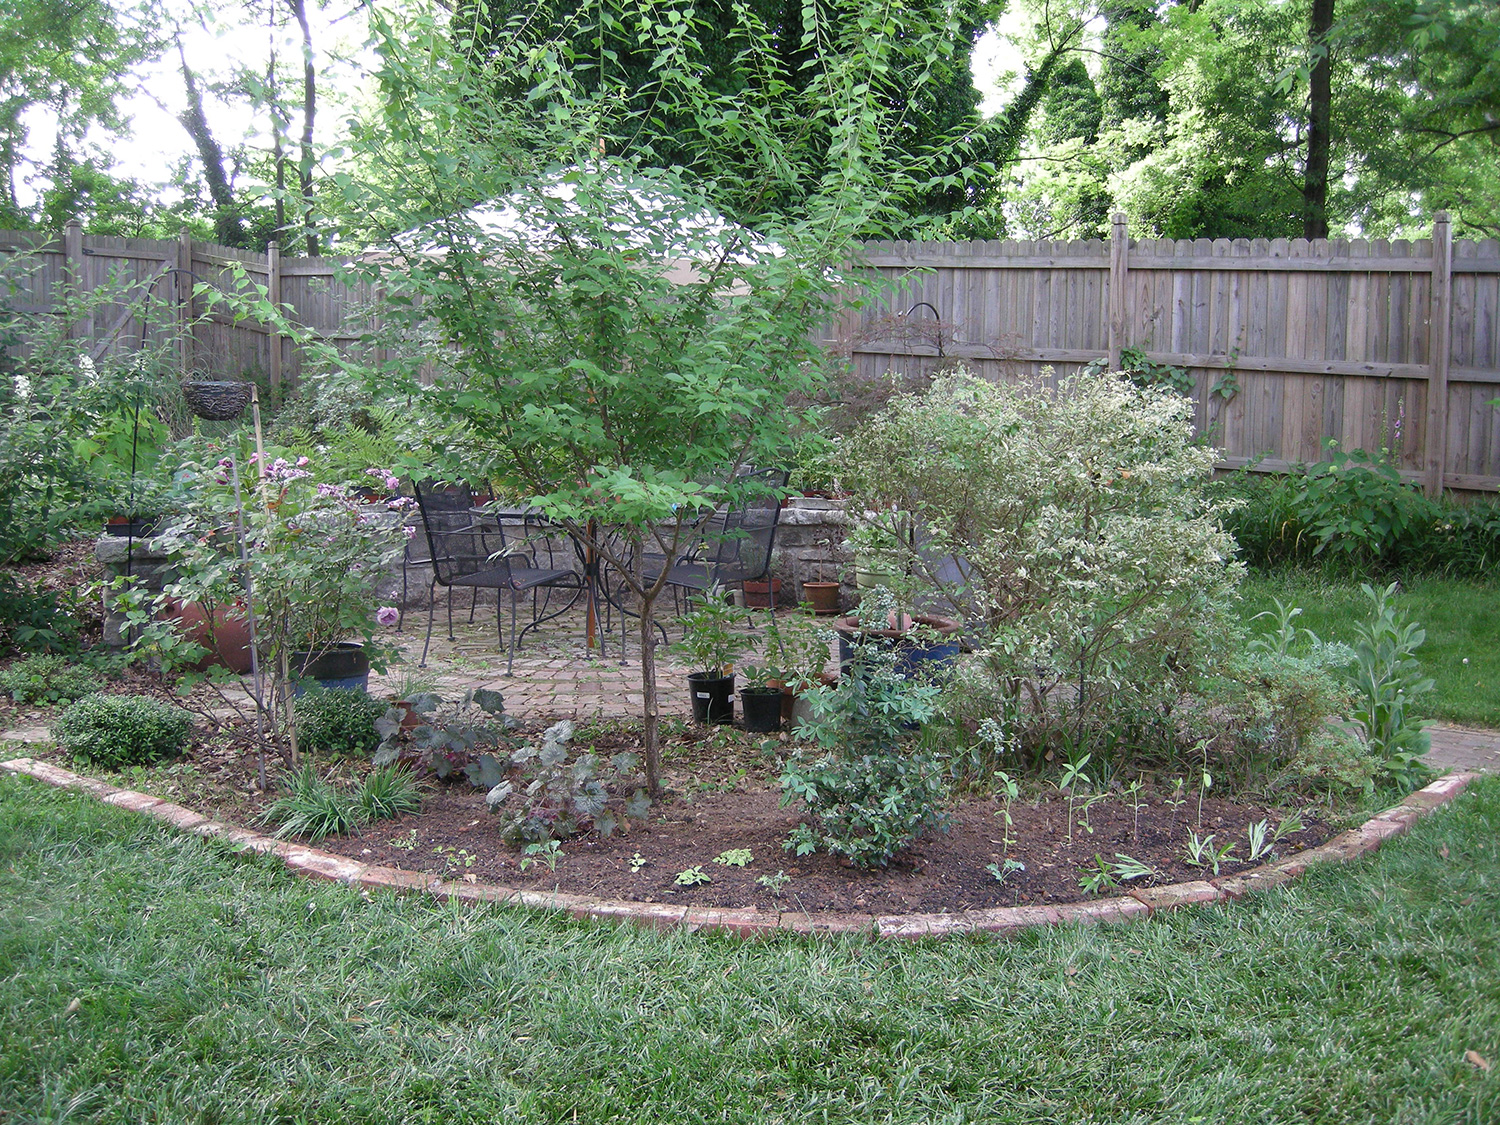
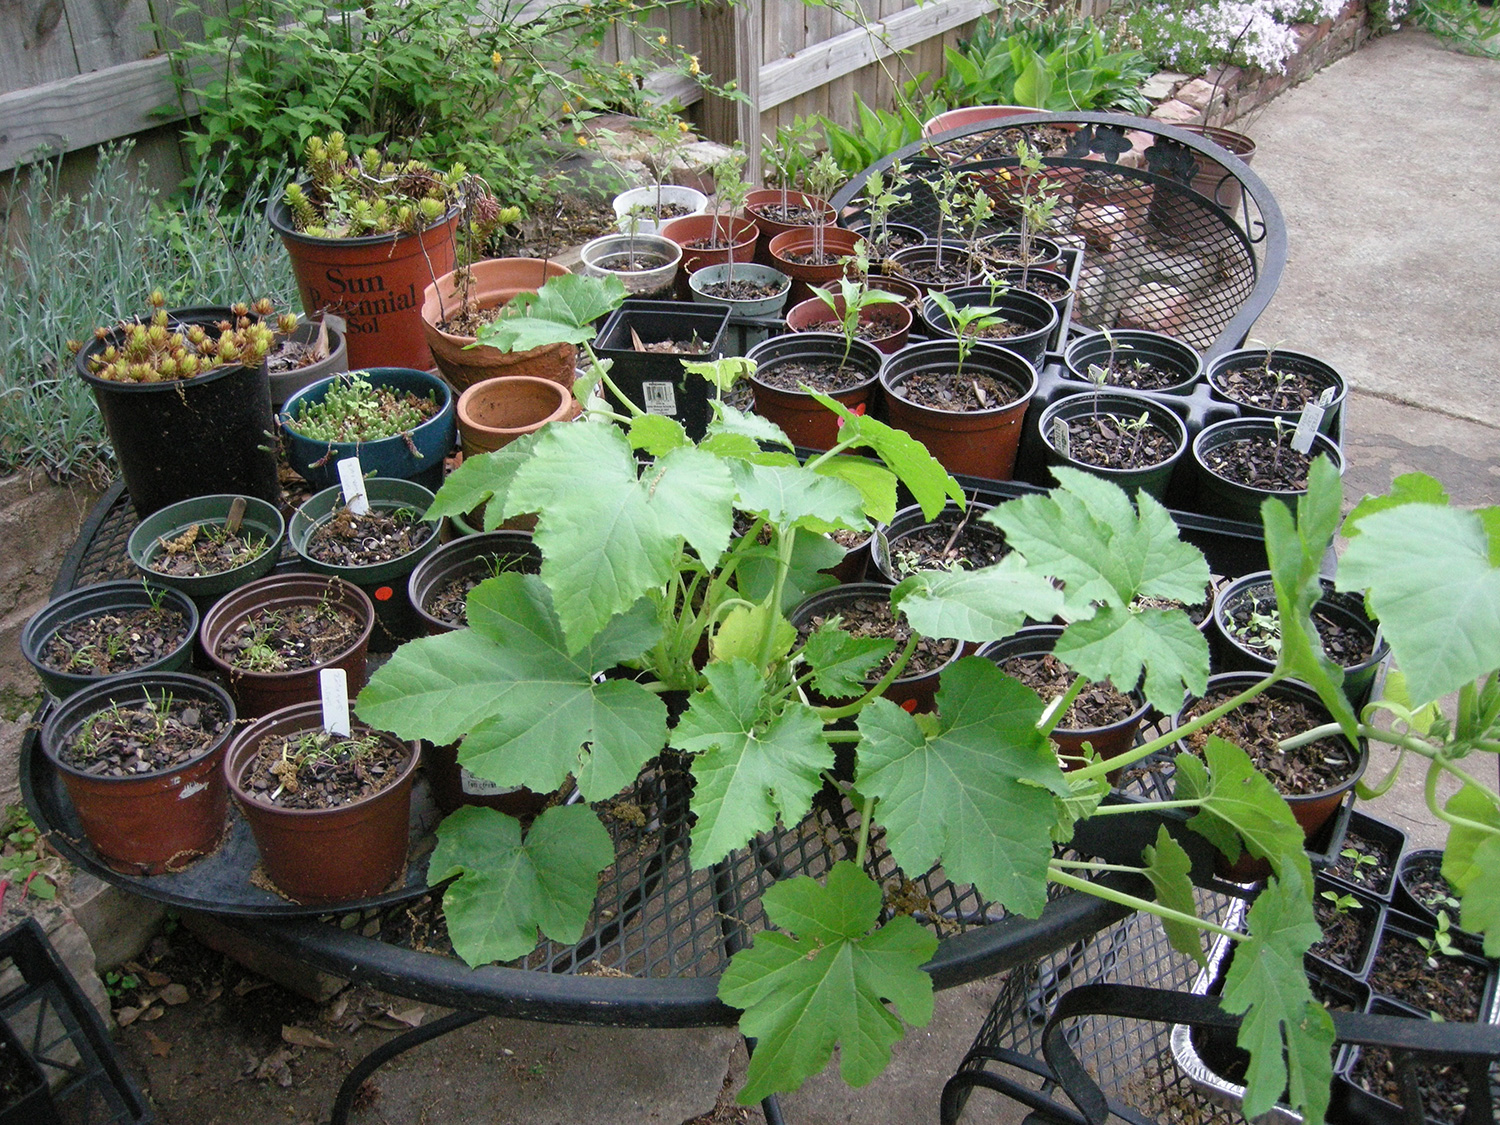
The yard is looking amazing. Everything is growing in nicely. We only had to do the annual spring cleaning and trimming, but no heavy planting or landscaping this year. We just added a new blueberry bush (we have six now!) and a few small perennials and annuals in an expanded bed by the patio. And, as we do every year, we have grown a bunch of veggies and annuals from seeds.

New Bed by Patio
The expanded bed by the patio with the new “Sunshine Blue” blueberry bush, some sunflowers, cornflowers, Canterbury bells, kale and coral bells.
Fuchsia
We got these beautiful Fuchsia plants from Gardenhood for our front porch. They remind us of Europe.
Spring Veggies
Some of our veggies waiting to find their homes in our gardens and our neighbors’ gardens.

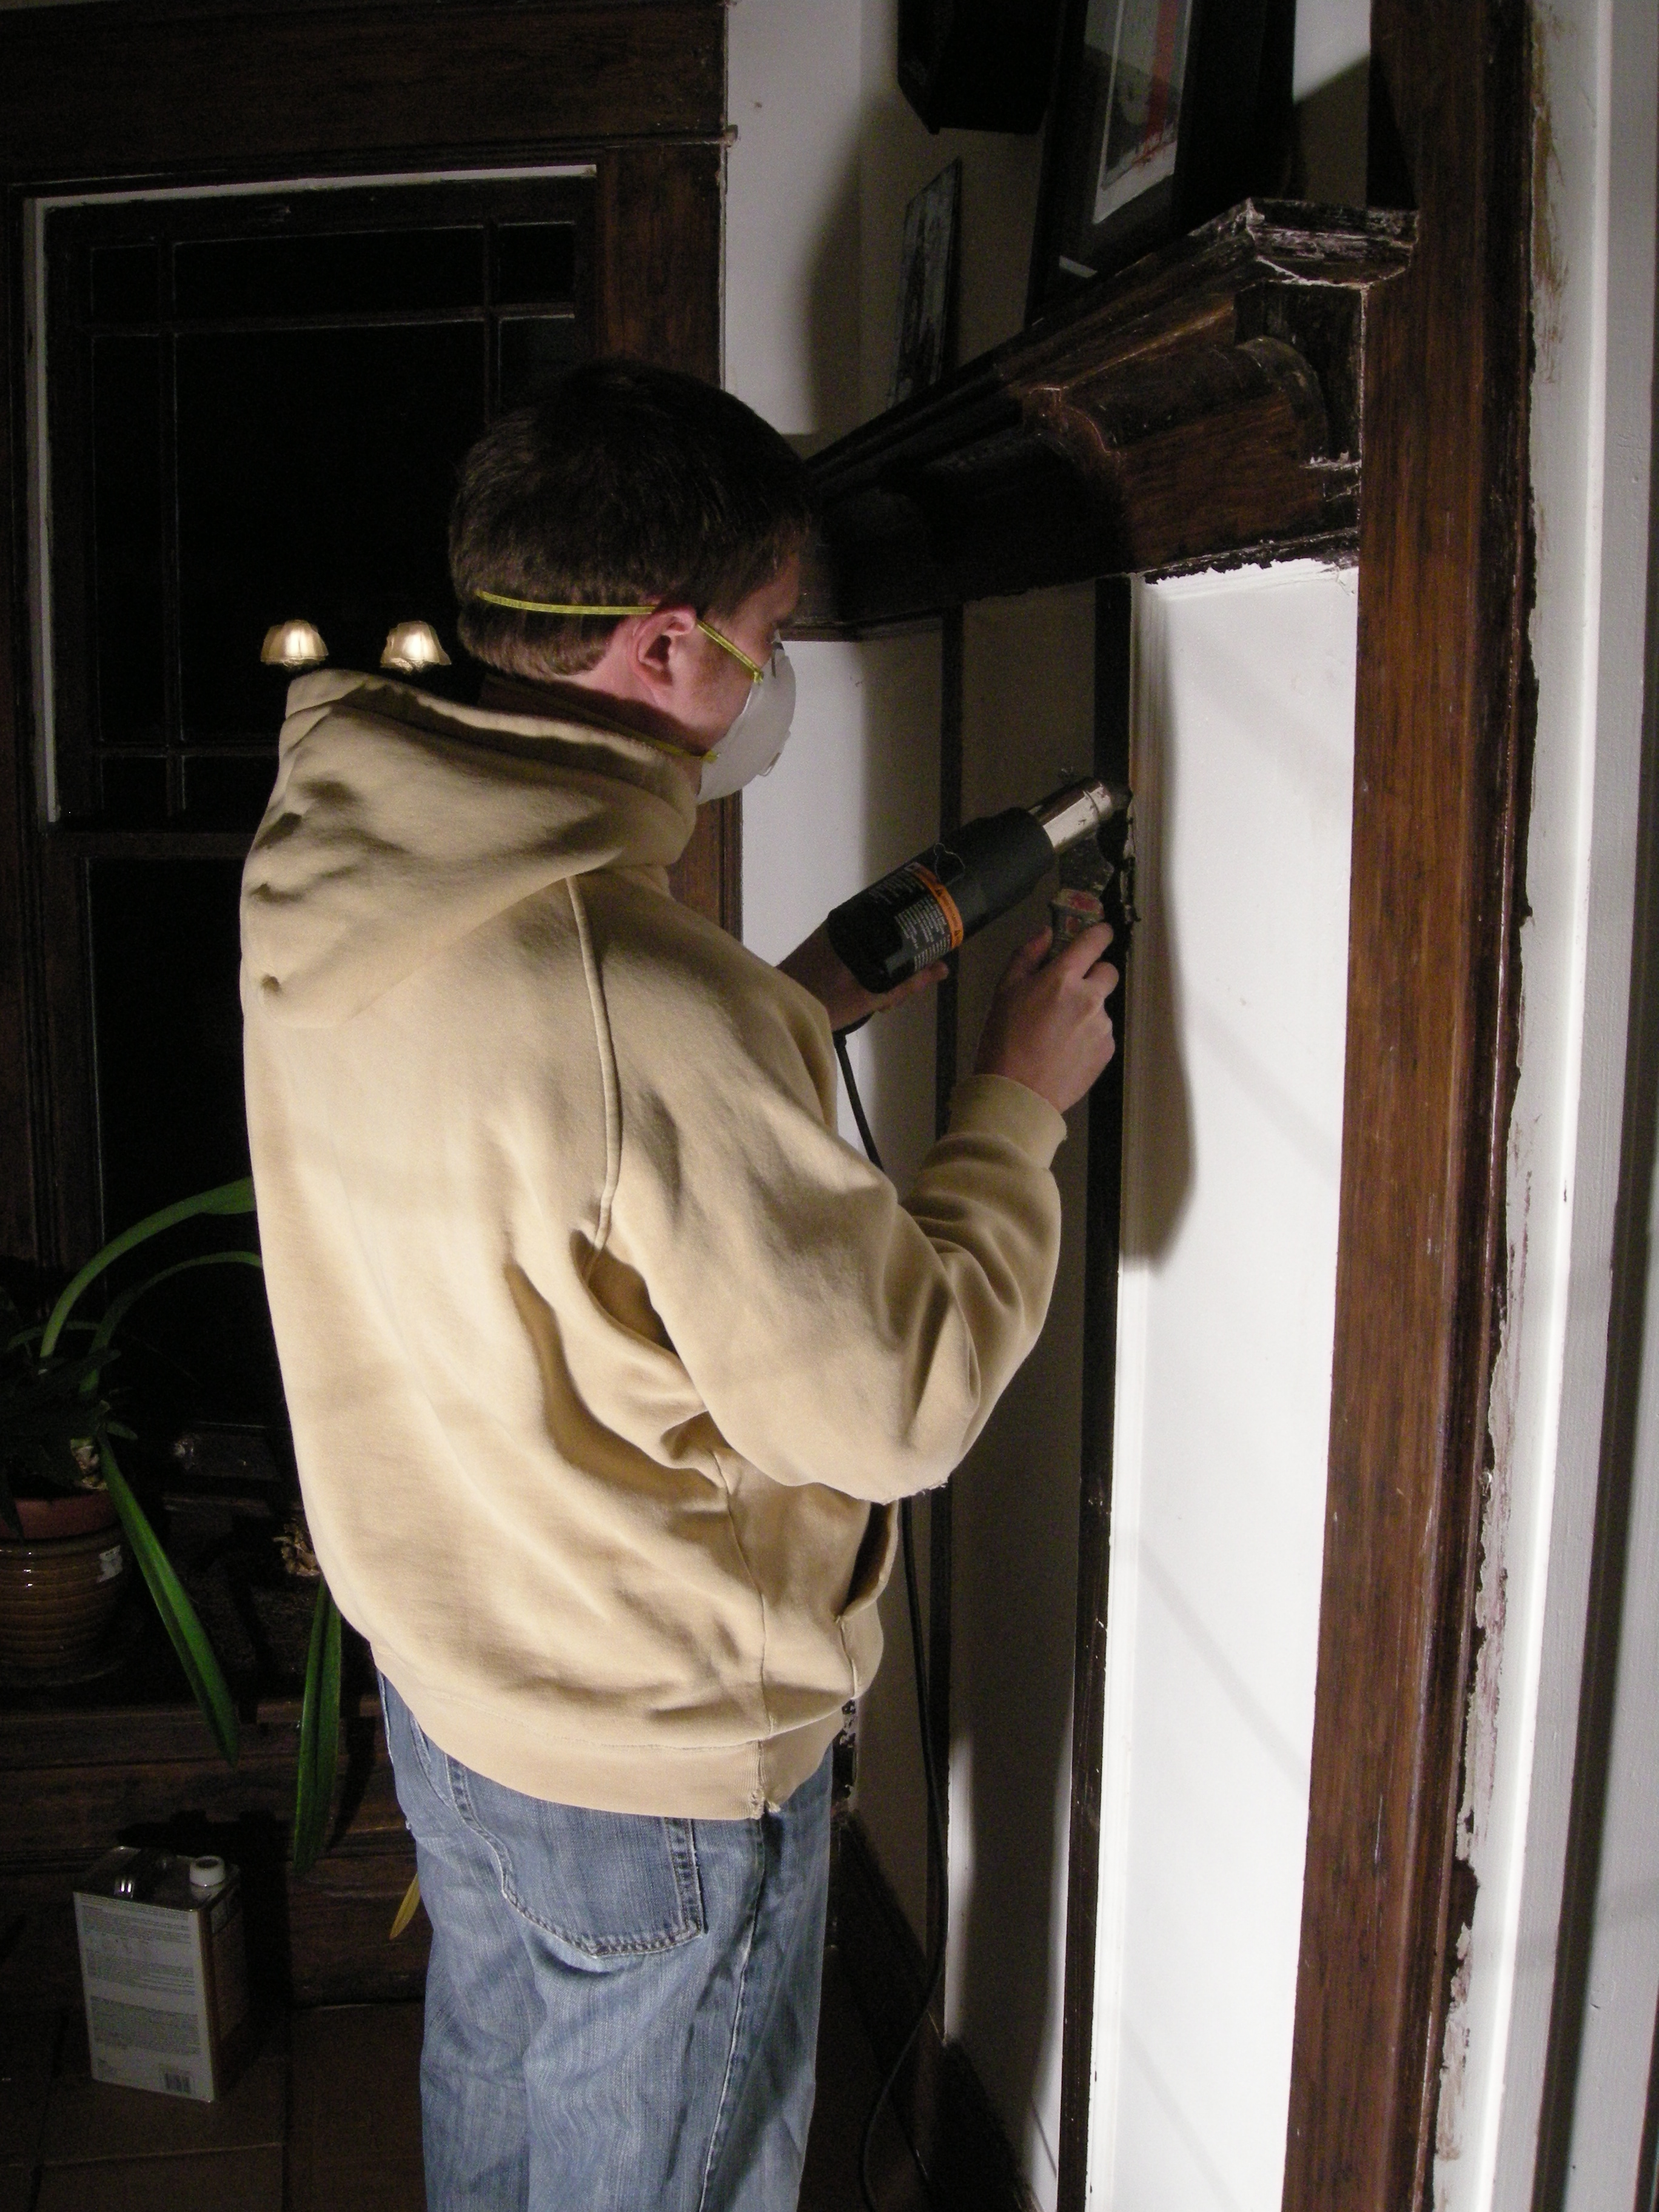
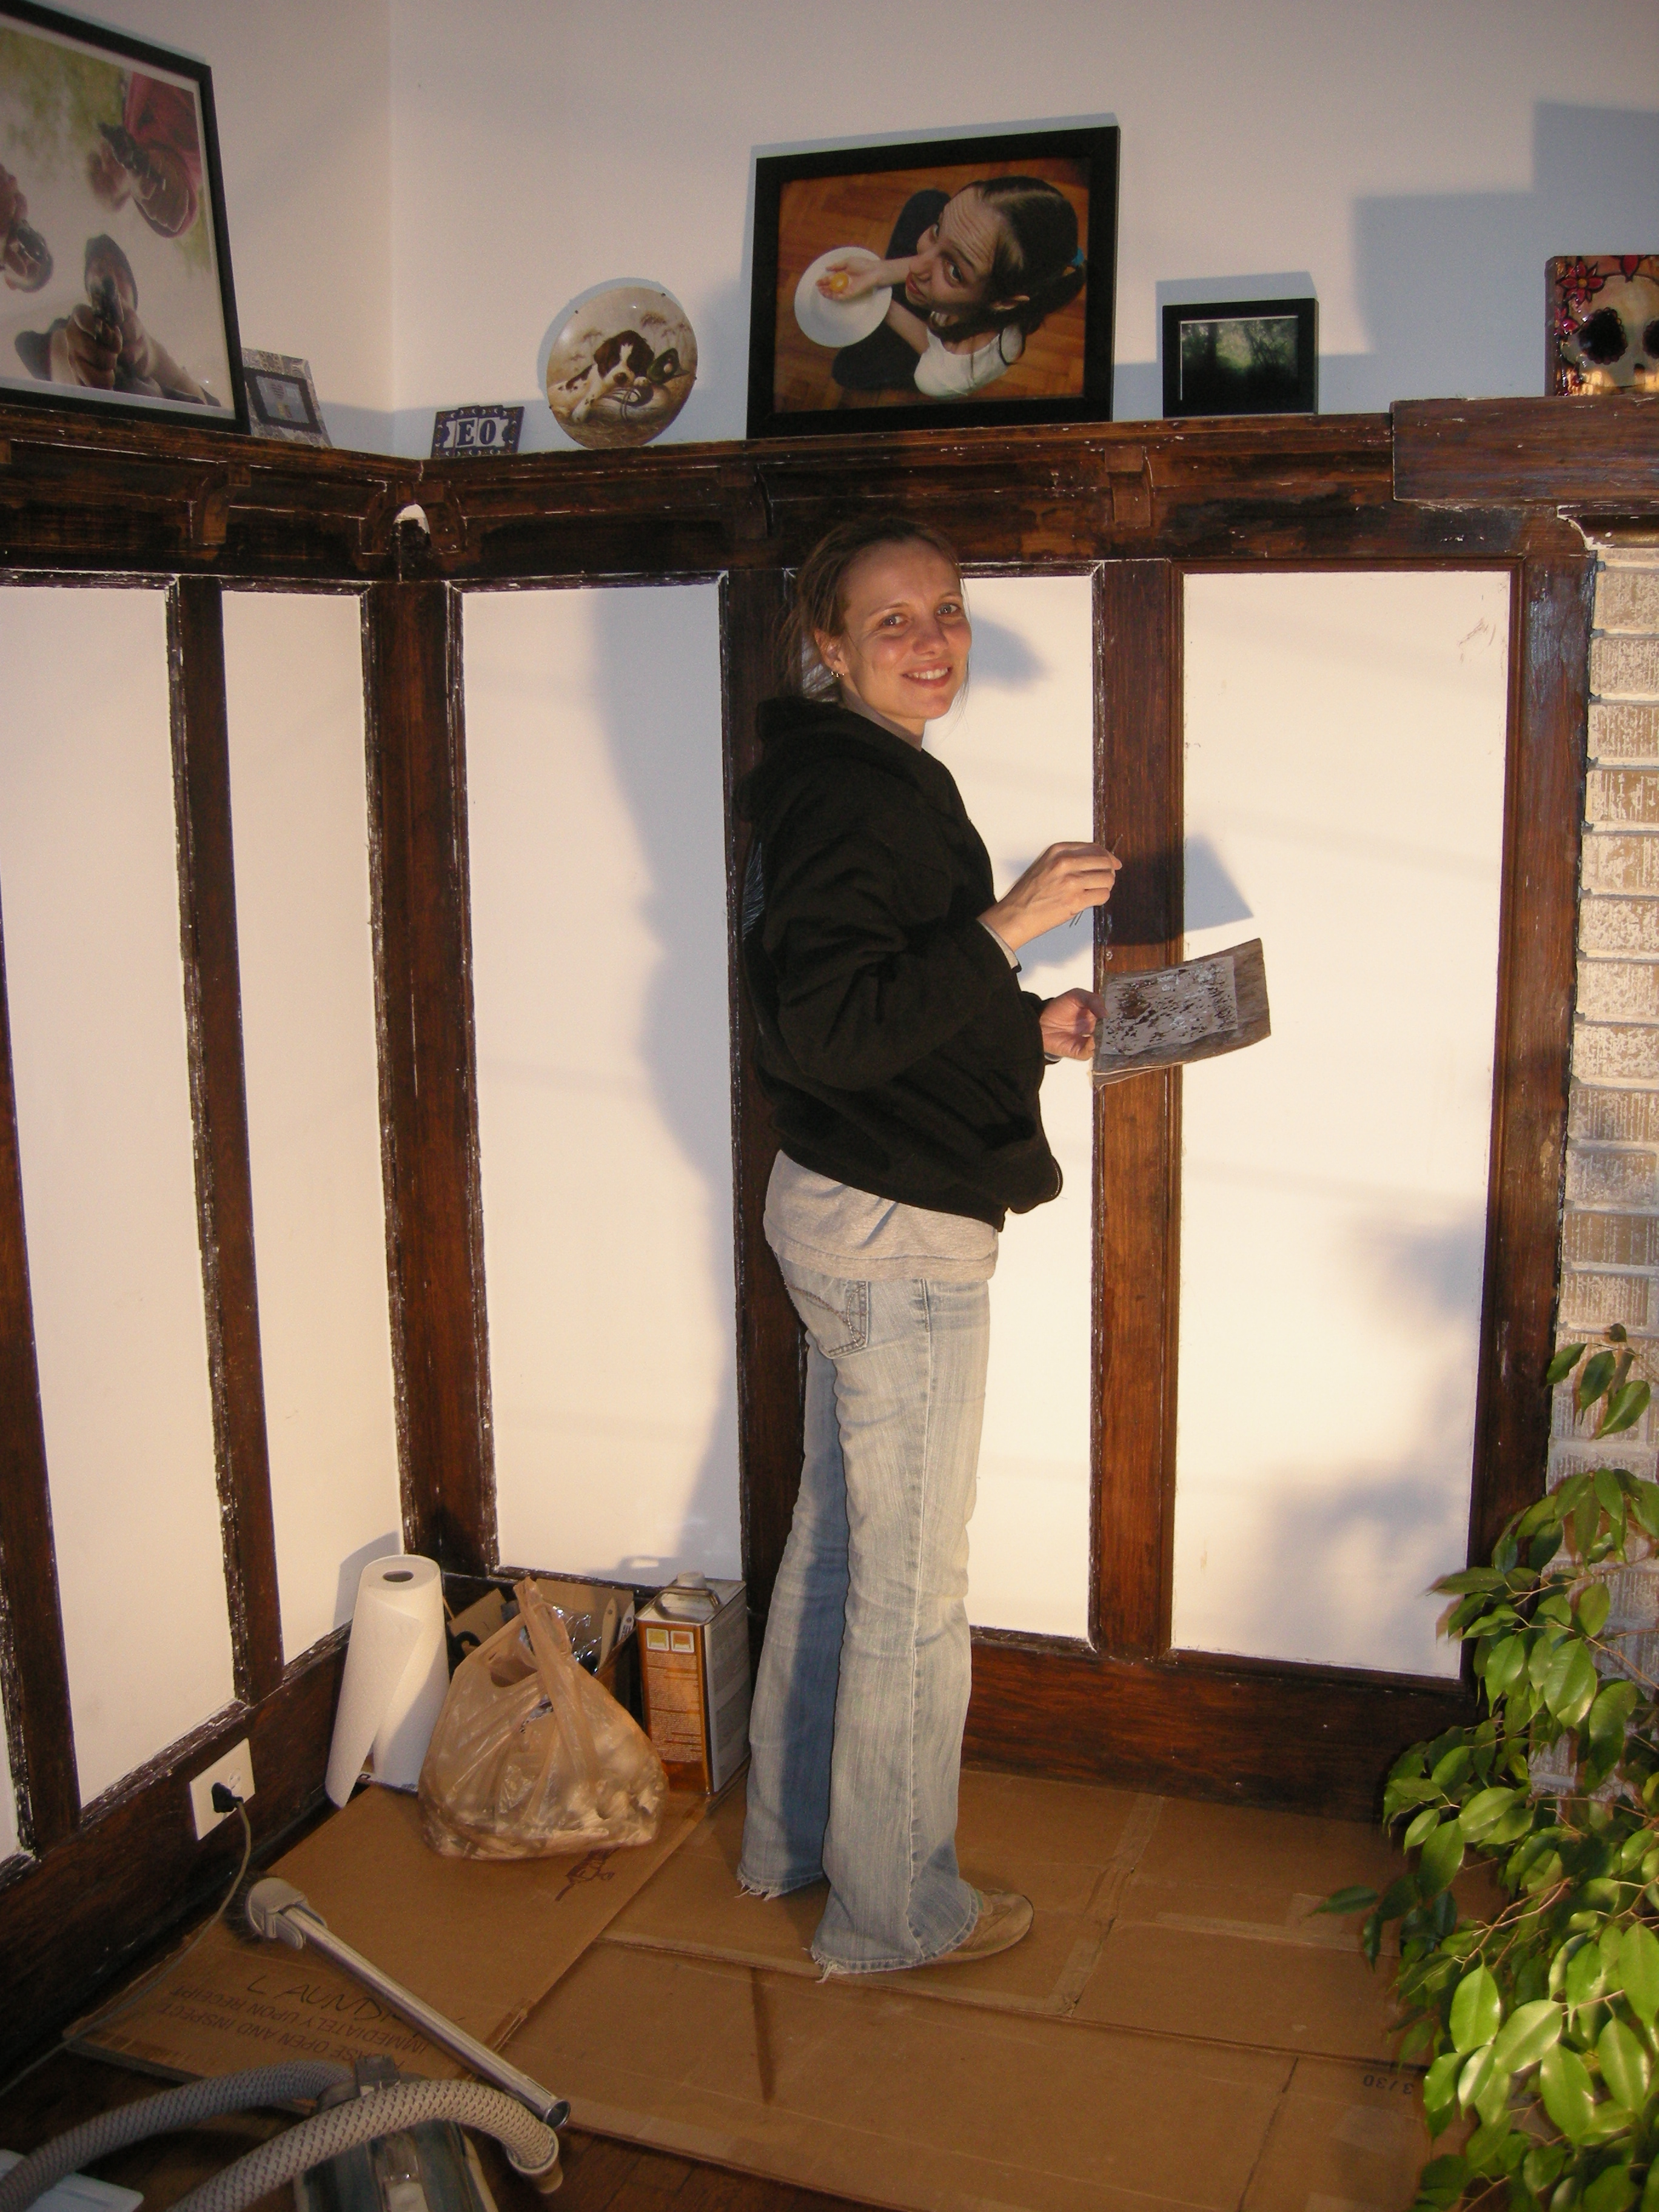
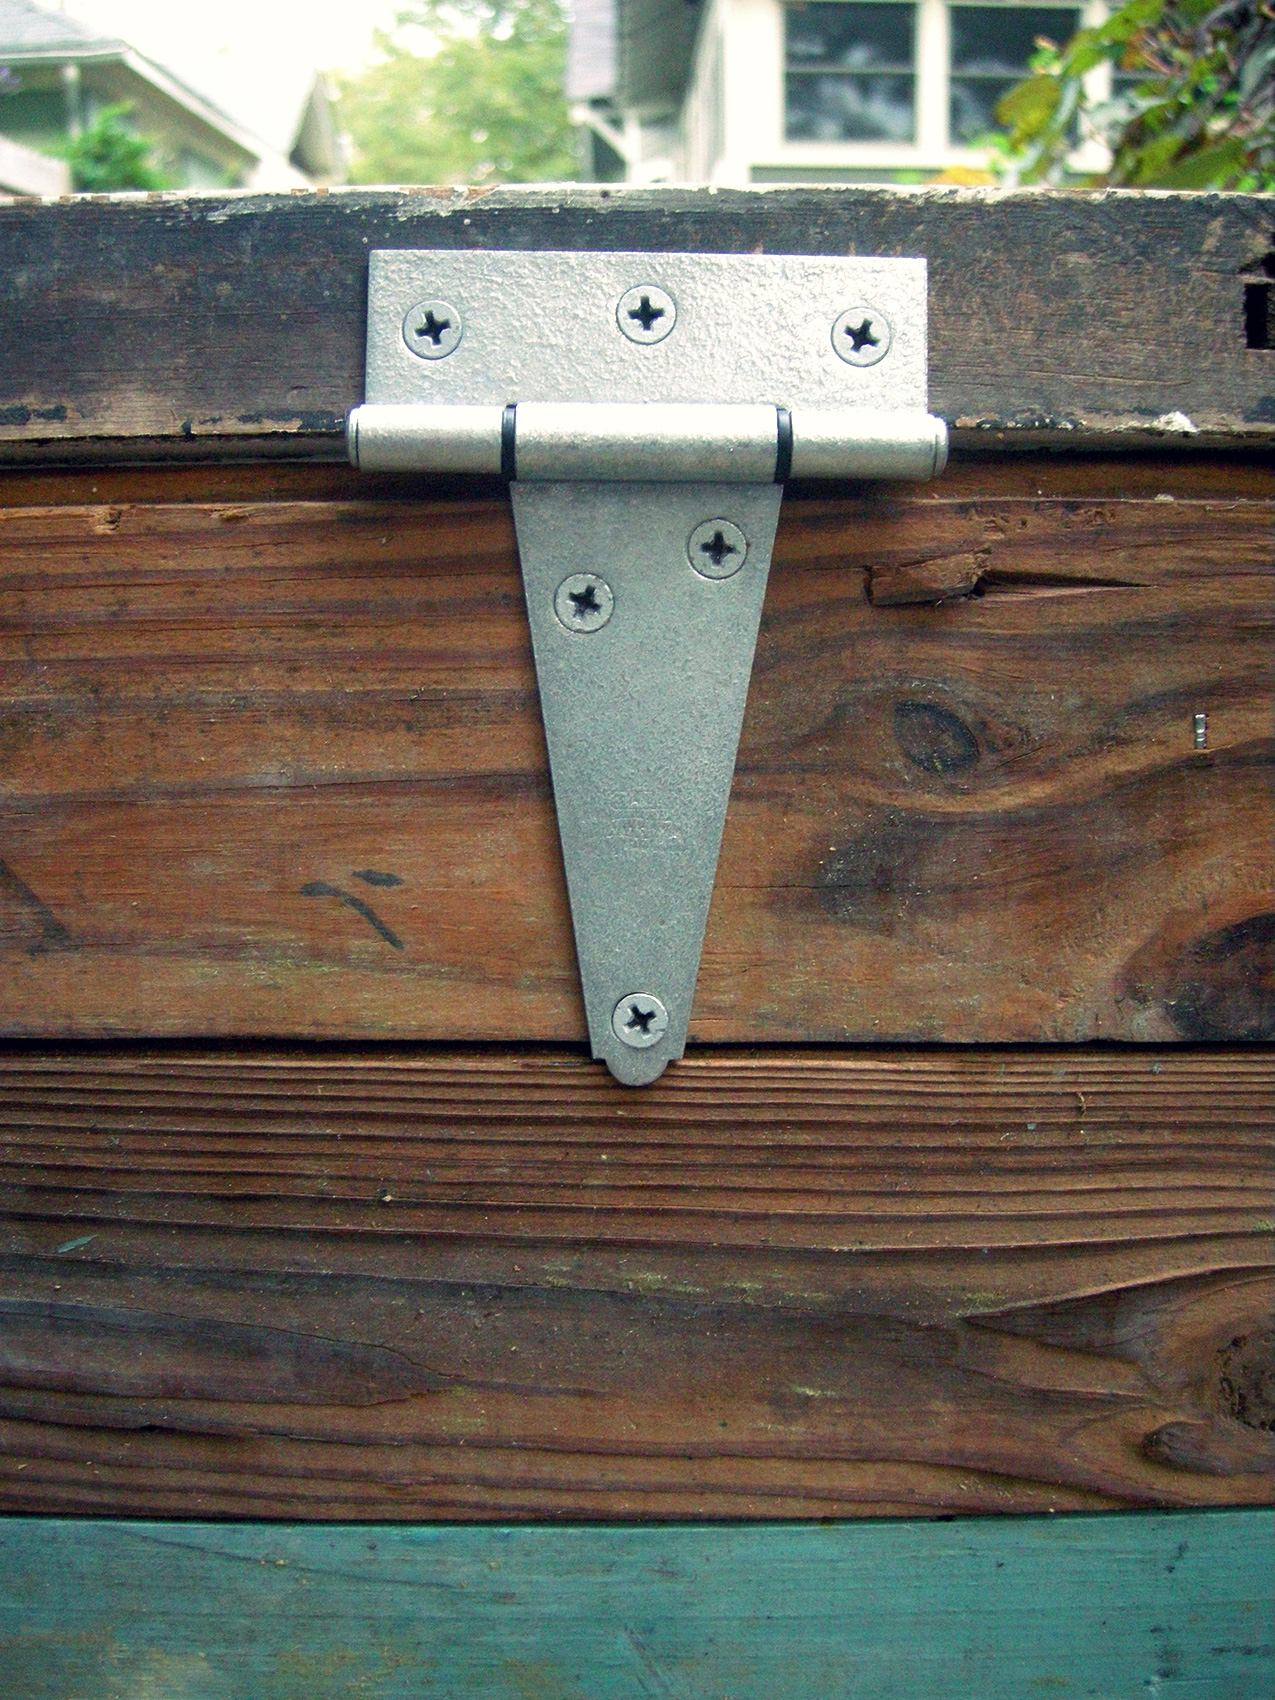
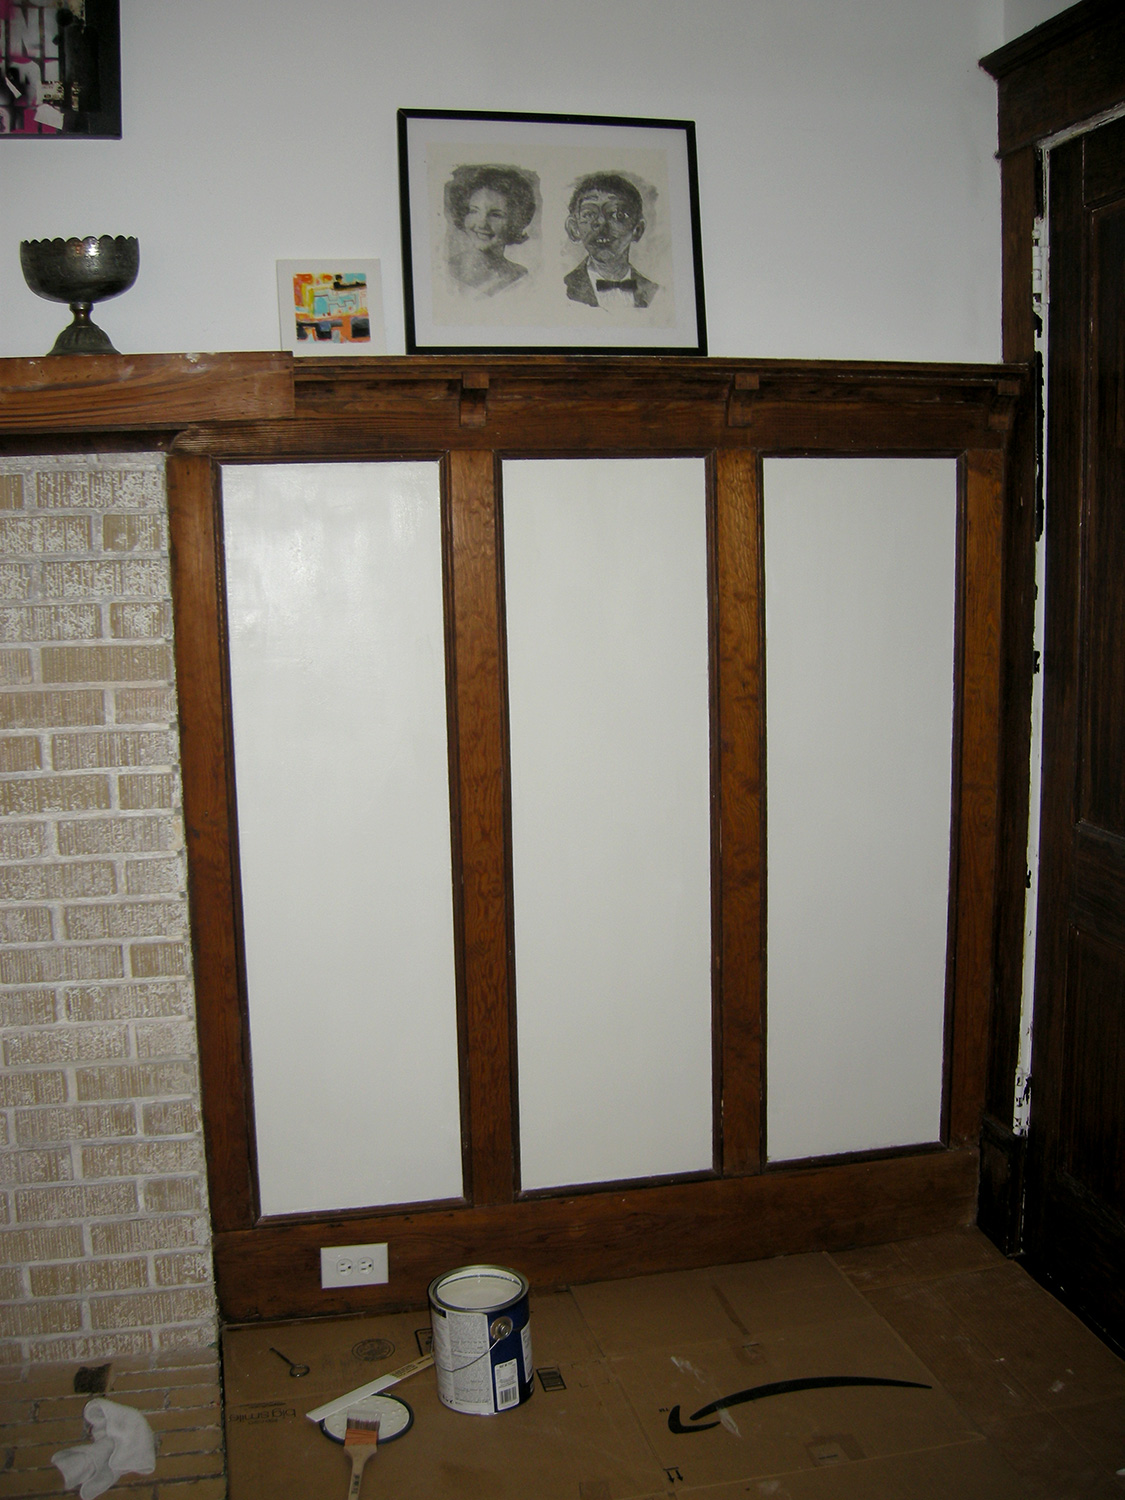
I’ve continued stripping some paint off the wood work in the living room. Steffi’s stripping capacity is non-existent at this point, so I have to find times when she’s away from the house or in the garden to get out the heat gun and chemicals. (When you’re expecting you really make sure to read those labels carefully!) The weather also has to cooperate to make sure all the windows are open and the house is well ventilated. We’re inching closer to being in a semi-finished state before the baby arrives. Cross your fingers for us! Steffi actually let me put some paint on the walls in the dining room. She had been holding out until all the paint stripping was done, so this is a step closer.

Painting the Dining Room
Painting in the dining room. Yes, we just painted a slightly tinted white over the old dirty flat white paint. It makes a difference when you see it in person.

Some other SUPER AMAZING news to share: I found a blog with pictures of our house in the 1960s! We’ve been hoping to find old photos of our home and street, so this was incredibly exciting for us. We’ve connected with Cynthia, the author of the blog, and are planning to meet to hear more about her family and their time living in our home. We can’t wait!!! We have now made contact with family members from all three families that lived in our house before us.

I have to give a special mention to Marlene and Ted for helping us make the connection with Cynthia. Marlene and Ted grew up in the neighborhood in the 40s, 50s, and 60s. They came over to talk to Steffi and I about their memories, and Ted said we lived in Anne Nunn’s house. We knew the name of Anne’s mother because of the house’s deeds, so a Google search of their names together revealed Cynthia’s blog.

Stay to tuned for the next update. I’m sure it will be an exciting one!

Posted in Gardening, Our Bungalow, Photos, Westview Bungalow | Comments Off on Spring is Here!

Early Spring 2014 Update

Late March is one of our favorite times of the year! The temperatures start rising, the plants start emerging from their slumber, and we can look back at what the cold temperatures helped us accomplish inside the house. When it’s warm outside we have a difficult time staying indoors. So back to one of our favorite past times… you guessed it, we’ve been paint stripping in the dining room again. I’m happy to say we’re getting really close. It’s only been seven years! The day Steffi lets me paint the walls will be a very big deal (she says the paint stripping has to be done first so we don’t mess up the paint).

I do about 98% of the work with the heat gun and paint scraper, but Steffi’s 2% takes 98% of the time.

Winter Paint Stripping
Paint stripping with the heat gun in the dining room. Lots of paint removed in little time.

Look really closely at this next photo. Yes, that is a dental pick in her right hand. Now do you understand why it takes so long?

Dental Pick Paint Stripping
How else are you going to get in those little cracks?

The outside is beckoning, so we better hurry up.

Yoshino Cherry Blooms
Spring is coming! The Yoshino Cherry tree is in full bloom.
Tulips
The tulips are up!

Cross your fingers for our dining room!

Posted in Gardening, Our Bungalow, Photos, Westview Bungalow | Comments Off on Early Spring 2014 Update

Building a Cold Frame

This past weekend we finally got around to a project we had been planning since last winter – we built a cold frame. If you’re not familiar with cold frames they are basically mini greenhouses that allow you to garden outside during the cooler months. We’ll probably use ours to grow lettuce and other veggies in the late fall/early winter and then start seeds in the late winter/early spring.

We’re always collecting old architectural materials that would otherwise be headed to a landfill, so we just drug what we needed for the project out of the basement. The materials included one 2×4, tongue and groove paneling, an old window, two galvanized hinges (from Lowes) and a lot of nails. In a previous life the tongue and groove paneling was the ceiling of our next door neighbor’s back porch. It is still painted the original sky blue. The window came from a house at the end of our street.

Tongue and Groove Ceiling

Tongue and Groove Ceiling

We first built the front and back walls by nailing the tongue and groove boards to 2x4s. We made sure to leave overlap on each end for the sides. We wanted to hide the ends of the boards on side walls behind this lip. Once we had the front and back walls built we setup the cold frame so we could measure the width of side walls. This allowed us to skip the geometry lesson required to figure out angles and such.

Cold Frame Front and Back

Setting up the front and back walls.

Once we cut the boards to the correct length we went ahead and nailed them to the sides.

Cold Frame Side Walls

Adding the side walls.

The only boards left to cut were the angled pieces at the top. This seemed like it would be tricky at first, but it’s not really. You just measure the height and width and connect the dots. We used a 2×4 as a straight edge to mark the angled side. The cut was long and it crossed two board, which presented a little challenge, but it wasn’t all that difficult.

Cold Frame Side Walls Finished

The finished sidewalls.

With the construction of the box complete the only thing left was to add the hinges. We picked up a pair of four inch galvanized t-hinges at Lowes.

Cold Frame Hinges

Attaching the hinges.

And we’re done!

Finished Cold Frame

Ready for some plants!

Posted in Gardening, Our Bungalow, Photos, Westview Bungalow | Comments Off on Building a Cold Frame

Early Fall Update

We don’t have a lot to report, but we wanted to make sure you know we’re still here! The garden was quite productive this year. We had a good crop of cucumbers and tomatoes.

Summer Harvest
Backyard summer harvest!

We’ve also had a non-stop butterfly garden for the past month or so.

Butterfly on Butterfly Bush
The butterfly bush lives up to its name!

As the temperatures cool off we’ll probably focus our efforts indoors and start (or rather continue) some house projects. So check back for updates, and don’t forget to follow us on Facebook for small updates in your news feed.

Posted in Gardening, Our Bungalow, Photos | Comments Off on Early Fall Update

Quick Patio Update

I wanted to give a quick update on the progress on our new patio. We’ve been loving this new addition to our yard, and it has provided us a lot of extra space for landscaping. We’ve been busy tilling, plant shopping, hole digging, planting and mulching.

To get started we made a trip to our favorite garden center, Grower’s Outlet, to pick out some plants. Since part of the area around the patio is sun/part-sun and part of it is shade we were able to get a nice variety of shrubs and perennials.  When we got home we set them out to determine the size of the new bed.

New Patio Plants

Setting out new plants around the patio.

The next stop was to Northside Tool Rental to pick up a tiller. This was our first time renting from them, and the experience was very positive. I called ahead to make sure they had the tiller we wanted, and in no time we were busy tilling. We rented the Mantis, which I would highly recommend for projects of this size. If you need to do a bigger space I would probably recommend something larger, but for creating flower beds it was perfect.

The Mantis tiller hard at work!

The Mantis tiller hard at work!

Once the initial tilling was done we used the garden rake to shift some dirt around, and then I went over it again with the tiller to ensure the dirt was nice and loose.

Steffi raking the dirt in the new flower bed.

Steffi raking the dirt in the new flower bed.

And finally we can start planting! For the shade area we planted some white azaleas, hostas, ferns and a lacecap hydrangea.

Azaleas, hostas, ferns, and a hydrangea in the shady area behind the patio.

Azaleas, hostas, ferns, and a hydrangea in the shady area behind the patio.

For the sunny spots we have a forsythia, purple coneflowers, small “soft touch” holly bushes…

Steffi Planting New Patio Flower Bed

Steffi working on planting the cone flowers.

And this amazing David Austin “Bishop’s Castle” rose that we bought at Pike Nursery. It is extremely fragrant, so we hope we will be able to smell it while sitting on the patio.

David Austin Bishop's Castle Rose

David Austin Bishop’s Castle Rose

Last but not least, we put down a lot of mulch. Hopefully it will help with weeds, moisture, splashing mud, etc. We still have a few more plants to add, so check back soon for more updates! Also, we setup a Facebook page for Westview Bungalow so you can stay in touch and always be alerted when we have new updates, so hop over there and “like” us!

Patio Flower Bed Mulch

It always looks so nice when freshly mulched! If only it would stay that way…

Posted in Gardening, Our Bungalow, Photos, Westview Bungalow | Comments Off on Quick Patio Update