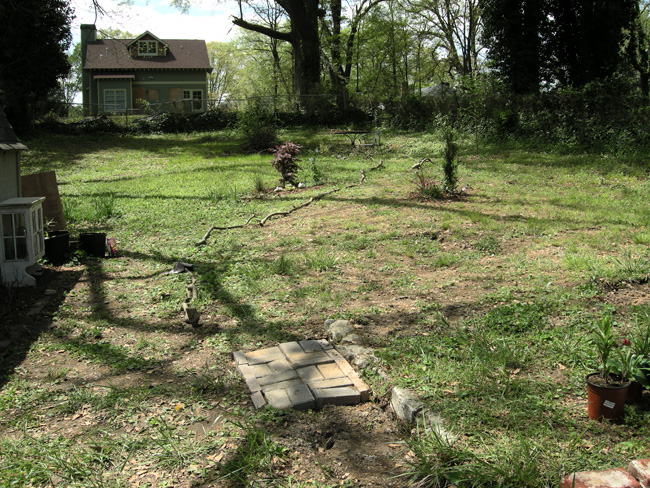
For years we’ve had a “Path to Nowhere” in the backyard. It led through the yard and flowerbed to a flat round spot in the yard with just a table and chairs sitting in the grass. It served its purpose, but after years of planning and dreaming we finally have an actual patio! And it’s AWESOME!!
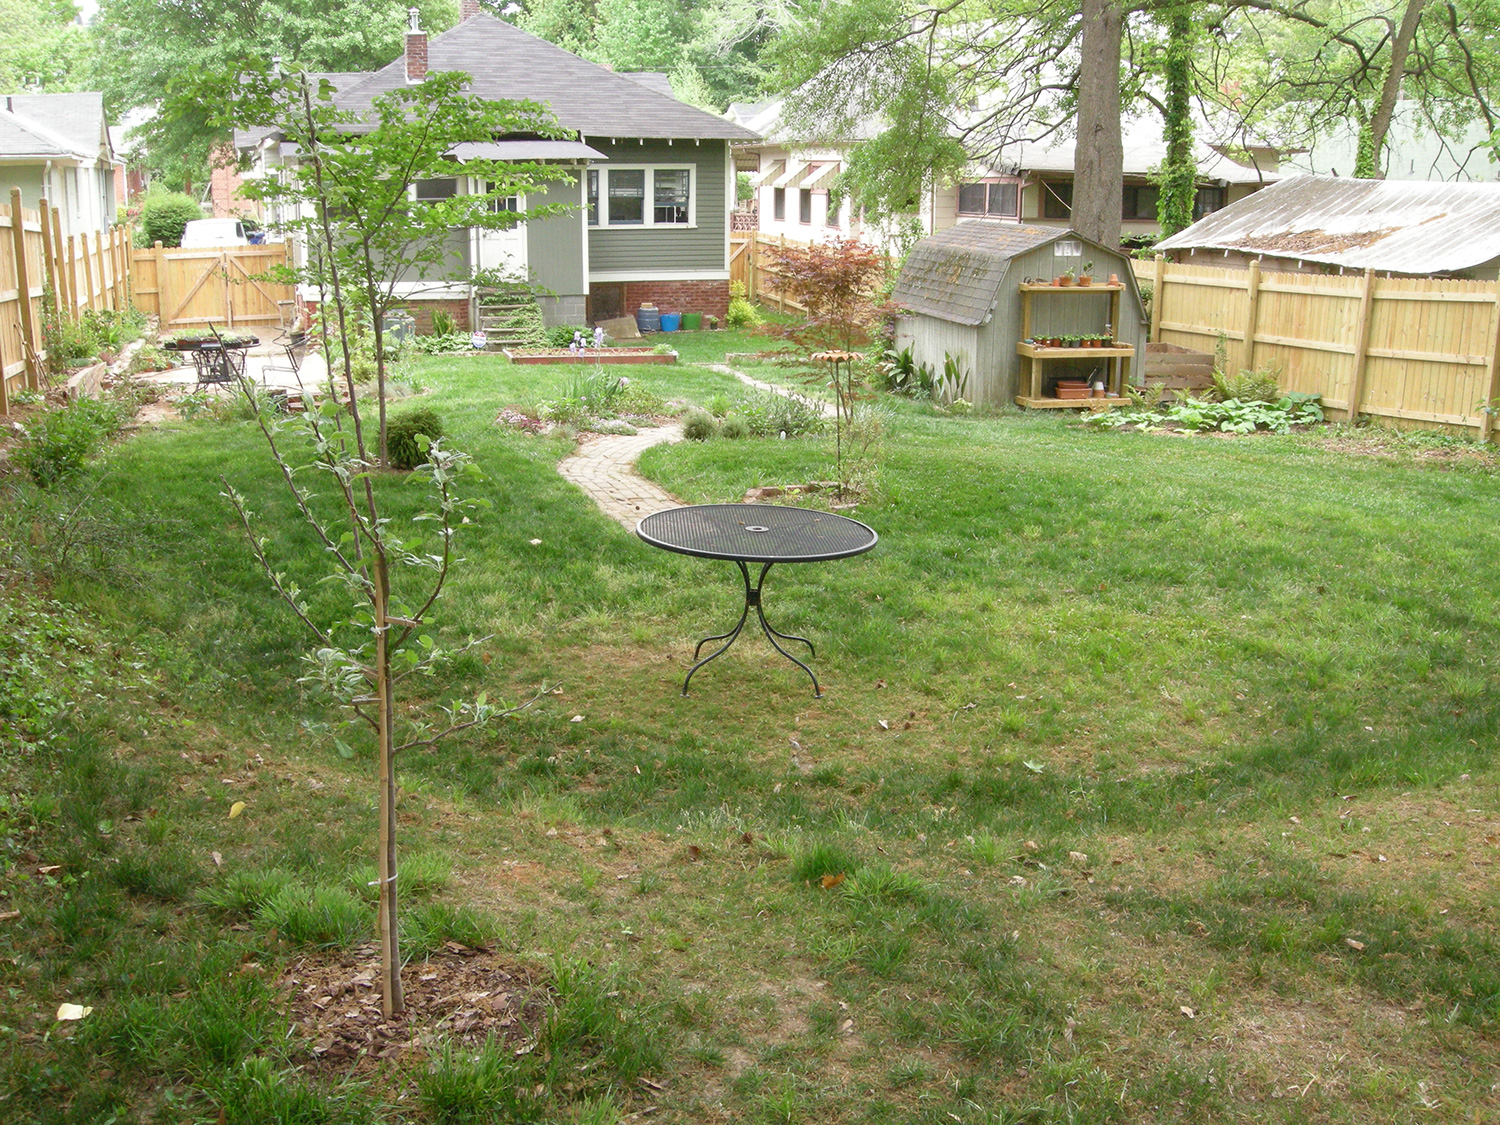
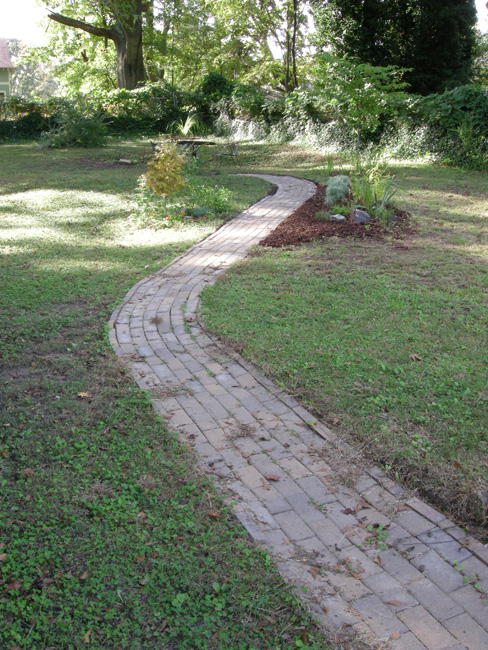
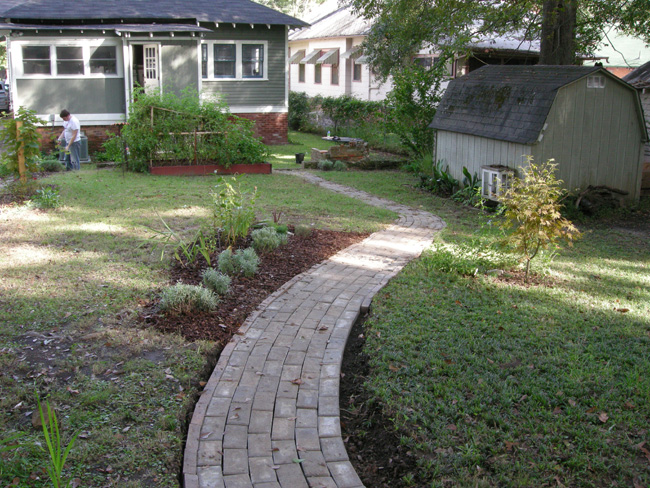
The path to nowhere.
This past winter KIPP STRIVE, our local charter school, was demolishing a house to make room for their new elementary school building. They kindly gave Steffi and I permission to salvage what we liked from the building before it headed to the landfill. We initially were looking inside the house for architectural salvage and heart pine floors, but then we started collecting bricks from the foundation. We love salvaged bricks, so it was an opportunity we just couldn’t turn down. Through the freezing temperatures and rain we collected bricks and scraped mortar. Then we had the grand idea to use the bricks for our patio, so we carefully calculated how many we would need and came up with a plan. We laid out the bricks to make sure we had enough, and after a few more trips to the house/demolition site we were set.
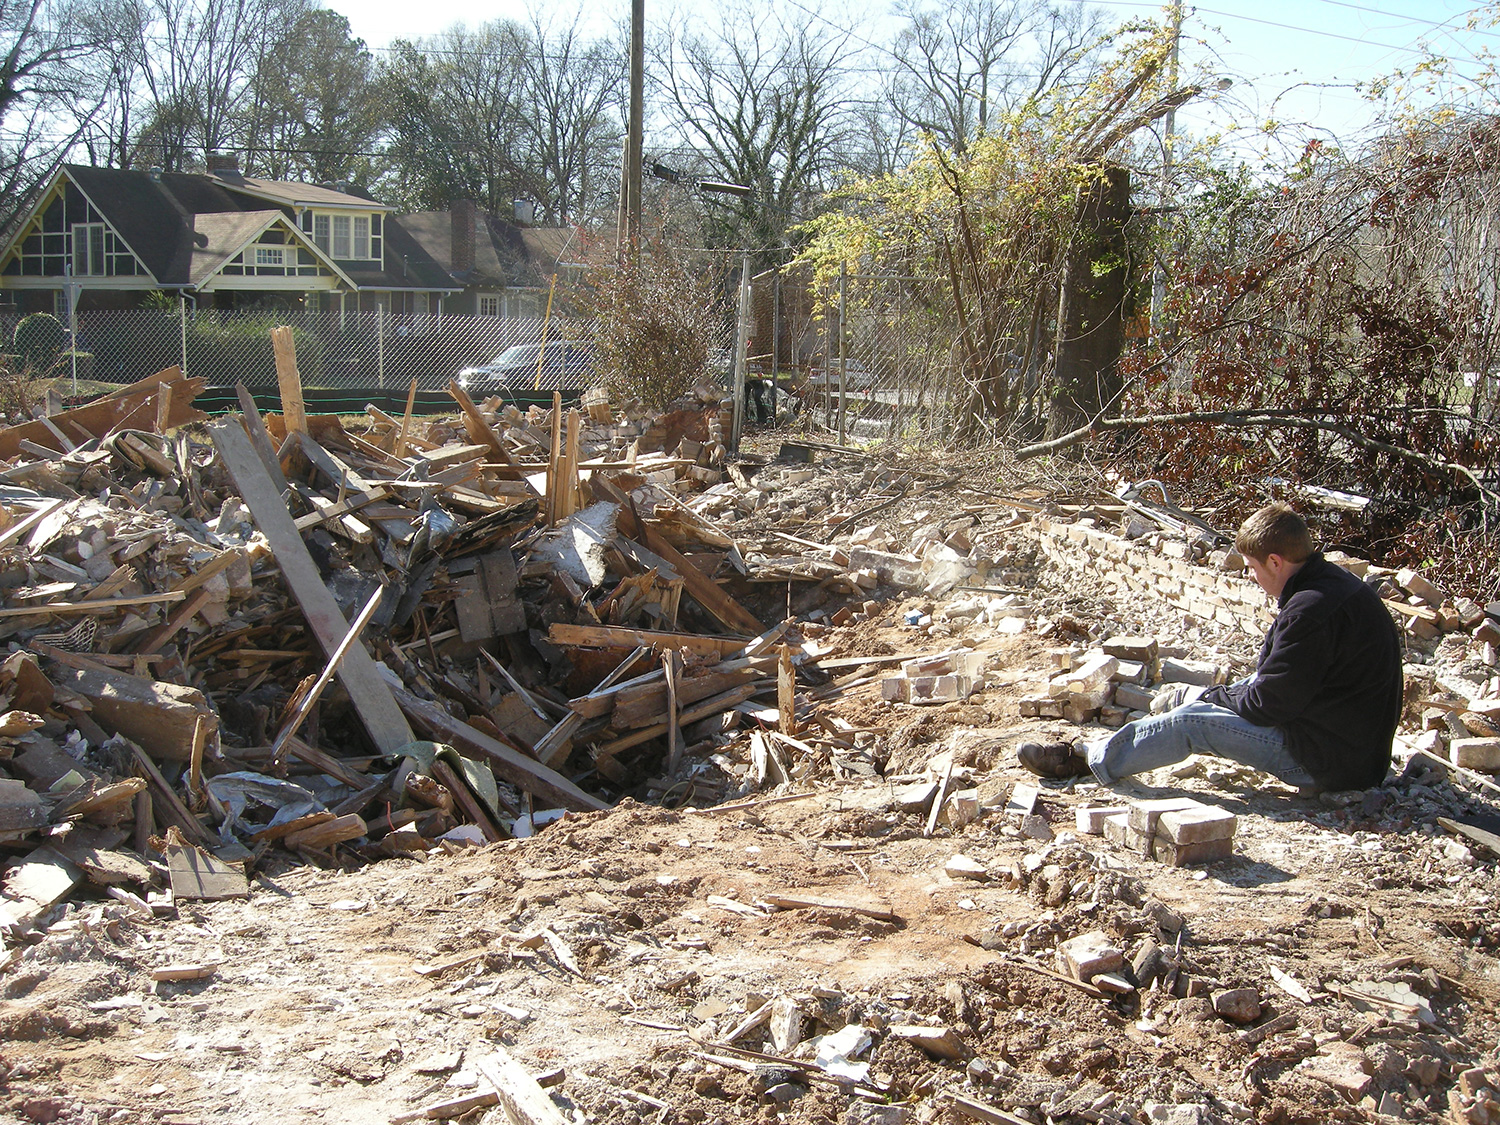
Collecting bricks from the KIPP Strive construction site. Removing mortar is hard work!
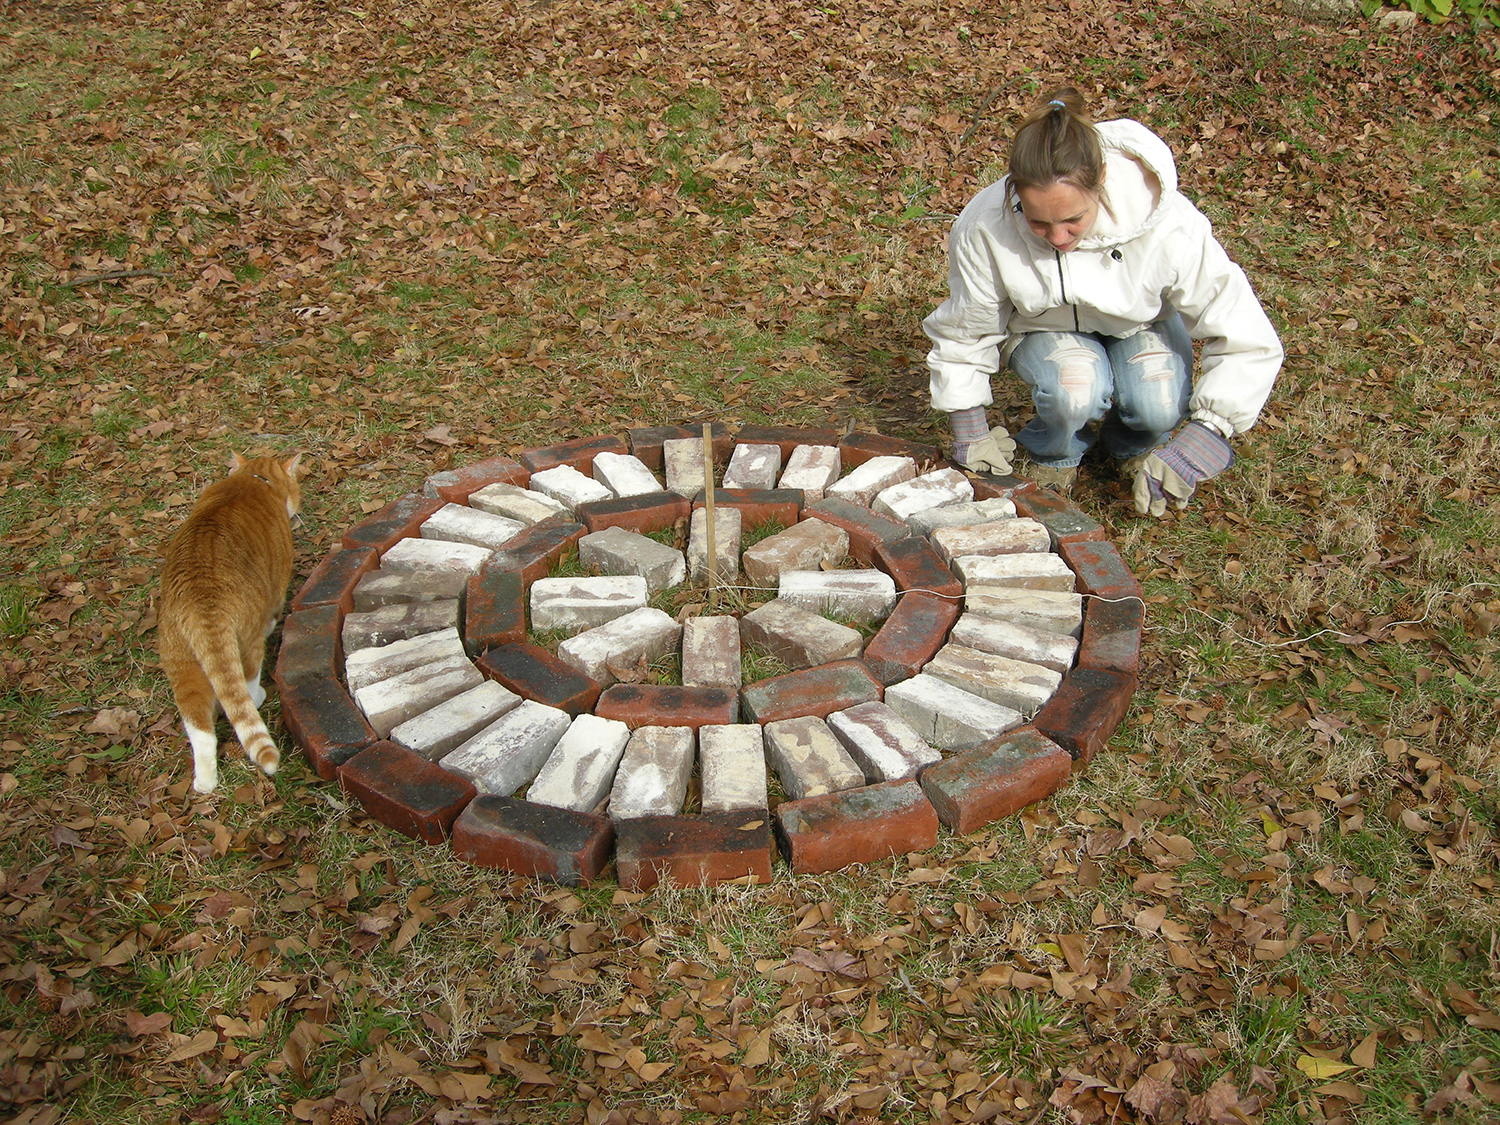
Steffi and Buster laying out the bricks to create the pattern for the patio.
The next step was to find a contractor to install the patio and build a granite retaining wall. This is harder than it sounds. I always get frustrated when I search for contractors in “Atlanta” only to find a bunch of people with 770 numbers and statements on their website saying they serve Roswell, Sandy Springs, Lawrenceville, etc. If you’re not actually in Atlanta or not serving Atlanta don’t put Atlanta on your website. *end rant*
After a lot of searching I finally found a few local stone contractors in the actual city of Atlanta – not the burbs. The first estimate we received was disappointing. I won’t name the contractor, but as a rule of thumb you should pay attention to what your potential clients are telling you. Providing an estimate that is way off scope is not a good start.
Our second estimate was from Ray Hall at Eclectic Stoneworks. We really liked what we saw on Ray’s website – lots of experience, an understanding of historic preservation, and creativity. When Ray showed up he carefully listened to what we wanted and offered his advice. After about 20 minutes he had calculated the cost on the spot.
After thinking about it for a week we decided Ray was our guy for the job. He was still working on another project, so we got in line. Once they wrapped up the job the process went pretty quickly. We were excited to see the day by day progress.
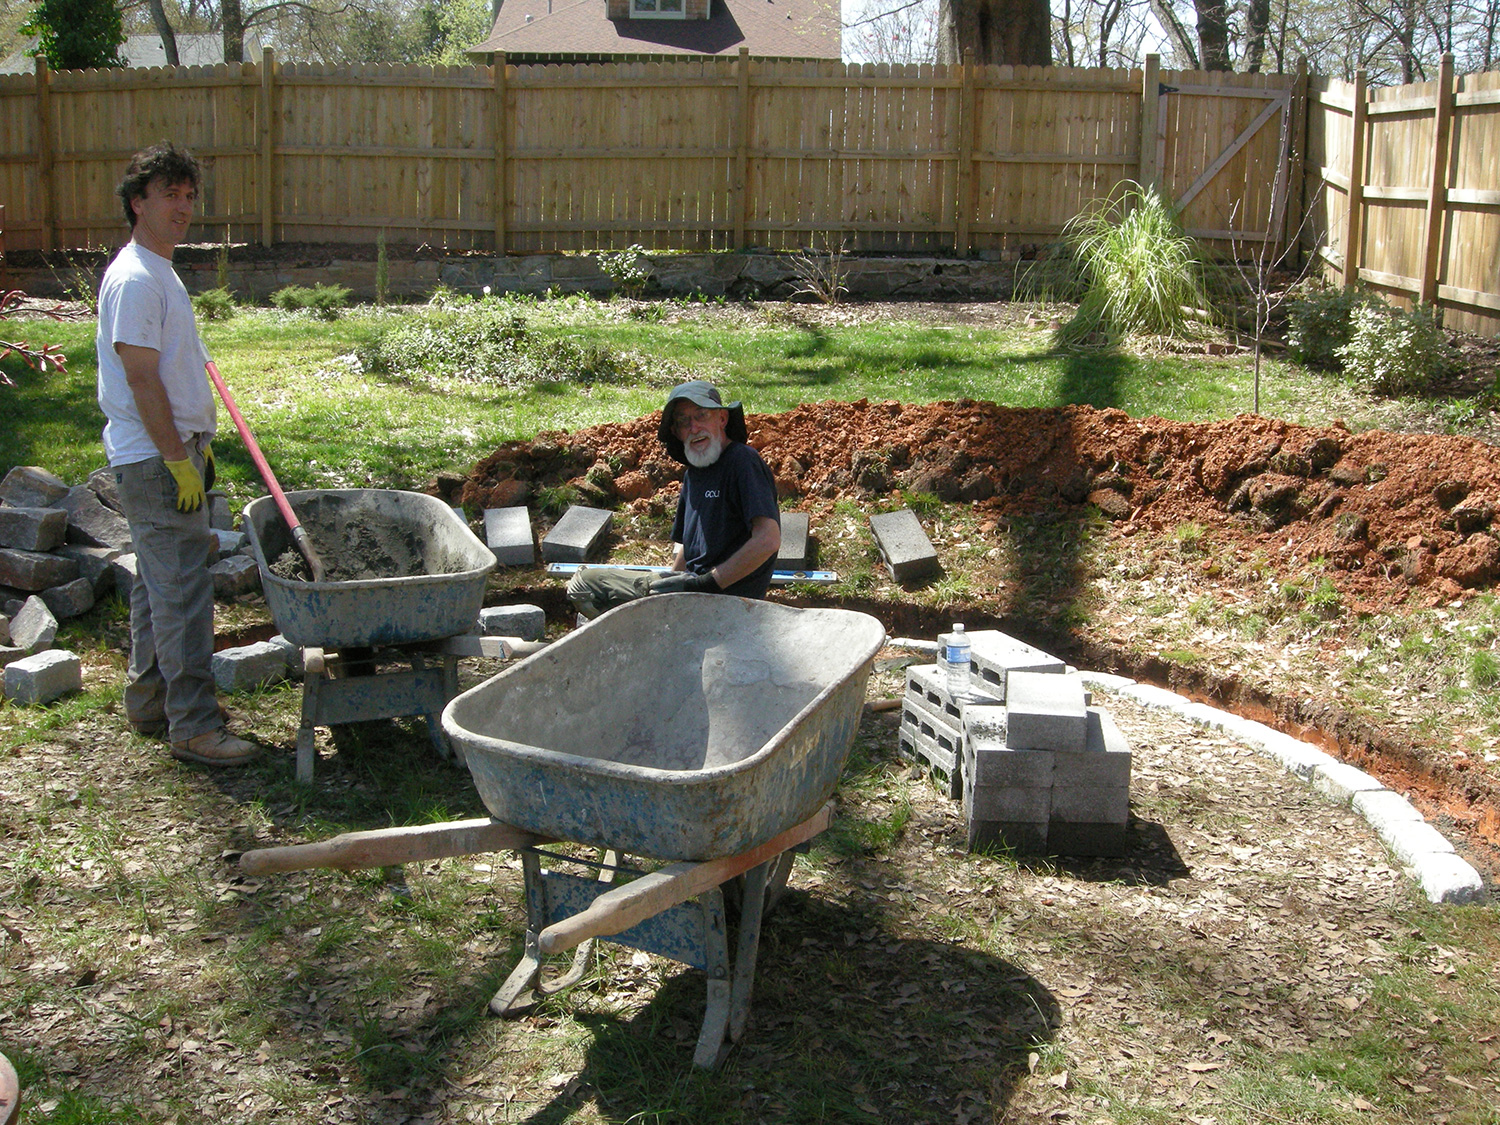
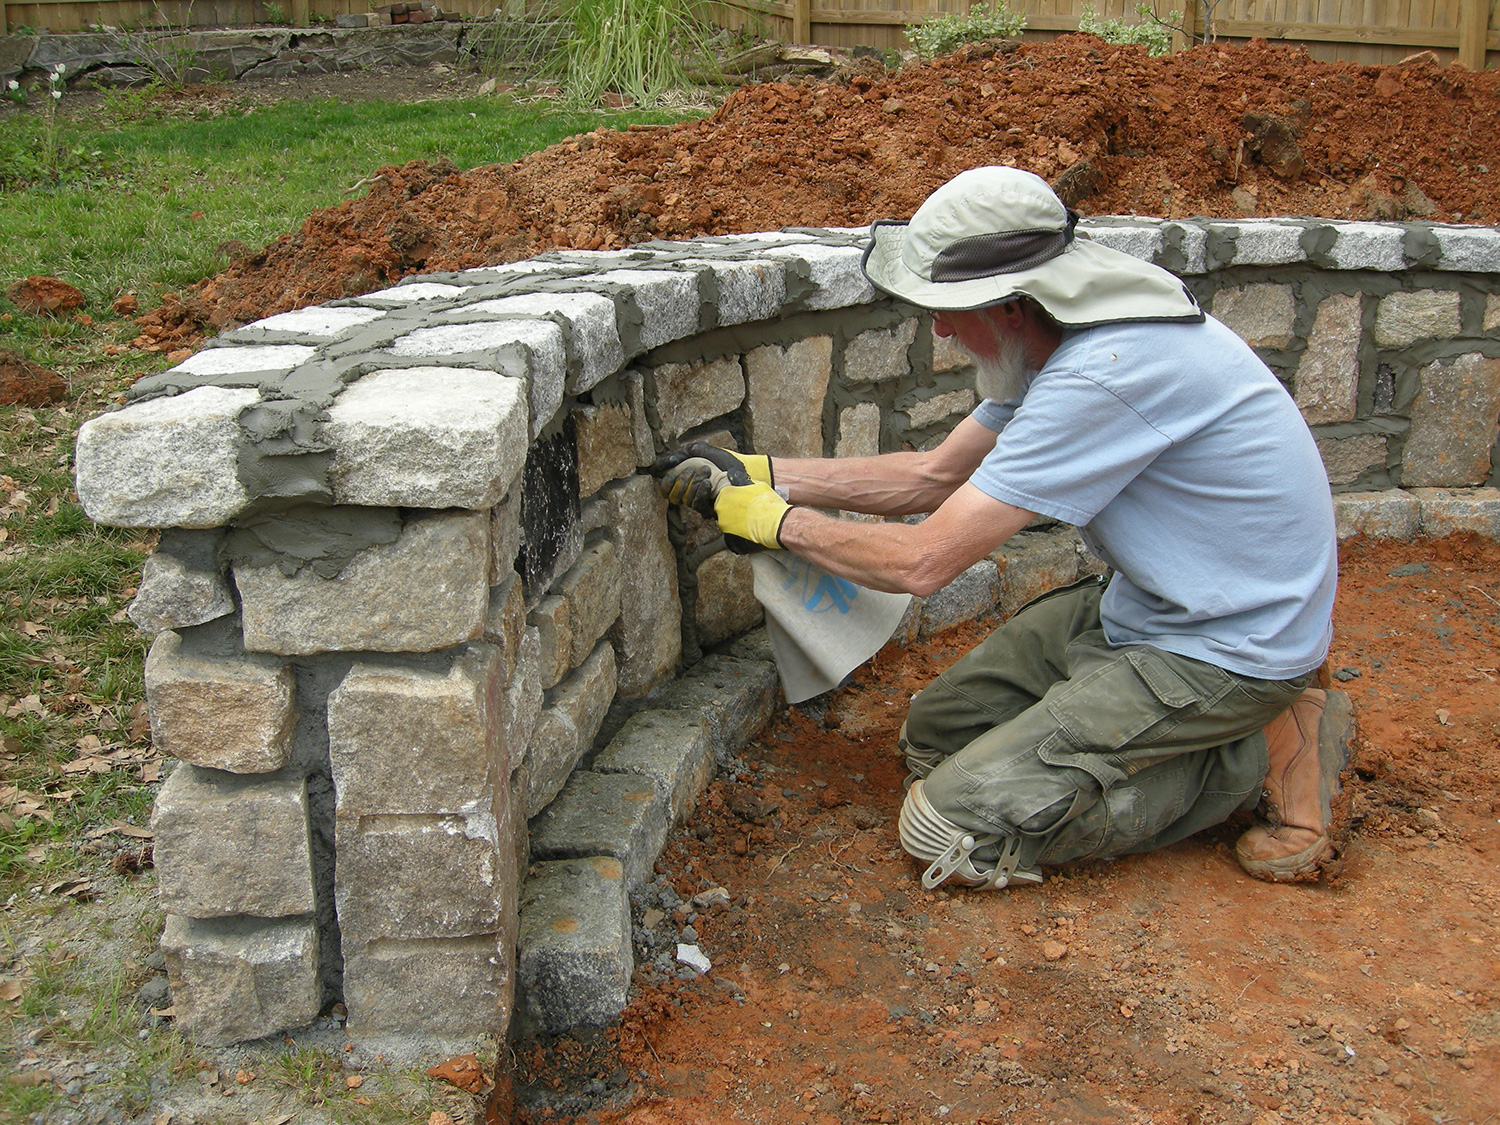
Ray and Chipper installing the edge granite and laying the foundation for the wall.
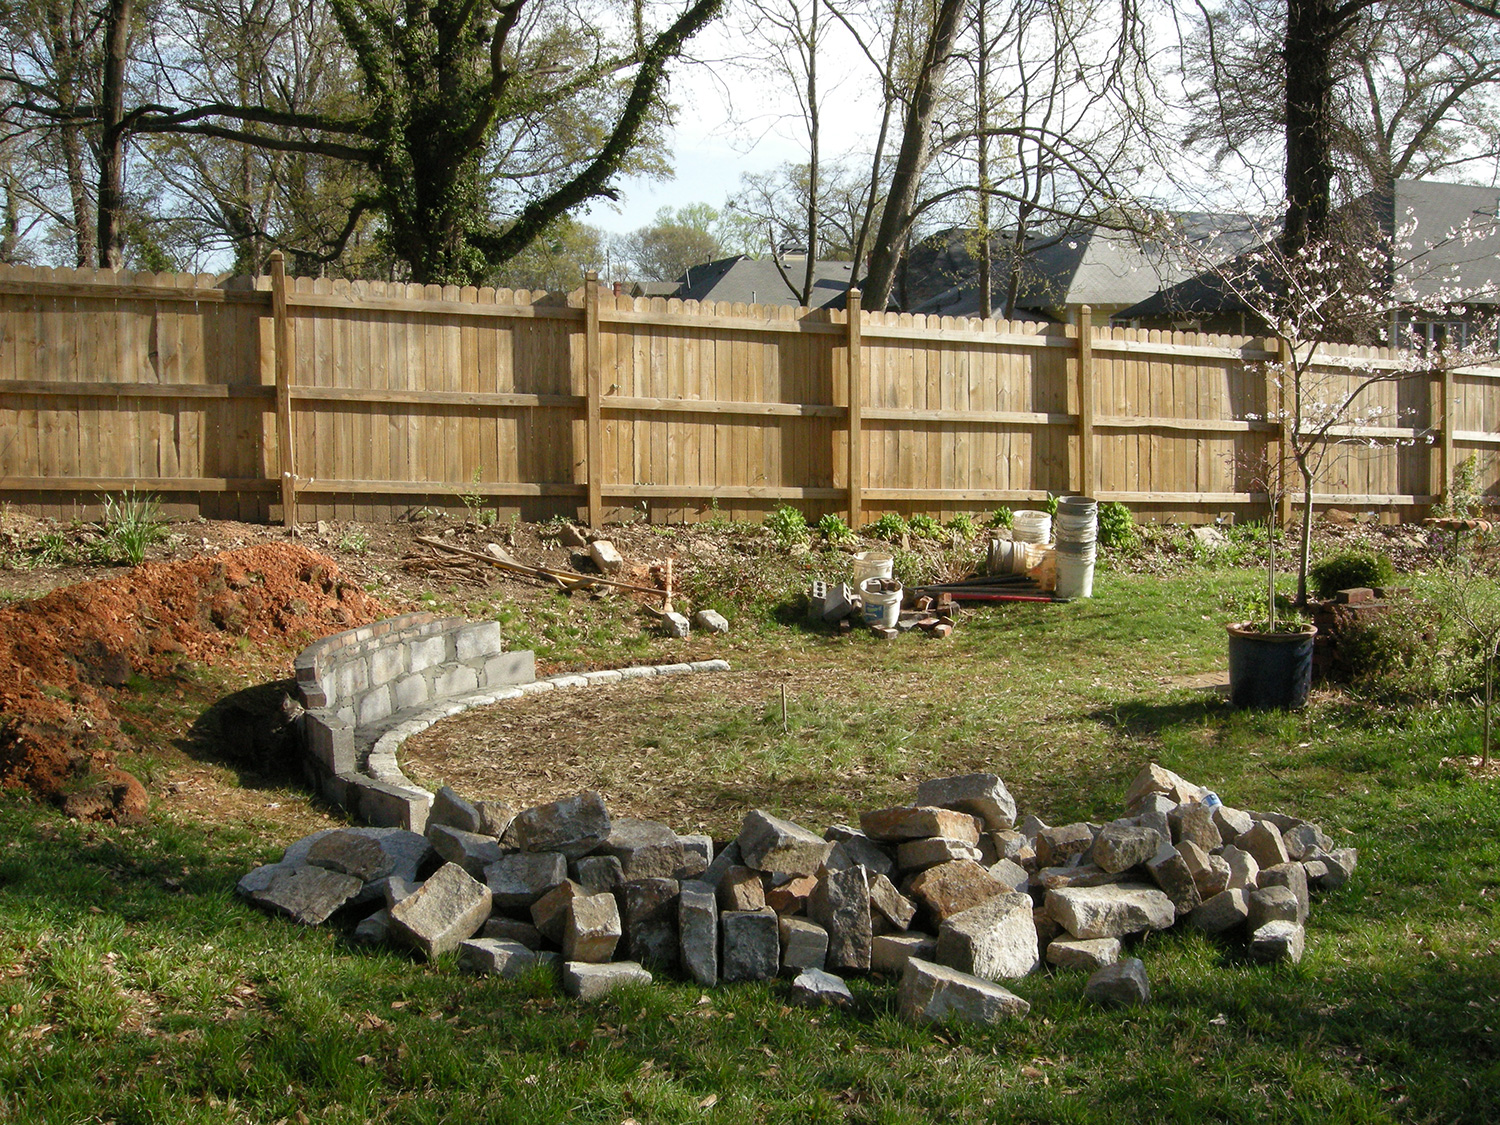
The foundation and a few concrete blocks for the part of the wall that will be buried.
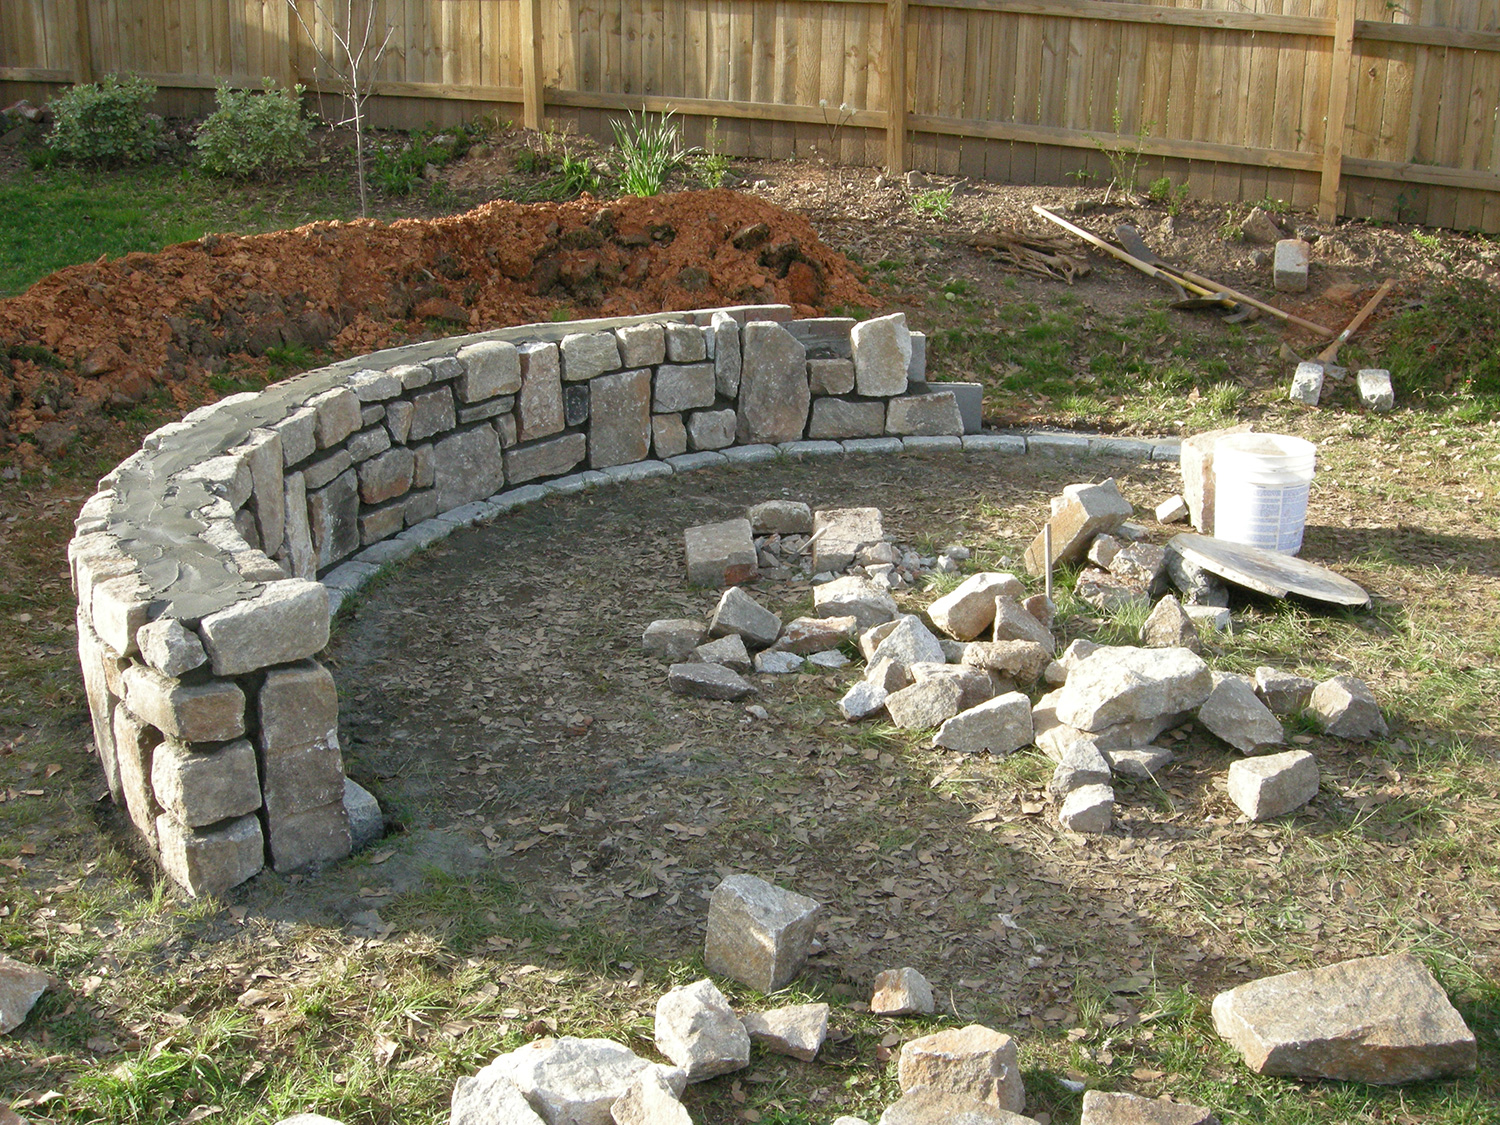
The granite wall starting to come together! Ray was able to find reclaimed granite from a 1910 house that had been demolished near Decatur. Perfect!!
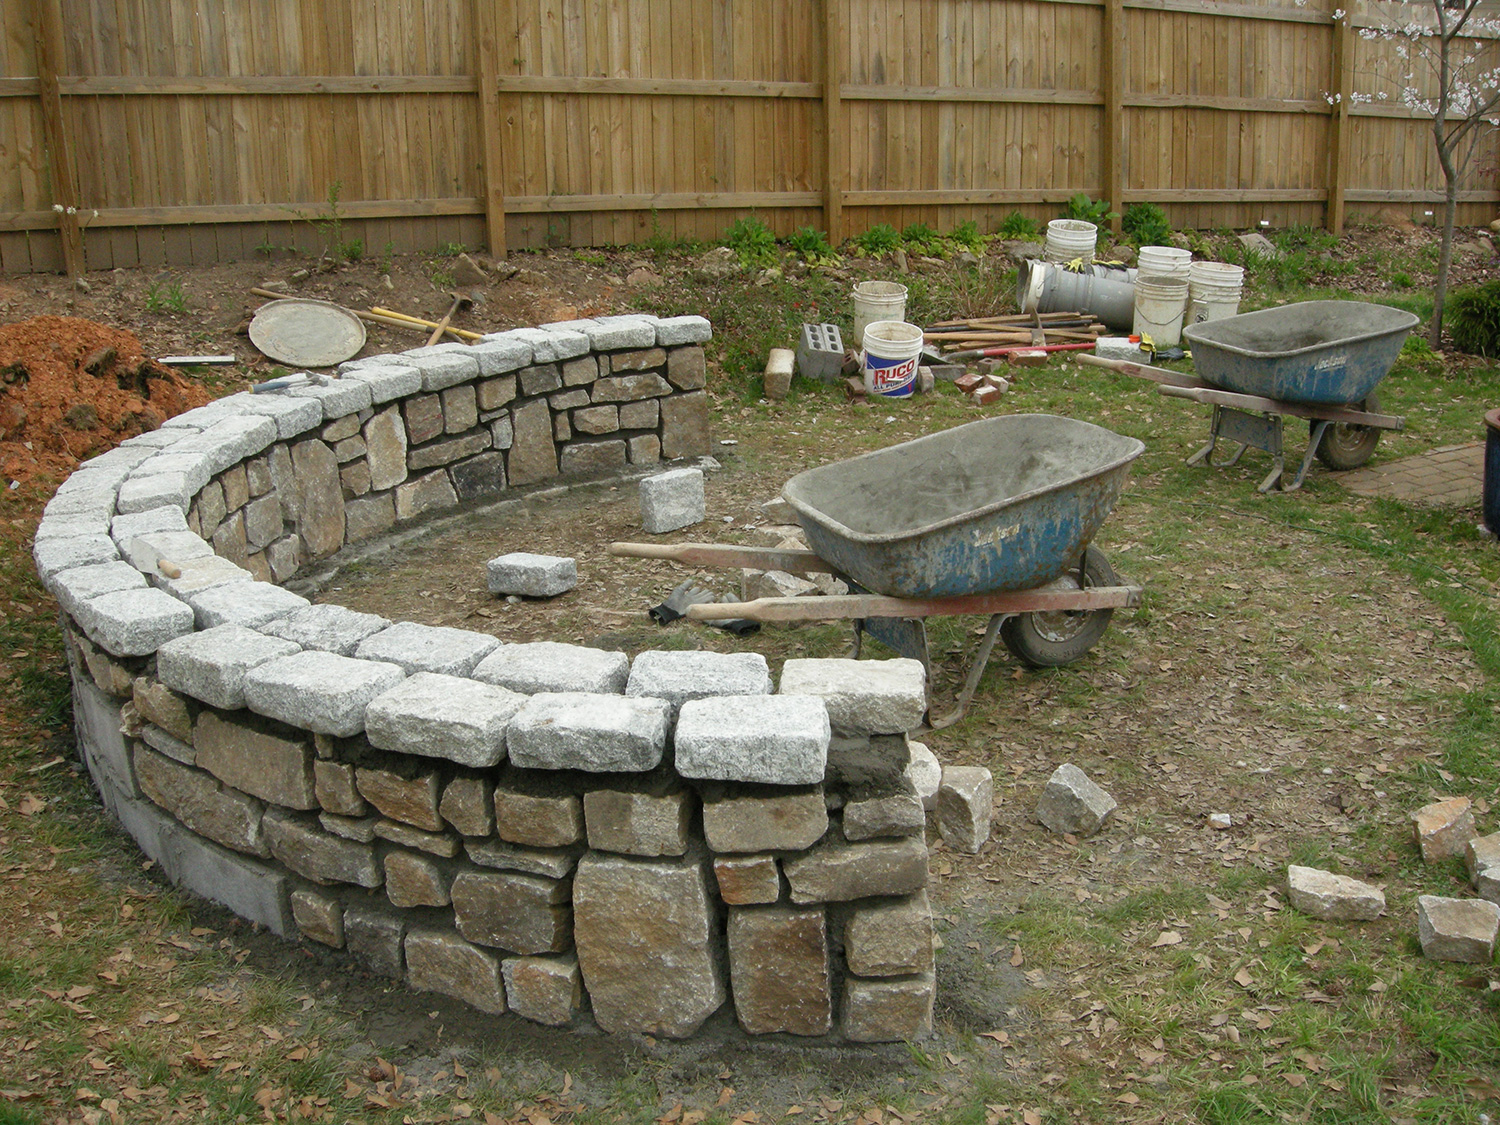
The wall cap is made from granite used as ballast for boats coming from India.
Chipper dug a giant hole for the granite dust to support the brick patio.
Ray adding the grout between the granite. They went back and scraped it to create the finished look.
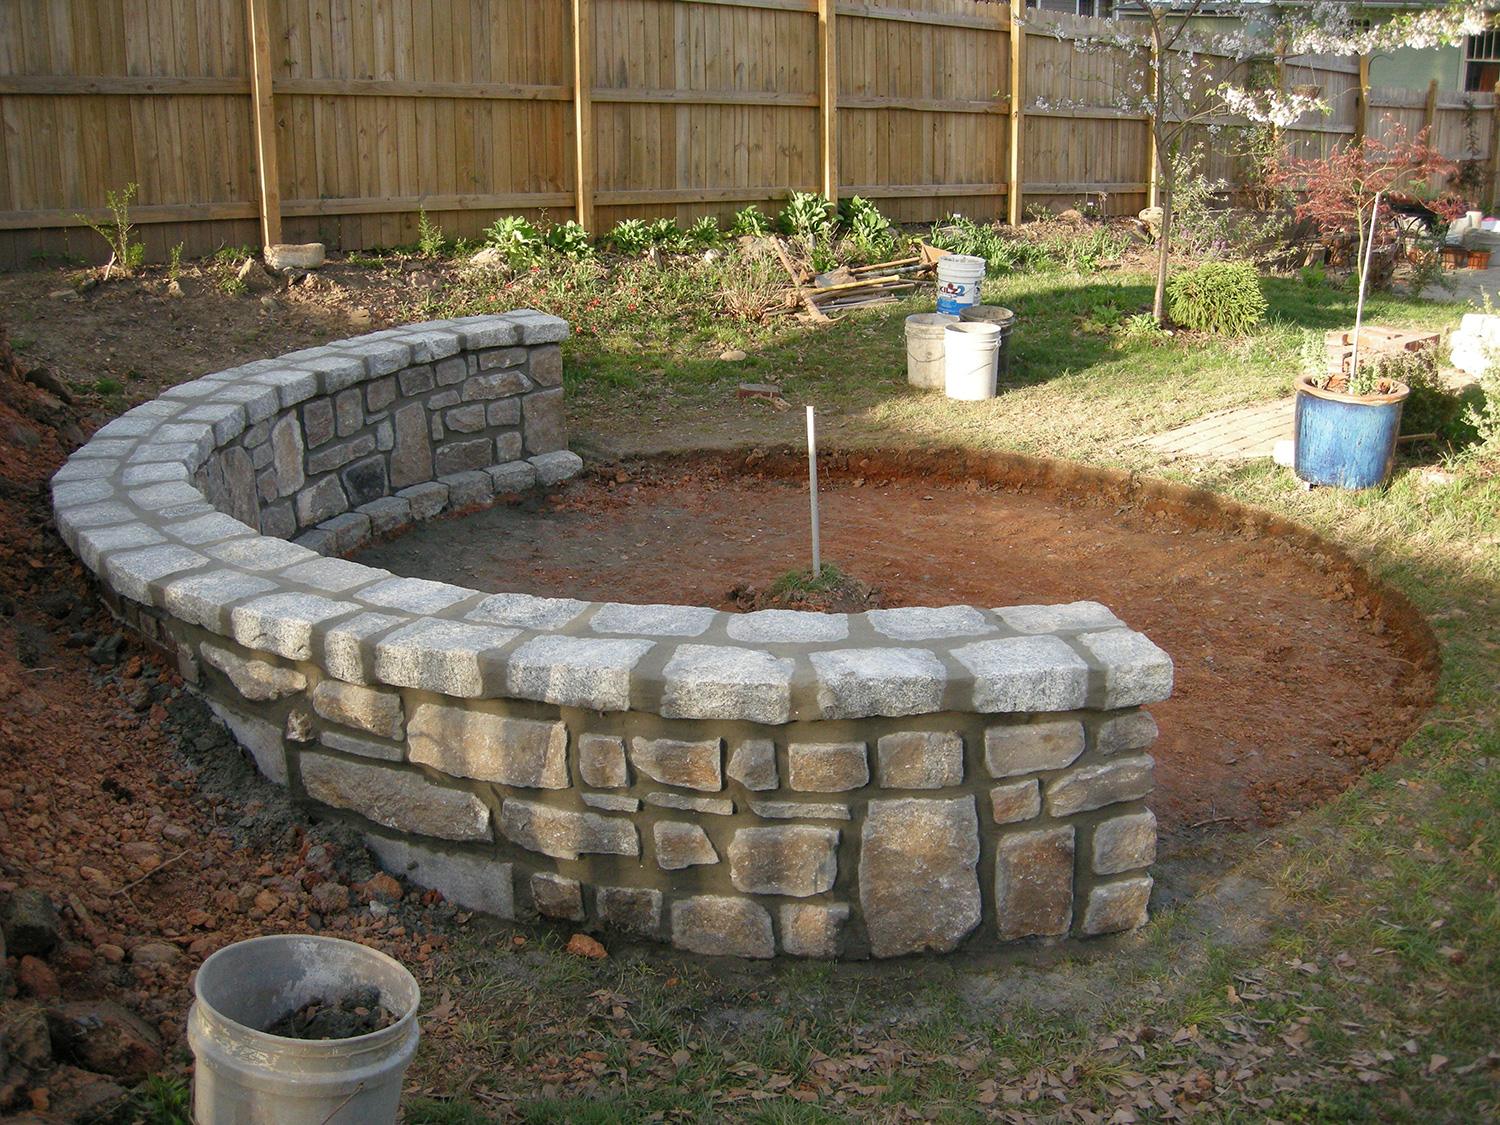
With the grout in place the wall looks amazing!
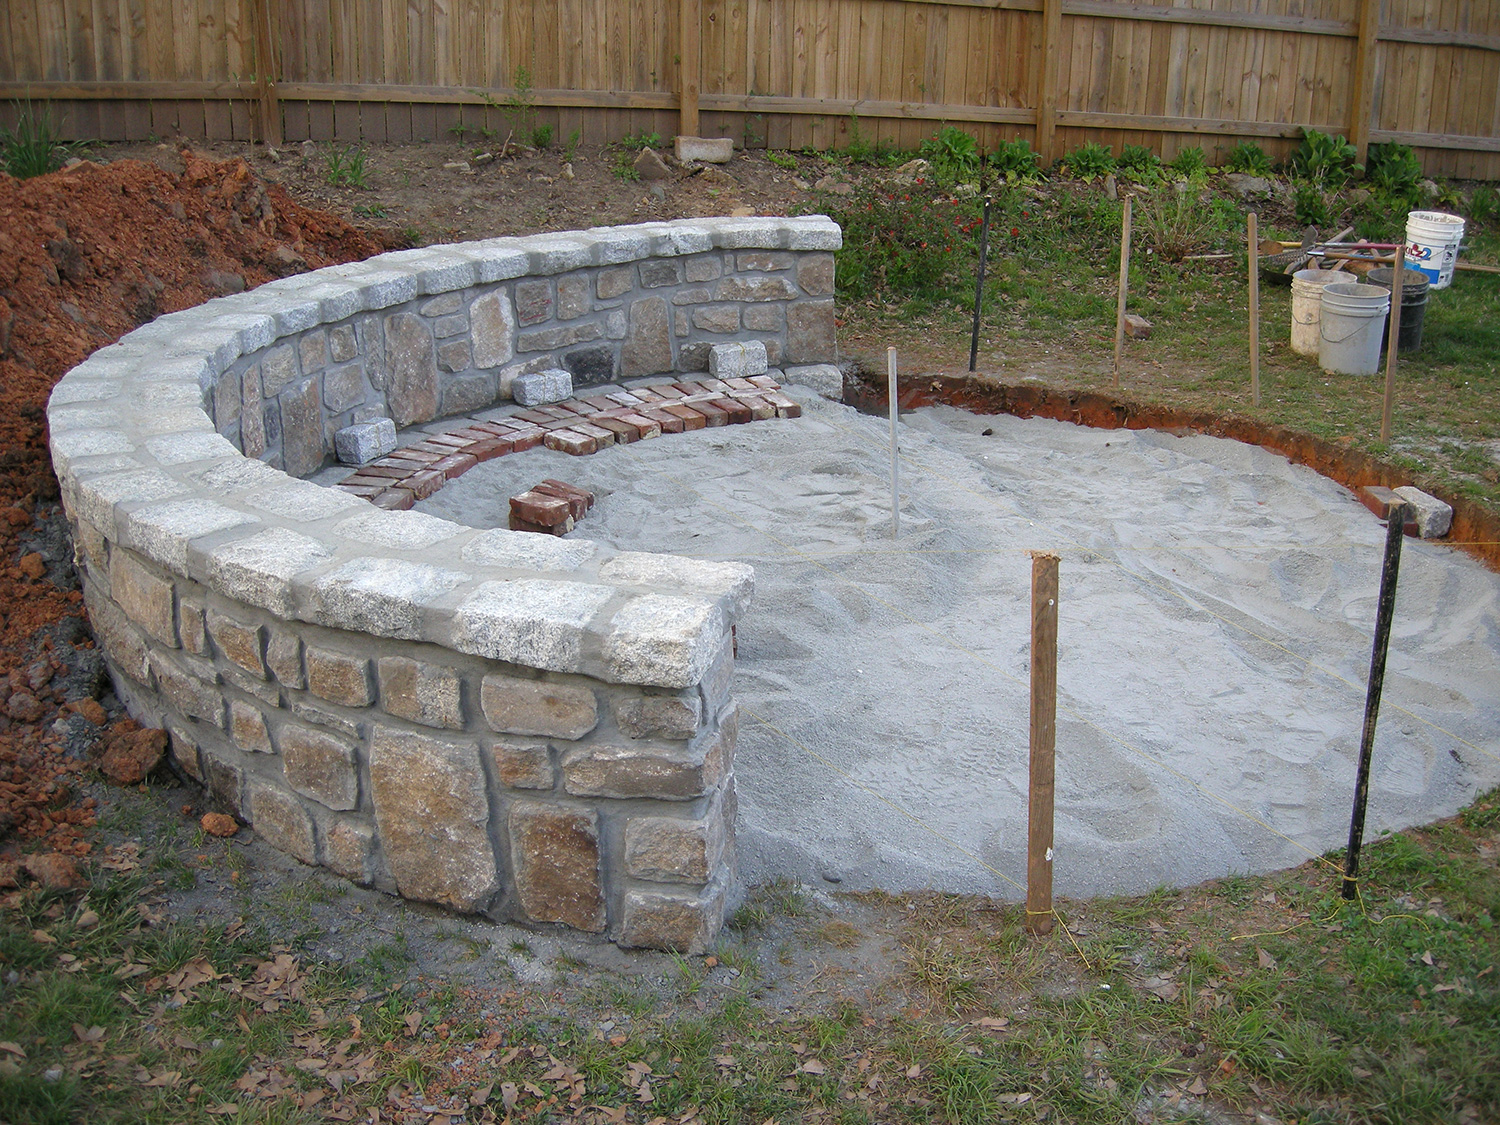
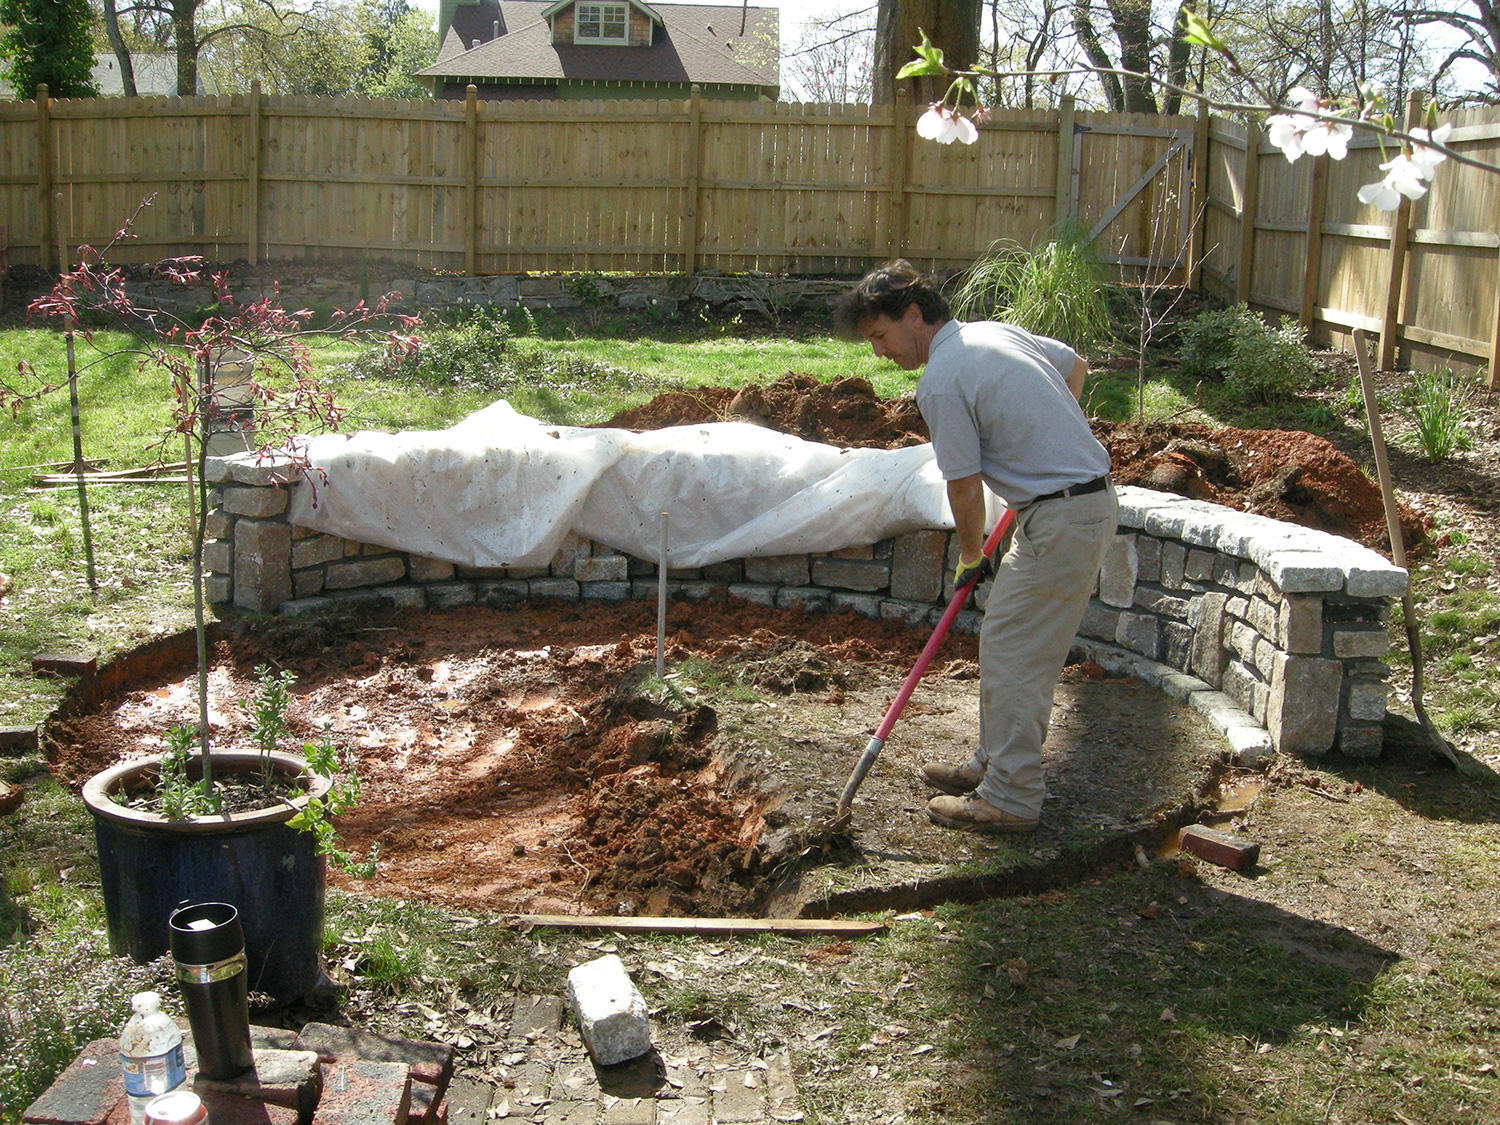
A ton of granite dust filled up the hole to create the foundation for the patio. Lots of strings and levels were used to make sure everything was nice and flat.
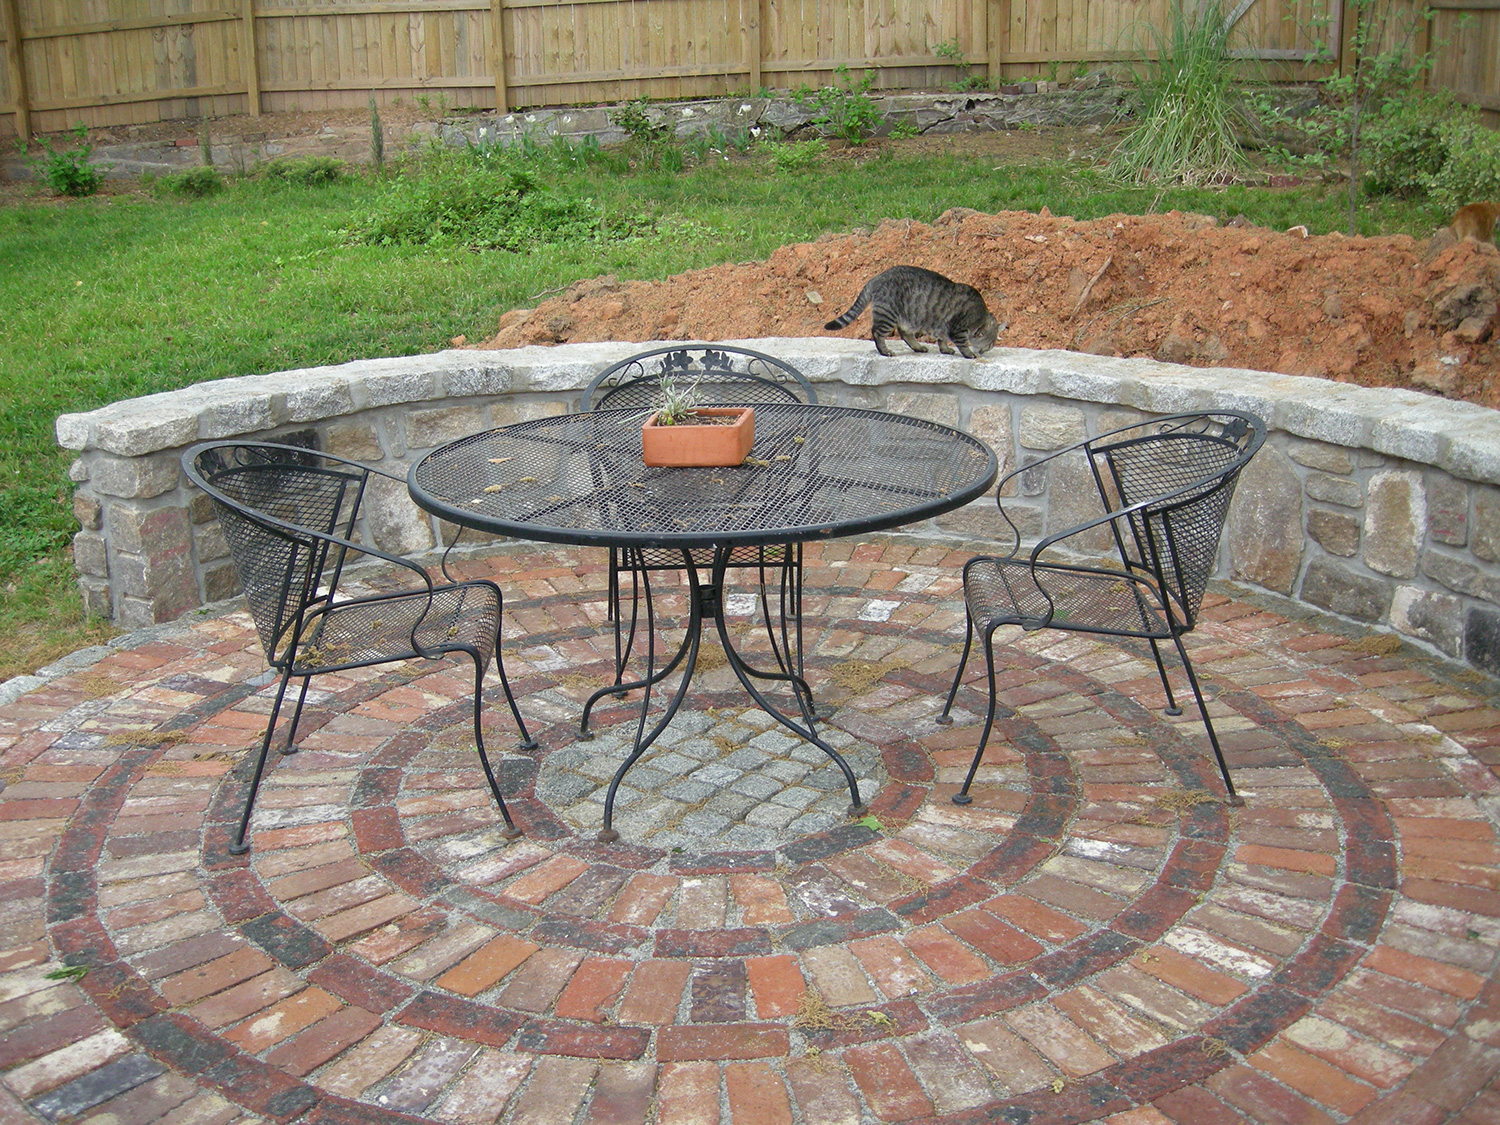
The wall and the patio in their final state with our patio furniture. Our cat Foster is carefully inspecting the work.
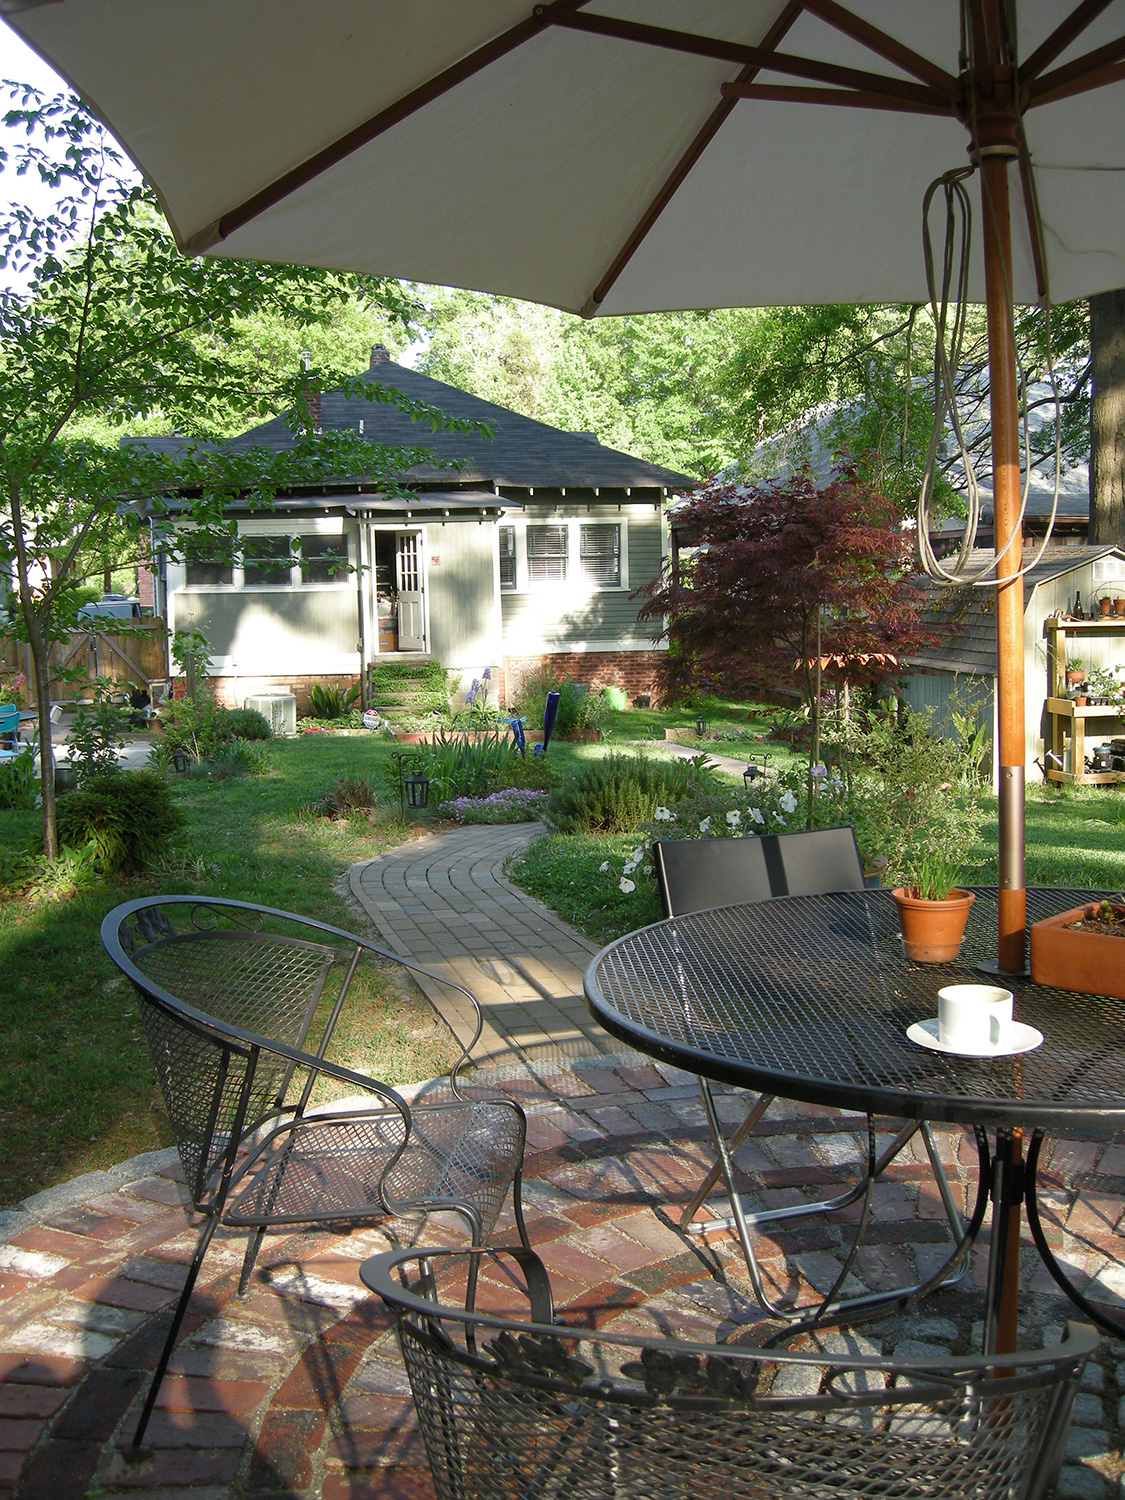
The view from the patio is without a doubt one of our favorite spots in the yard!