The one up side to winter is that it forces us to stay inside, which means we focus our energy on the interior of the house. We’re so incredibly close to finishing soo many projects, all of which involve removing paints from various surfaces. And there are so many ways to remove paint. You can use a heat gun, chemical gels (of various colors), special milk paint remover, and Steffi’s favorite: dental picks. Here are a few things we’ve been working on and hope to finish before the warm weather beckons us outside to the garden.
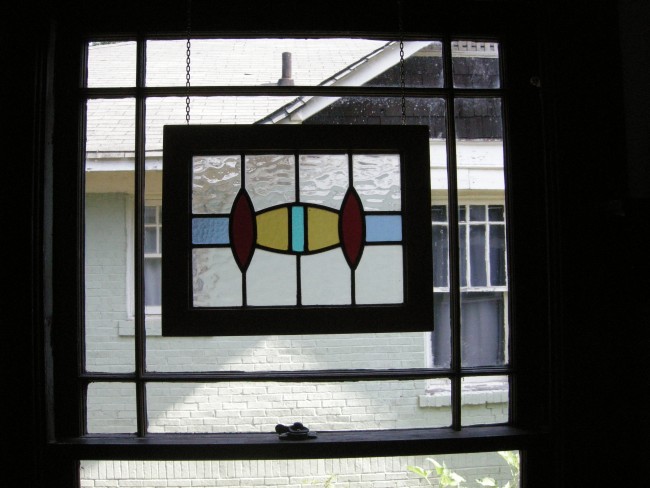
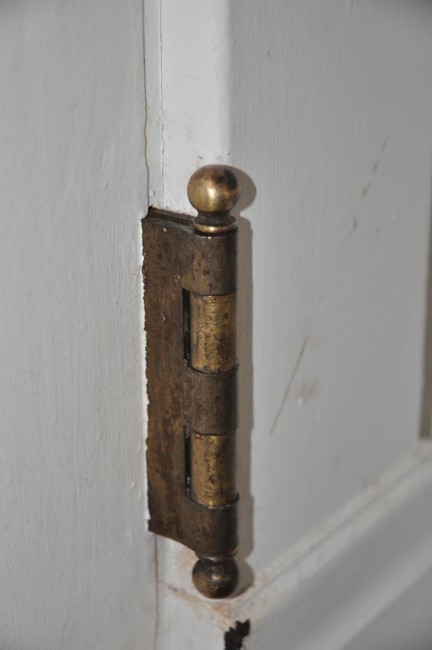
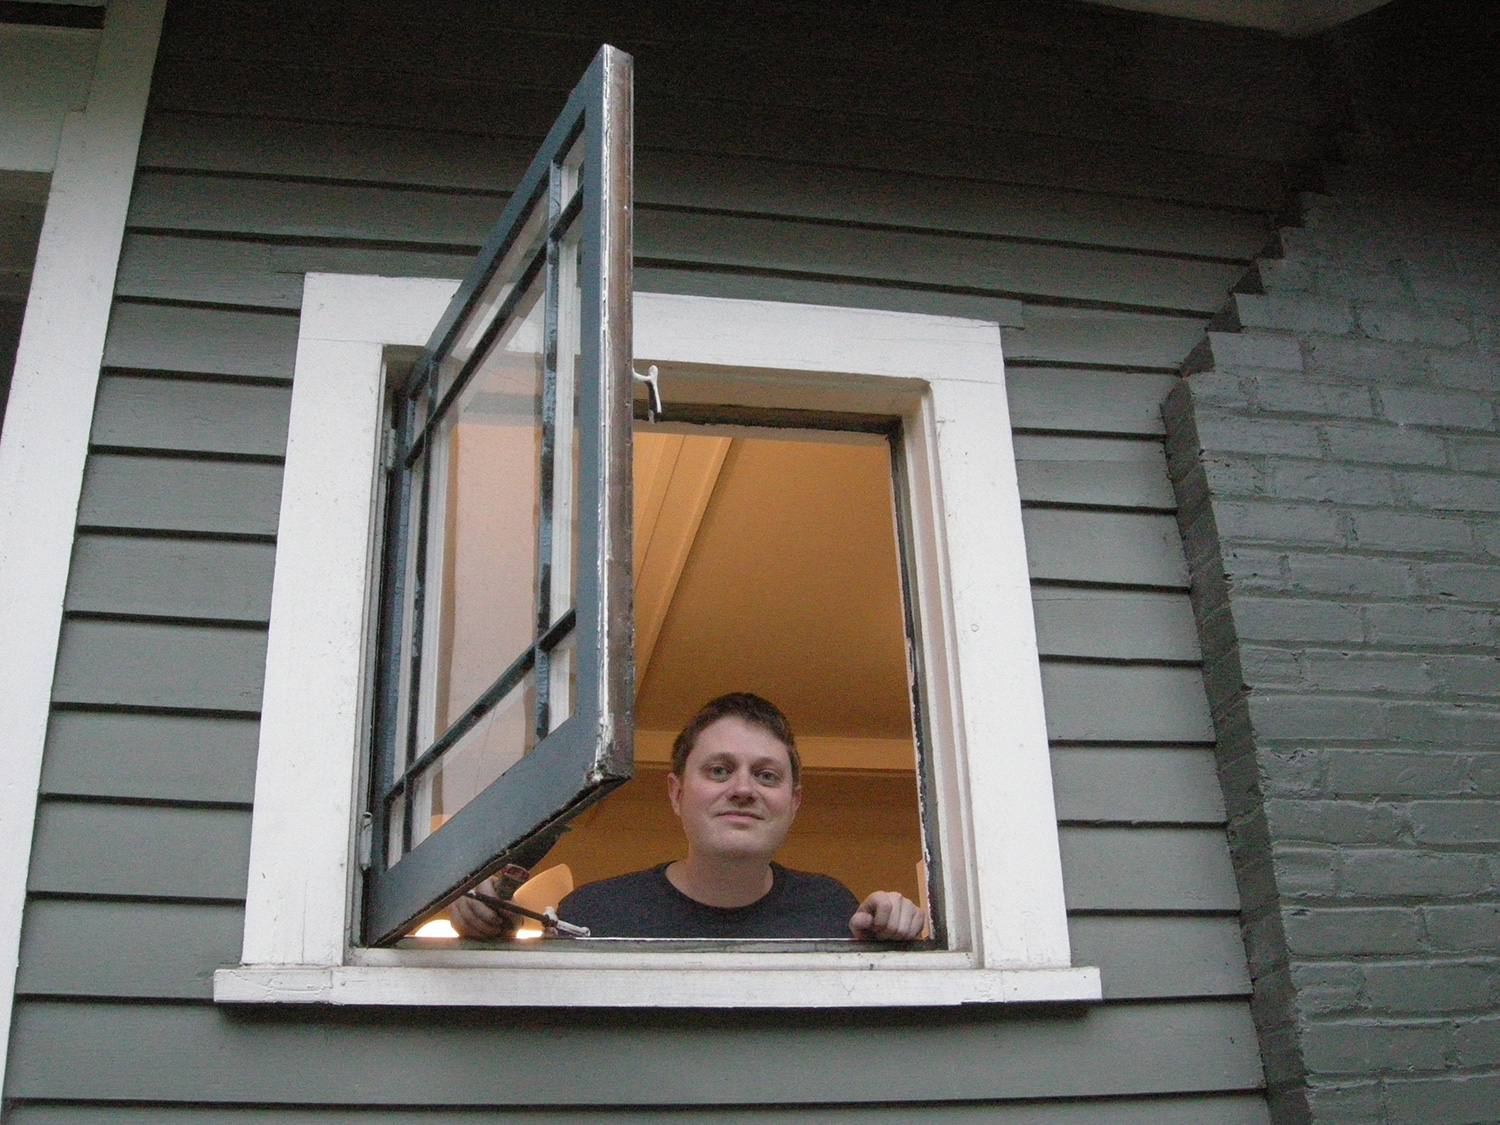
This window probably hadn’t been opened in many, many years. A little work with the heat gun to loosen it up around the edges, followed by some pushing and pulling, and the window was open! Additionally, the hardware had been covered with many layers of paint, but once it was all cleaned off it worked perfectly. Seriously, who paints the hardware?
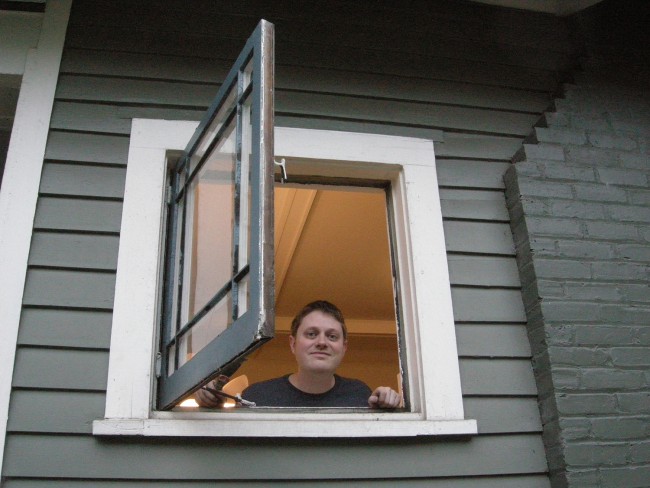
Let there be fresh air!
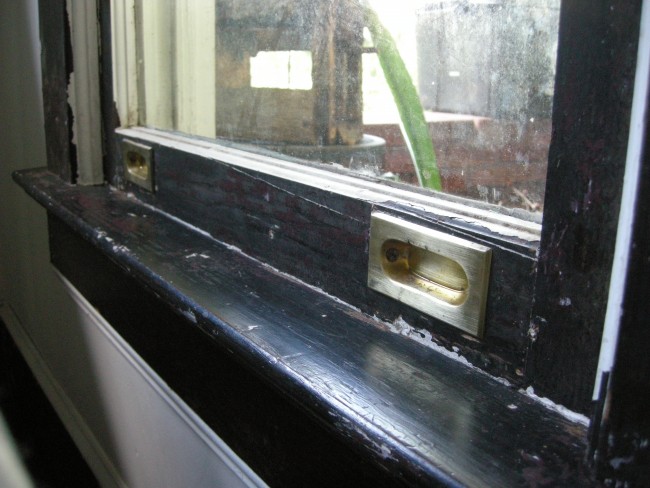
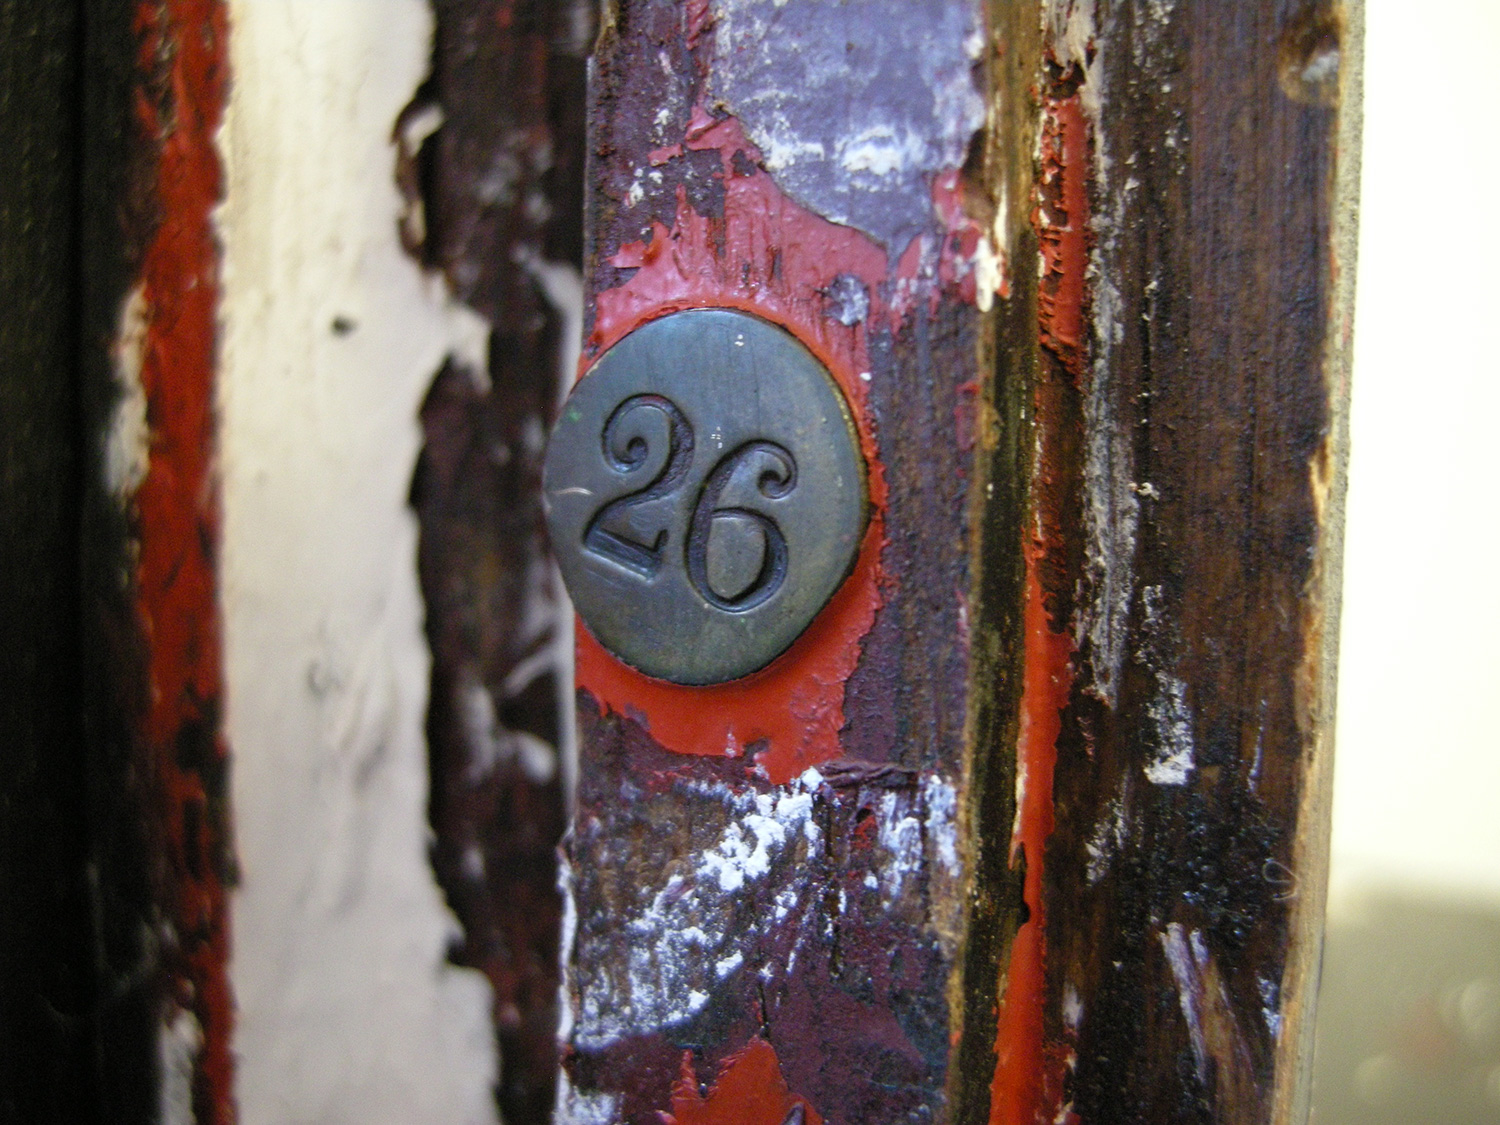
One of the cooler finds buried under all those layers of paint on the window was this old brass storm window tack. As far as we can tell there would have been screens for the windows on each side of the fireplace. The numbers would have allowed you to match the screen to the correct window.

The brass storm window number tack hiding under all that paint.
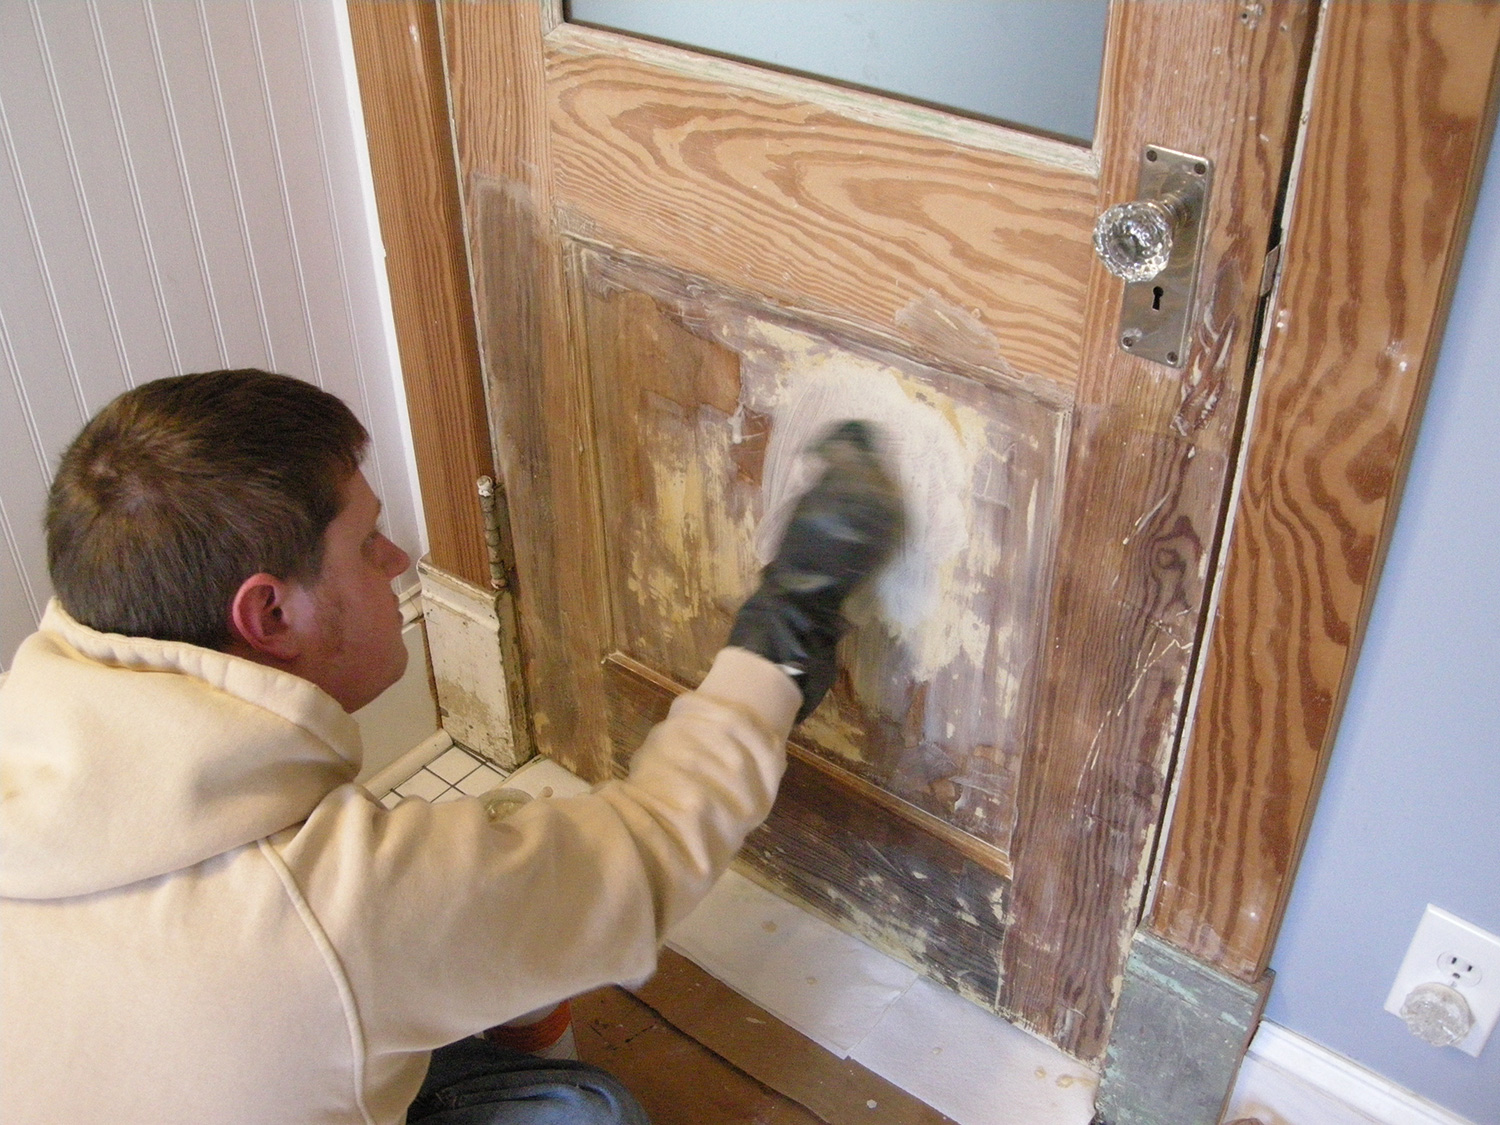
Another project we’re working on is refinishing the last two doors on the built-in cabinet in our bathroom. These doors have milk paint, which means the chemicals and/or heat gun will not work. For milk paint there is only one option – milk paint remover. Duh. It’s a lovely non-toxic powder that magically mixes with water and *poof* the paint washes right off. If only all paint removal could be this easy. And if only we could finish this project…
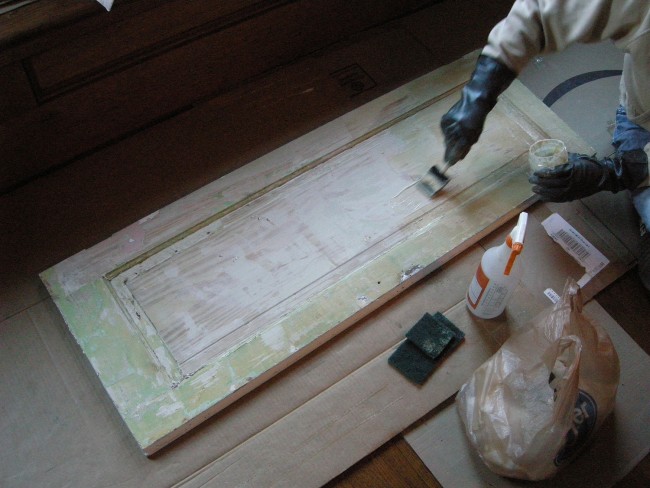
Removing milk paint with milk paint remover.
More milk paint removal taking place on the back of the bathroom door. The other side of this door has been stained many years ago, but it didn’t have milk paint. Okay, so you’re probably asking, if removing milk paint is really so easy why has it taken you so long? Well you should stop asking. We’ll finish all these projects eventually.

Washing the paint away.
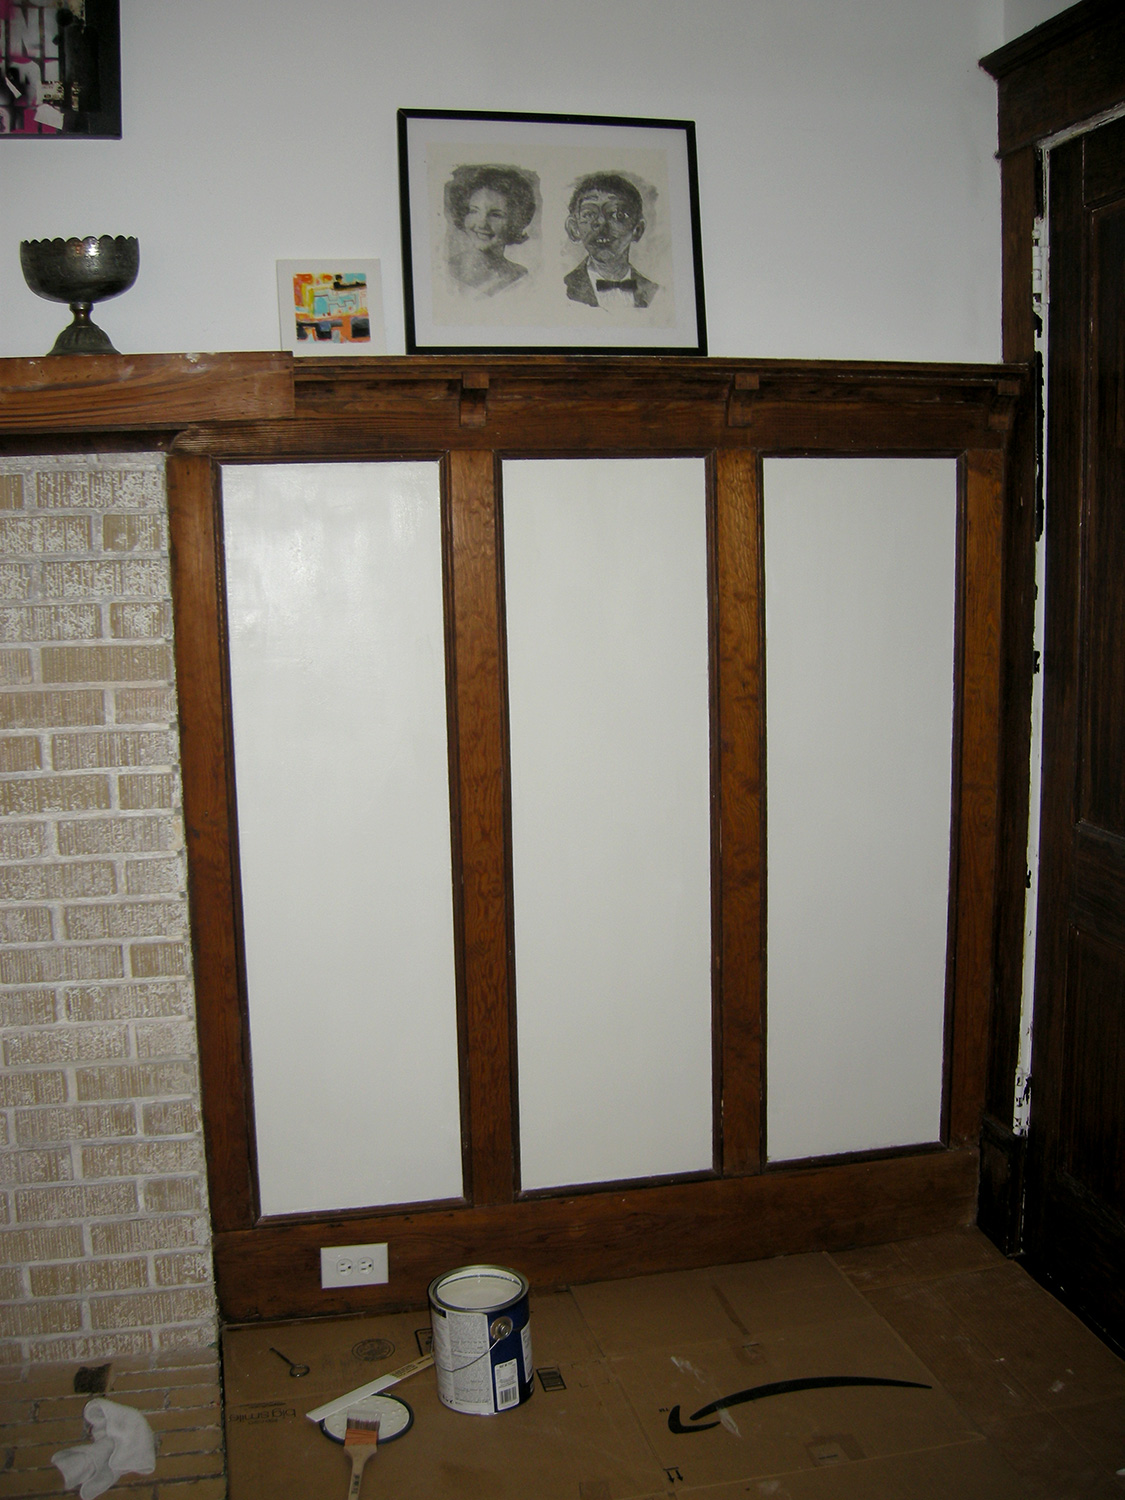
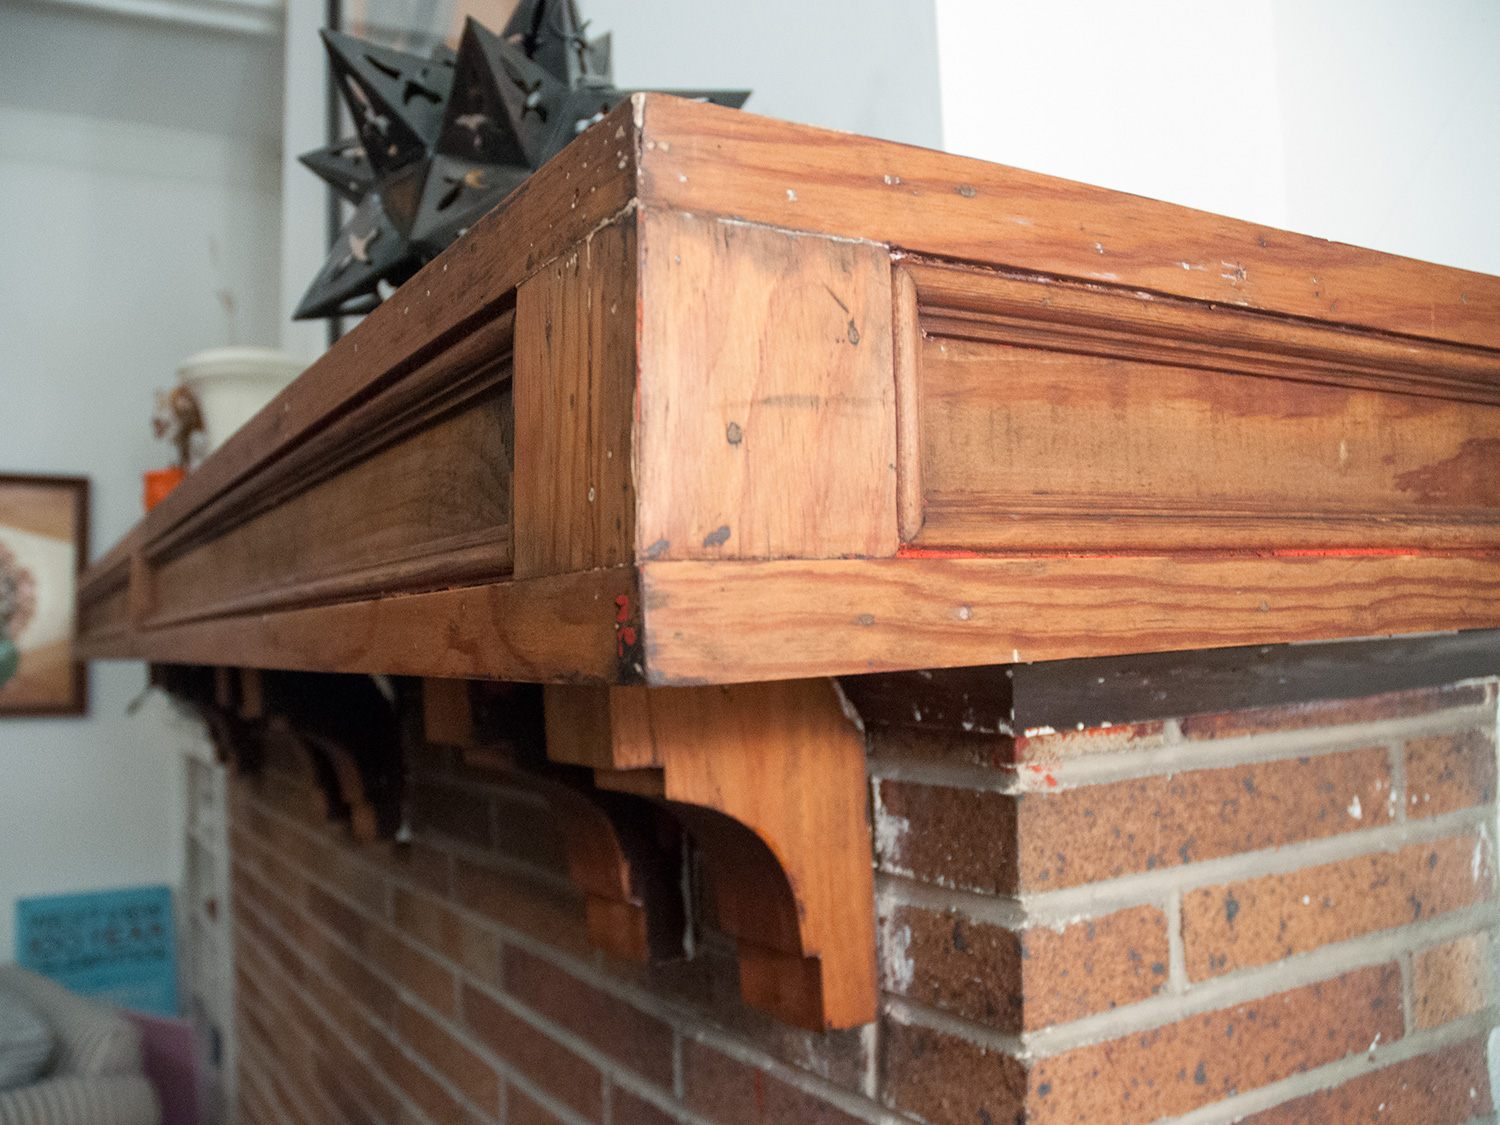
The paint stripping in the dining room is hopefully nearing completion. We’ve only been working on it off and on for eight years. The good news is we purchased the stain for the wood and the paint for the walls, so hopefully there will be an update soon dedicated exclusively to that project. In the meantime, while Steffi works on the tiny details in there with dental picks, I’ve moved on to the living room. Check out the amazing fireplace mantel!

Look at that beautiful wood that was hiding under all those layers of paint.