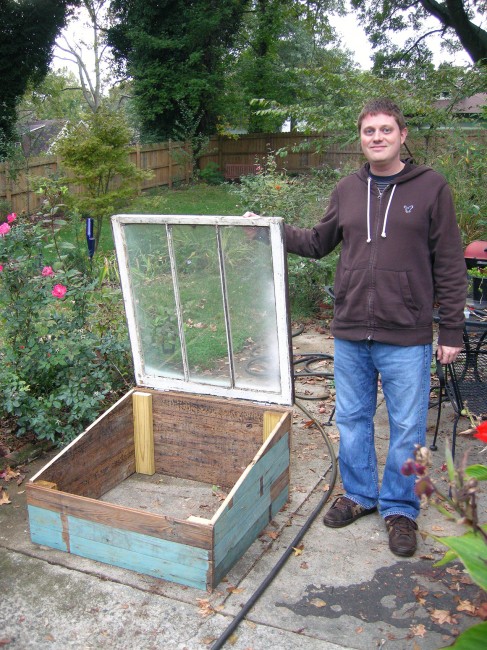
This past weekend we finally got around to a project we had been planning since last winter – we built a cold frame. If you’re not familiar with cold frames they are basically mini greenhouses that allow you to garden outside during the cooler months. We’ll probably use ours to grow lettuce and other veggies in the late fall/early winter and then start seeds in the late winter/early spring.
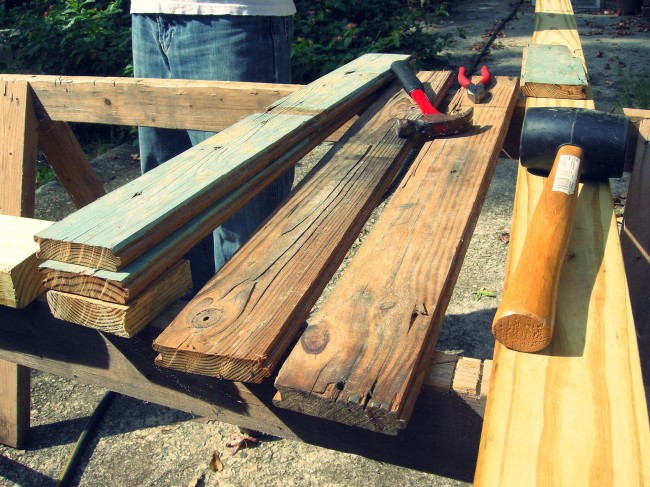
We’re always collecting old architectural materials that would otherwise be headed to a landfill, so we just drug what we needed for the project out of the basement. The materials included one 2×4, tongue and groove paneling, an old window, two galvanized hinges (from Lowes) and a lot of nails. In a previous life the tongue and groove paneling was the ceiling of our next door neighbor’s back porch. It is still painted the original sky blue. The window came from a house at the end of our street.
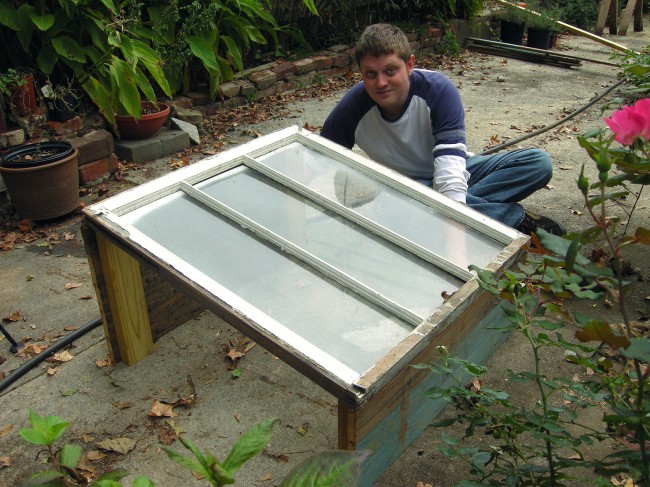
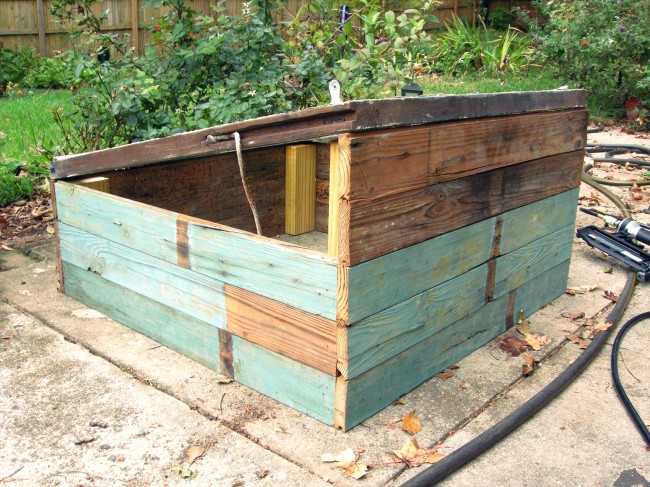
We first built the front and back walls by nailing the tongue and groove boards to 2x4s. We made sure to leave overlap on each end for the sides. We wanted to hide the ends of the boards on side walls behind this lip. Once we had the front and back walls built we setup the cold frame so we could measure the width of side walls. This allowed us to skip the geometry lesson required to figure out angles and such.
Once we cut the boards to the correct length we went ahead and nailed them to the sides.
The only boards left to cut were the angled pieces at the top. This seemed like it would be tricky at first, but it’s not really. You just measure the height and width and connect the dots. We used a 2×4 as a straight edge to mark the angled side. The cut was long and it crossed two board, which presented a little challenge, but it wasn’t all that difficult.
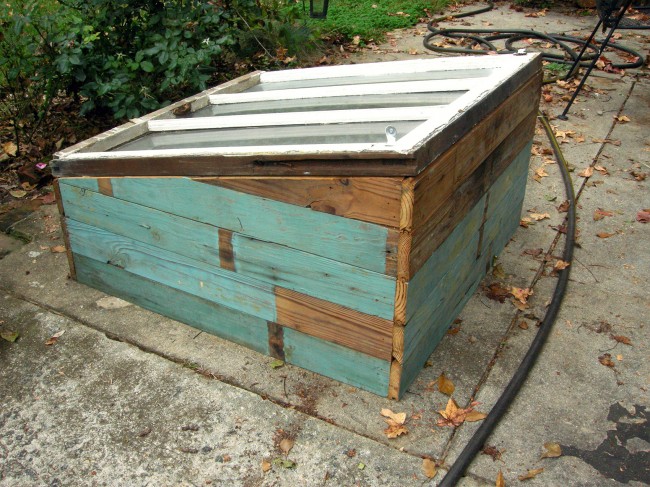
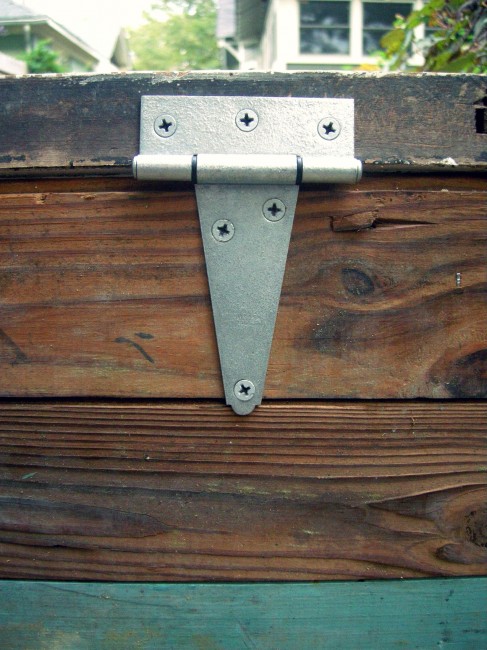
With the construction of the box complete the only thing left was to add the hinges. We picked up a pair of four inch galvanized t-hinges at Lowes.
And we’re done!

