Category Archive: Photos

Lots Of Catching Up To Do

The blog may have come to a standstill, but life sure has not. I don’t even know where to begin. It has been nearly nine months since the last post… that sounds like a good place to start! Speaking of things that take nine months – we have a baby!

Last January we found out we were expecting a wee one. This was super exciting news, but we all of a sudden felt the pressure of many incomplete house projects. We went into overdrive trying to get things knocked out before the baby arrived. This involved really simple projects, like putting a hook on the porch to hang up the wind chimes (five minutes), to more complex projects, like trying to finish paint stripping the dining room and living room. The latter project forced Steffi to leave the house or go work outside for the day. Paint stripping and pregnant women do not mix. It felt like a pretty productive time, but the list of remaining projects is still very long.

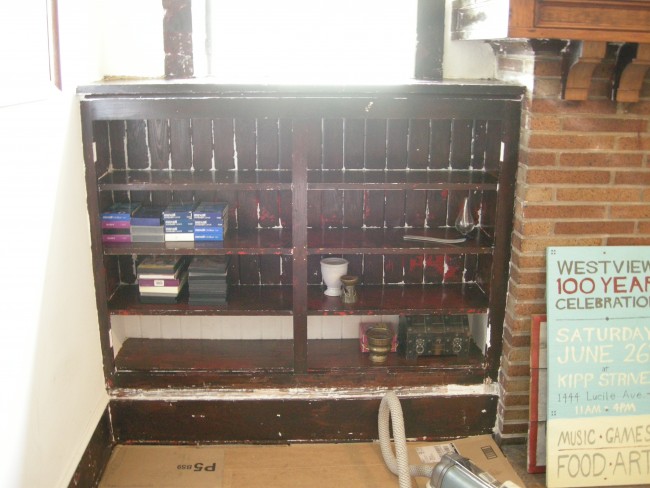
Stripped Bookcase
Stripping the bookcase next to the fireplace. Lots of nooks and crannies where paint can hide.
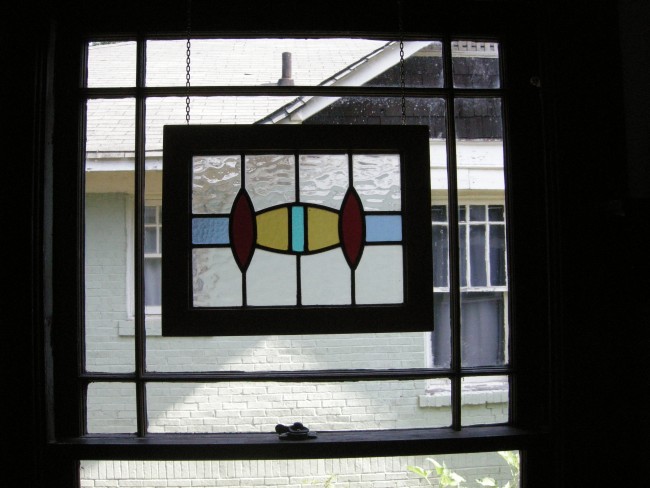
English Stained Glass
We bought this stained glass years ago and planned to hang it in front of this window. It took a while to find the right chain, but we finally got it done!
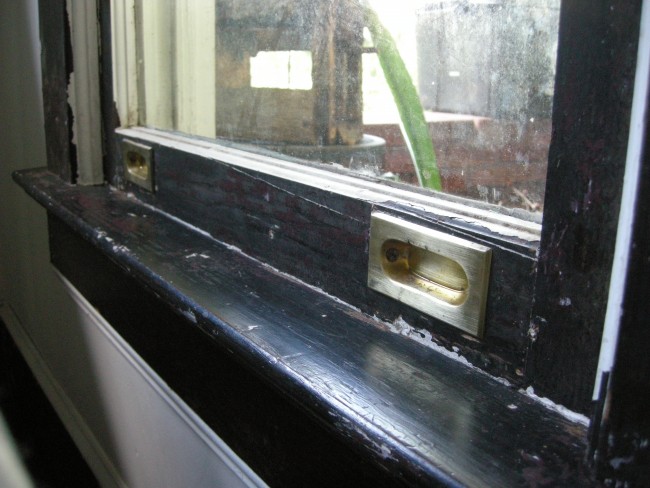
Window Hardware
I also went on a multi-day sash lift paint stripping marathon. They are as good as new when I got rid of the years of paint, and it isn’t that difficult – just boil the hardware in a pot of water.
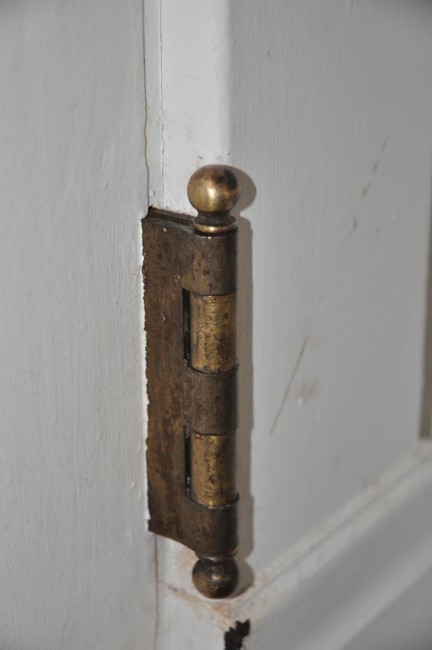
Door Hinge
And the door hinges got stripped and cleaned up when Steffi requested I oil a squeaky hinge so it wouldn’t wake the baby.
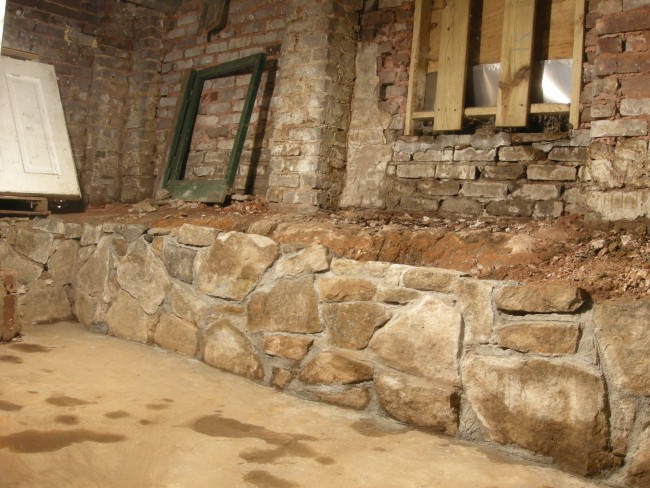
Crawlspace Wall
This is an ongoing project. I’ve been rebuilding the old granite wall in the basement to hopefully make it more water tight.

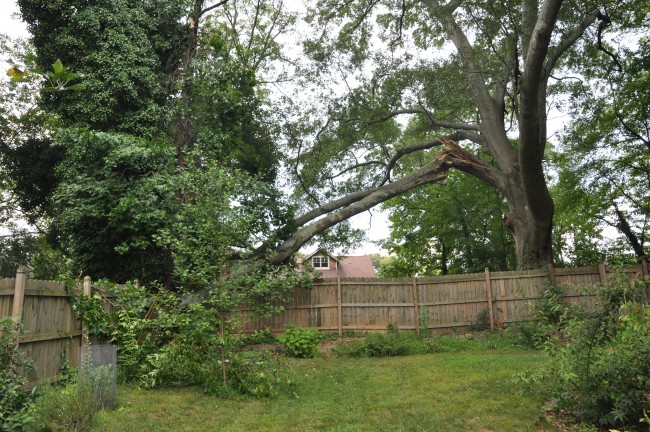
And then there were some unplanned projects. Like, that time the giant limb on the massive oak tree came crashing down.

Cracked Oak Limb
This giant limb came crashing down in July. We heard a loud crack, and looked out the window and noticed this branch was wedged on an adjacent tree. Before the tree crew could arrive the other tree gave (in the top left of the photo) and it all came crashing down.

Last, but not least – our new addition!

Our New Baby
And then there were three! (plus two cats)
Posted in Our Bungalow, Photos, Westview Bungalow | 1 Comment

Spring is Here!

There’s so much news to share this spring, but first the big news…. we’re expecting a new addition in September! No, not a new addition to the house – a new addition to our family!! The addition to the house has to wait for now, but needless to say we need to wrap up some existing house projects before the wee one arrives, so we’ve been busy.

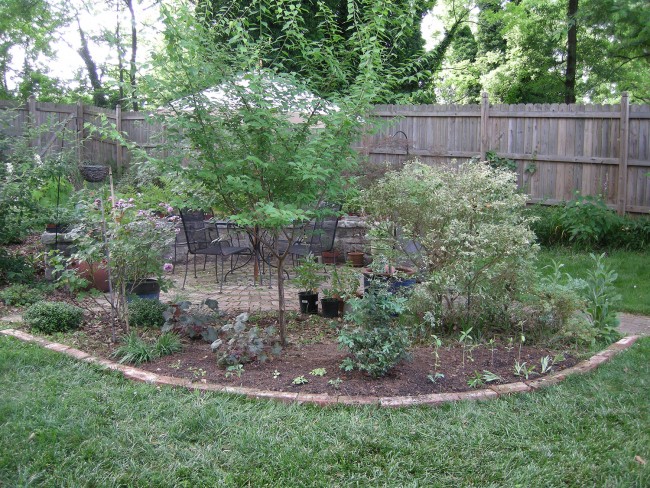
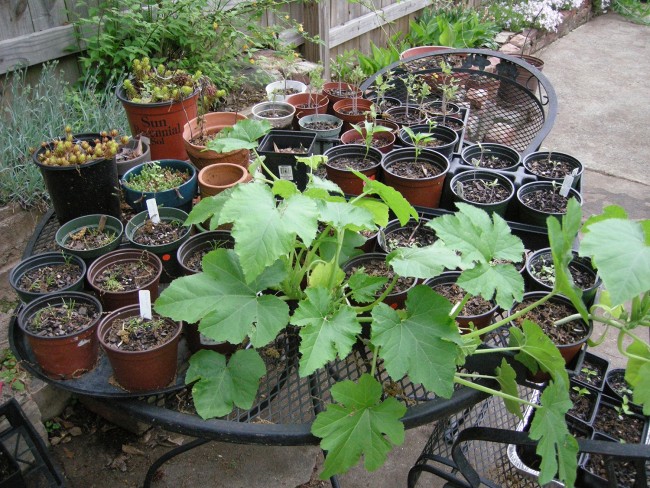
The yard is looking amazing. Everything is growing in nicely. We only had to do the annual spring cleaning and trimming, but no heavy planting or landscaping this year. We just added a new blueberry bush (we have six now!) and a few small perennials and annuals in an expanded bed by the patio. And, as we do every year, we have grown a bunch of veggies and annuals from seeds.

New Bed by Patio
The expanded bed by the patio with the new “Sunshine Blue” blueberry bush, some sunflowers, cornflowers, Canterbury bells, kale and coral bells.
Fuchsia
We got these beautiful Fuchsia plants from Gardenhood for our front porch. They remind us of Europe.
Spring Veggies
Some of our veggies waiting to find their homes in our gardens and our neighbors’ gardens.

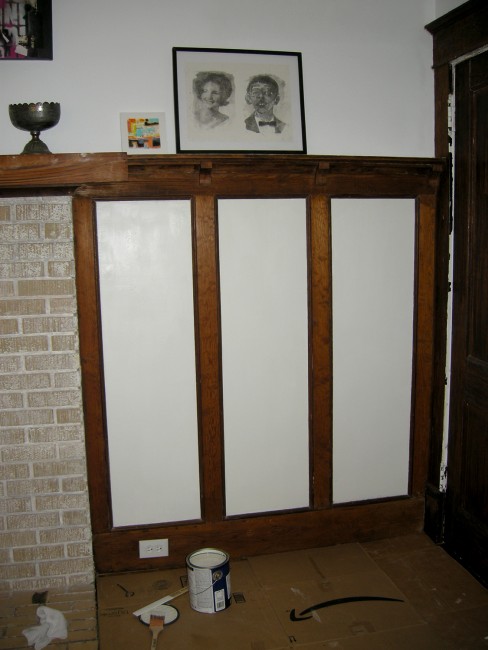
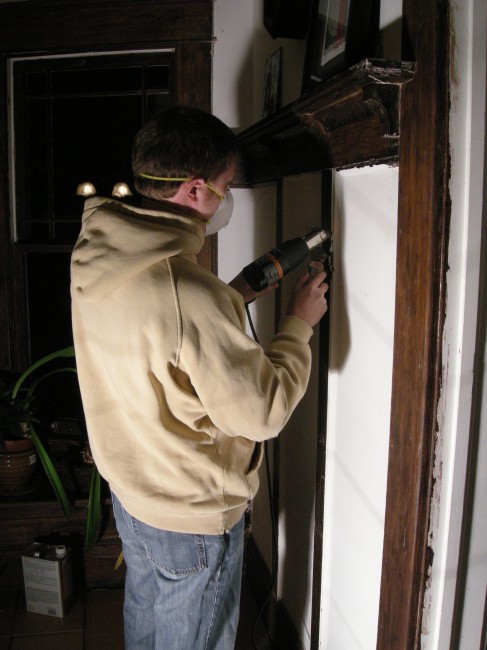
I’ve continued stripping some paint off the wood work in the living room. Steffi’s stripping capacity is non-existent at this point, so I have to find times when she’s away from the house or in the garden to get out the heat gun and chemicals. (When you’re expecting you really make sure to read those labels carefully!) The weather also has to cooperate to make sure all the windows are open and the house is well ventilated. We’re inching closer to being in a semi-finished state before the baby arrives. Cross your fingers for us! Steffi actually let me put some paint on the walls in the dining room. She had been holding out until all the paint stripping was done, so this is a step closer.

Painting the Dining Room
Painting in the dining room. Yes, we just painted a slightly tinted white over the old dirty flat white paint. It makes a difference when you see it in person.

Some other SUPER AMAZING news to share: I found a blog with pictures of our house in the 1960s! We’ve been hoping to find old photos of our home and street, so this was incredibly exciting for us. We’ve connected with Cynthia, the author of the blog, and are planning to meet to hear more about her family and their time living in our home. We can’t wait!!! We have now made contact with family members from all three families that lived in our house before us.

I have to give a special mention to Marlene and Ted for helping us make the connection with Cynthia. Marlene and Ted grew up in the neighborhood in the 40s, 50s, and 60s. They came over to talk to Steffi and I about their memories, and Ted said we lived in Anne Nunn’s house. We knew the name of Anne’s mother because of the house’s deeds, so a Google search of their names together revealed Cynthia’s blog.

Stay to tuned for the next update. I’m sure it will be an exciting one!

Posted in Gardening, Our Bungalow, Photos, Westview Bungalow | Comments Off on Spring is Here!

Winter Interior Work

The one up side to winter is that it forces us to stay inside, which means we focus our energy on the interior of the house. We’re so incredibly close to finishing soo many projects, all of which involve removing paints from various surfaces. And there are so many ways to remove paint. You can use a heat gun, chemical gels (of various colors), special milk paint remover, and Steffi’s favorite: dental picks. Here are a few things we’ve been working on and hope to finish before the warm weather beckons us outside to the garden.

This window probably hadn’t been opened in many, many years. A little work with the heat gun to loosen it up around the edges, followed by some pushing and pulling, and the window was open! Additionally, the hardware had been covered with many layers of paint, but once it was all cleaned off it worked perfectly. Seriously, who paints the hardware?
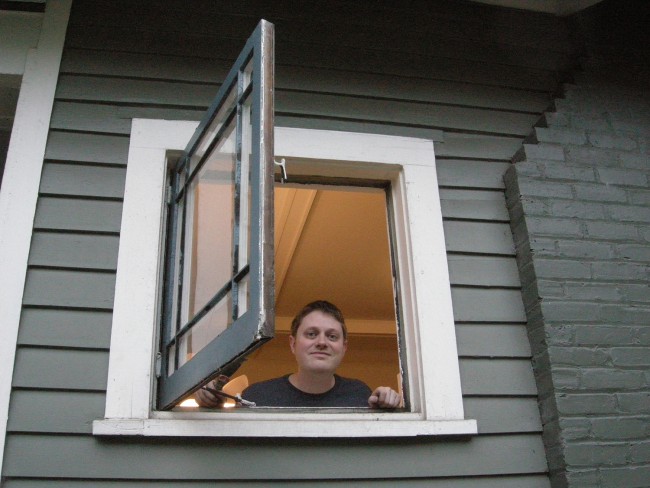
Let there be fresh air!

Let there be fresh air!

One of the cooler finds buried under all those layers of paint on the window was this old brass storm window tack. As far as we can tell there would have been screens for the windows on each side of the fireplace. The numbers would have allowed you to match the screen to the correct window.
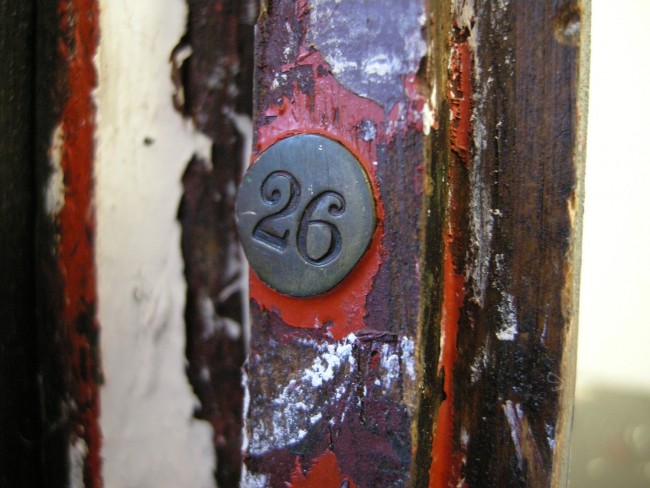
Brass Storm Window Number Tacks

The brass storm window number tack hiding under all that paint.

Another project we’re working on is refinishing the last two doors on the built-in cabinet in our bathroom. These doors have milk paint, which means the chemicals and/or heat gun will not work. For milk paint there is only one option – milk paint remover. Duh. It’s a lovely non-toxic powder that magically mixes with water and *poof* the paint washes right off. If only all paint removal could be this easy. And if only we could finish this project…
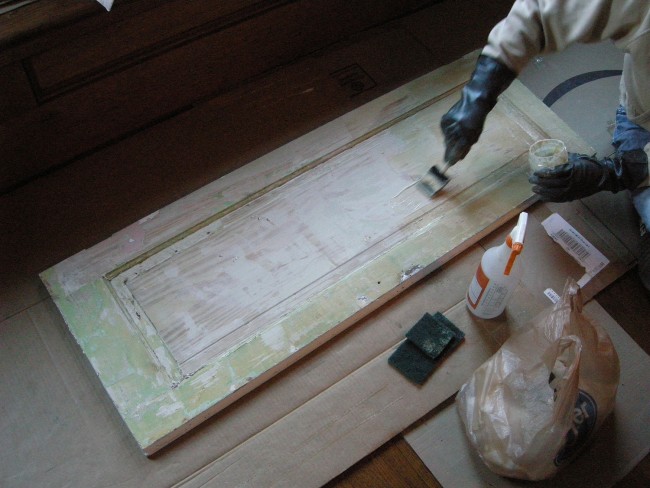
Milk Paint Removal

Removing milk paint with milk paint remover.

More milk paint removal taking place on the back of the bathroom door. The other side of this door has been stained many years ago, but it didn’t have milk paint. Okay, so you’re probably asking, if removing milk paint is really so easy why has it taken you so long? Well you should stop asking. We’ll finish all these projects eventually.
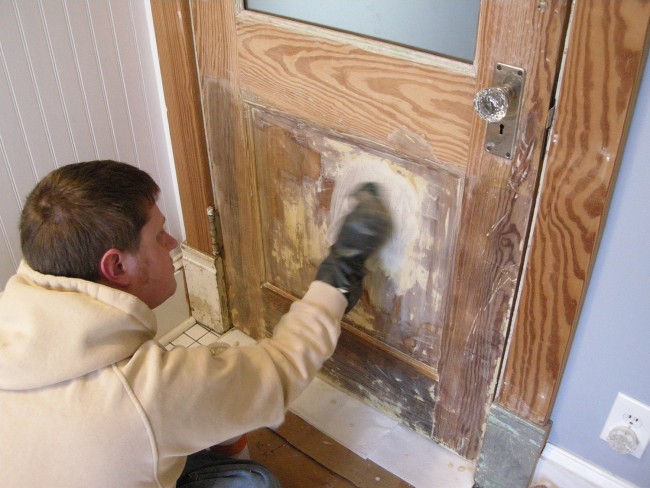
Milk paint removal

Washing the paint away.

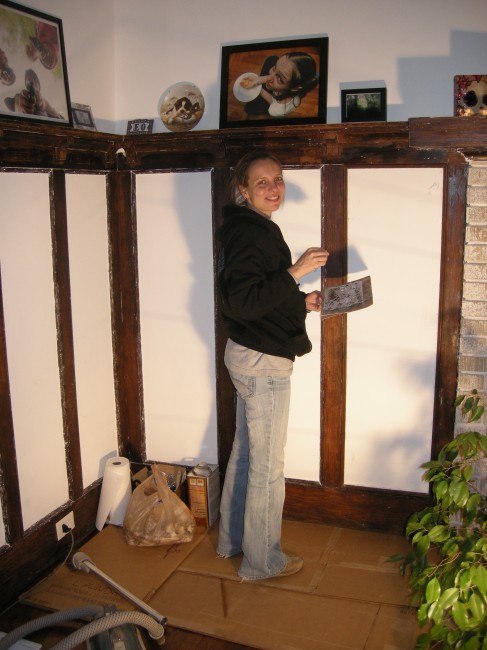
The paint stripping in the dining room is hopefully nearing completion. We’ve only been working on it off and on for eight years. The good news is we purchased the stain for the wood and the paint for the walls, so hopefully there will be an update soon dedicated exclusively to that project. In the meantime, while Steffi works on the tiny details in there with dental picks, I’ve moved on to the living room. Check out the amazing fireplace mantel!
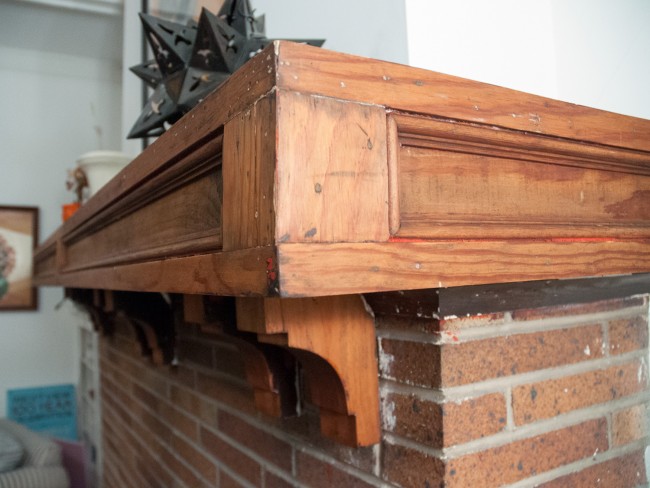
Painting stripping fire place mantel

Look at that beautiful wood that was hiding under all those layers of paint.
Posted in Our Bungalow, Photos, Westview Bungalow | 1 Comment

Thinking About an Attic Extension

Ever since we bought the house we’ve had the idea of expanding to the attic in the back of our minds. Our house has a long mystery closet that just happens to be the perfect space for adding stairs. Things are getting a LOT MORE REAL because we’ve started working with an architect (who also happens to be our neighbor) on the plans for the expansion.

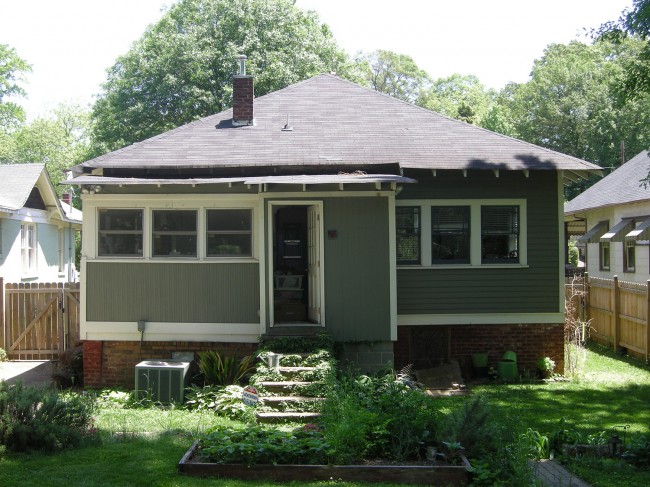
At some point long, long ago a small addition was added on the back of our house that closed in the original back porch. Based on some records we have, there was another extension added on in 1970. Today the additions are our laundry room/storage room. They are also our access to the backyard. It’s not very pretty.

The rear view of the house. The extension is on the left side.

The original idea was simple – add some stairs to a simple upstairs space, rip off and rebuild the laundry room, and add a covered back porch. Okay, not that simple, but relatively speaking it was simple. One of our biggest concerns has always been not to disturb the original architecture. We like the design of our house, and we were really lucky that the floor plan has never been altered. This was a huge selling point for us. All too often these poor houses get cut up and reconfigured over the years. People try to add extra bathrooms, bedrooms, closets, etc. And it almost always disturbs the natural flow of the house. So our idea was to not mess with much…

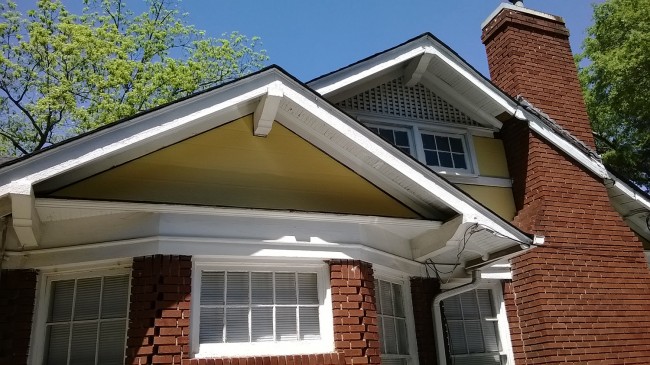
As with all simple ideas they don’t stay simple for long. We took some measurements of the attic that came up short. As in, the attic space was too short to have any comfortable livable space. This meant we would have to alter the roof significantly if we wanted some head space, and our architect told us if we’re going to alter the roof we might as well make it count. This created a new dilemma. Since we are really concerned about how the house will look post-renovation it took some time to envision an extension that would feel like it belonged without ruining the original design. Every time we drove around town we studied other houses for inspiration. We also pulled out an old catalog we own of Aladdin Kit Homes to see how they dealt with floor plans and roof lines. The idea finally hit me when standing in our neighbors’ driveway. I looked up at the side of their house and the solution was obvious – we’d add a second taller gable to the side of the house to give us the head space we need.

Double Gable
The double gable that inspired our design.

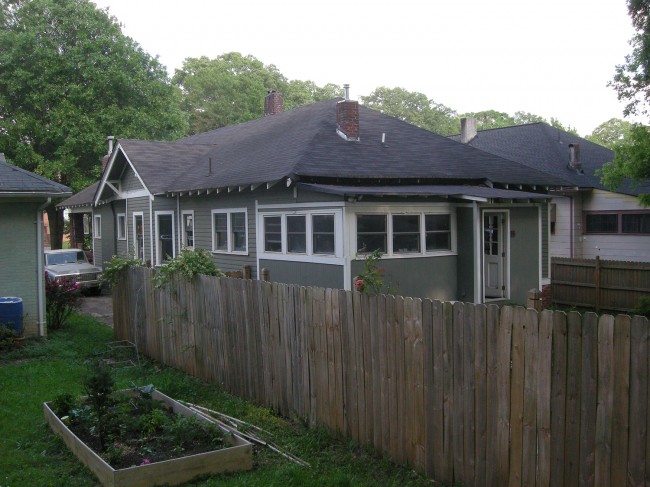
For reference here is a view of the side of our house. We have a single gable over the bay window right now. The top of the gable is about 2/3 the height to the main peak. The new gable will extend back from the original gable and go higher than the existing main peak. This will give us additional height in the back of the house without altering the front.

Side of Bungalow
The side of our house from our neighbors’ backyard.

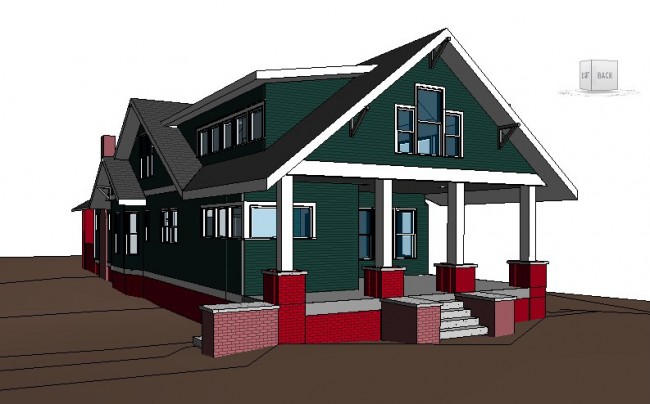
We passed our idea along to our architect, we had a meeting with her to ensure she fully understood our vision, and she came back to us with a beautiful design! It’s still rough at this point, but you can see how the roof line will be altered to give us the space we’re looking for. Notice the second taller gable added on for height and the shed dormer for more living space – there will be one of each side of the house. We’ll also extend the back of the house out further to give ourselves a larger laundry area/mudroom and wrap around porch.

The view you've been waiting for!
The view you’ve been waiting for!

That’s where I’ve leave it for now. The floor plan is almost finished, but there are still a couple small kinks that we’re working out. Once the plans are finalized I’ll make another blog entry, so check back frequently or like us on Facebook.

Posted in Our Bungalow, Photos, Westview Bungalow | 2 Comments

Early Spring 2014 Update

Late March is one of our favorite times of the year! The temperatures start rising, the plants start emerging from their slumber, and we can look back at what the cold temperatures helped us accomplish inside the house. When it’s warm outside we have a difficult time staying indoors. So back to one of our favorite past times… you guessed it, we’ve been paint stripping in the dining room again. I’m happy to say we’re getting really close. It’s only been seven years! The day Steffi lets me paint the walls will be a very big deal (she says the paint stripping has to be done first so we don’t mess up the paint).

I do about 98% of the work with the heat gun and paint scraper, but Steffi’s 2% takes 98% of the time.

Winter Paint Stripping
Paint stripping with the heat gun in the dining room. Lots of paint removed in little time.

Look really closely at this next photo. Yes, that is a dental pick in her right hand. Now do you understand why it takes so long?

Dental Pick Paint Stripping
How else are you going to get in those little cracks?

The outside is beckoning, so we better hurry up.

Yoshino Cherry Blooms
Spring is coming! The Yoshino Cherry tree is in full bloom.
Tulips
The tulips are up!

Cross your fingers for our dining room!

Posted in Gardening, Our Bungalow, Photos, Westview Bungalow | Comments Off on Early Spring 2014 Update