Our socially uneventful weekend proved itself to be very helpful in the house project department. Patrick has been eager to remove some paint from the dining room fireplace initially to my dismay because it would mean another started project while the old ones sit unfinished. I made him start on a lower brick so it could be hidden by our plants if it should become one of our many unfinished projects. While Patrick equipped himself with our regular Kleanstrip chemical paint remover I decided to tackle the painted crystal doorknobs. (Patrick had pulled them out on one occasion and then they laid there untouched for weeks before we had to tuck them back away for a party.)
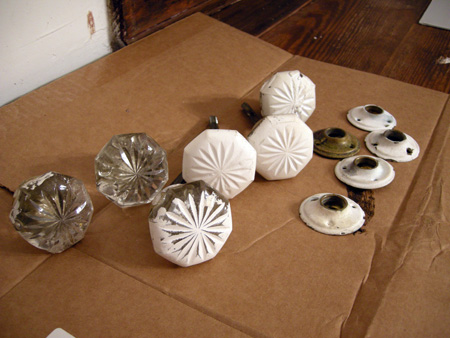
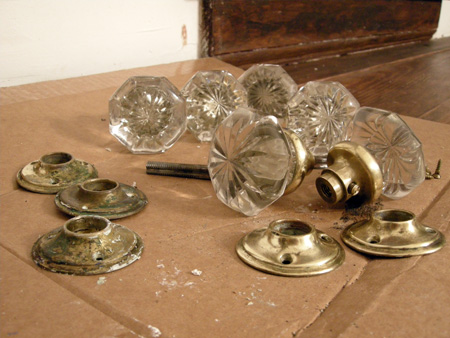
My Friday and Saturday nights were pretty successful with the paint removal on the doorknobs. I applied the chemical first, removing the paint as best as I could, then I put some Goo Gone gel on a paper towel and wiped any remaining paint off. Previously I actually only removed the paint with the Goo Gone, but this time I decided to try it this way. Then I polished the brass parts with steel wool. (The brass on the right was polished, the brass on the left still needs to be polished.)
Patrick’s Friday and Saturday nights on the other hand were a little more frustrating. After seemingly endless applications of the chemical followed by removal with a nylon brush it felt like relatively little progress was achieved. After the first chemical application the white paint on the brick got into the fresh chemical in the cup, so every time a new layer of chemical was applied it just felt like a new layer of white paint was reapplied to the brick via the chemical. As a result we had a hard time figuring out when we had actually reached the brick and what color it was supposed to be. So after two nights we think we got close to reaching the brick…
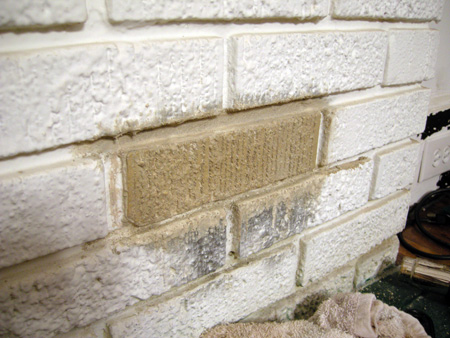
…but we also realized we’d be pulling out each other’s hair if it would take us this long for each brick.
In our paint removal quests we have often come across websites talking about Peel Away. The reviews always seemed mixed. Some people got great results, others were less than happy. Since we’ve been pretty happy with the results from the Kleanstrip we didnt feel the need to go out of our way to search for Peel Away, but at this point in the brick paint removal process we revisited the idea. So on Sunday we found that Sherwin Williams stores sell it and picked up the last bucket they had. (I don’t know if that means the product is flying off the shelves or we’re the first people that bought it?) Pretty much everything you need is contained in the bucket the goo, a pair of gloves, the applicator, and the waxy paper to cover the goo with. The one thing that was not supplied but the directions recommended was to use a nylon brush to get into detail areas. Of course we didn’t read this until after we got back home, so it didn’t do us any good.
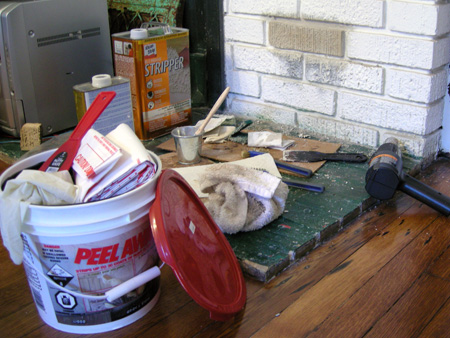
The directions recommended to do a test area (as always!), which unfortunately meant up to a 24 hour waiting period! We had to force ourselves to be patient and obey, so Patrick applied the fun looking Coolwhip goo to one brick with the applicator.
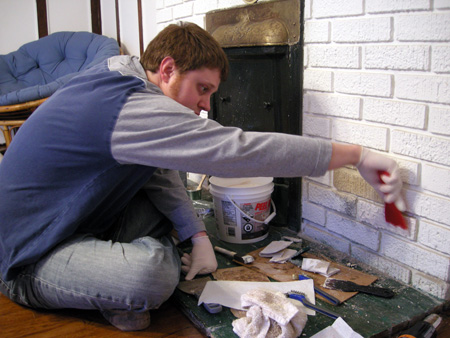
Then the waxy paper was applied over it.
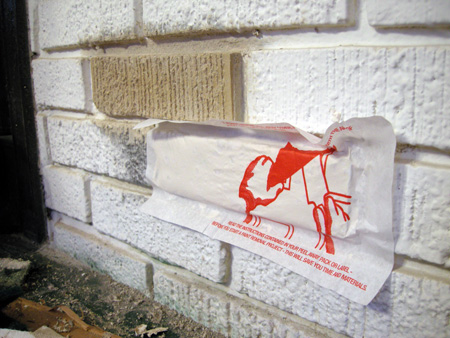
The instructions said the Peel Away can be removed after 12 to 24 hours and you’ll know when the goo feels like workable clay. After 20 hours it felt right, so we started to take it off with a metal scraper.
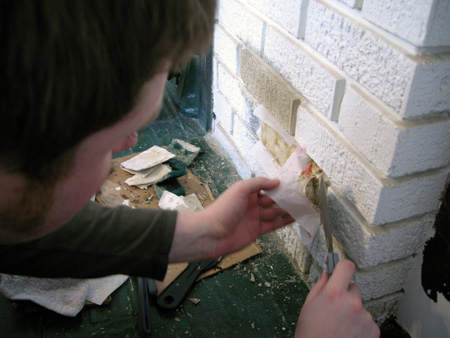
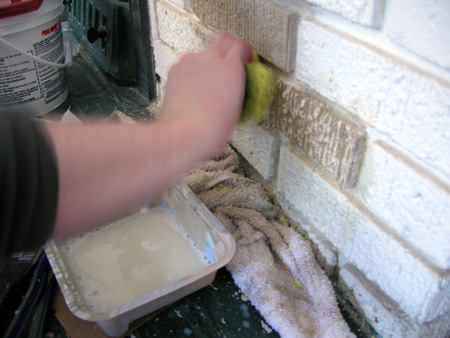
After scraping away remaining residue with the metal scraper as best as possible we used a wet nylon brush to get additional paint out of the creases. We then used a wet sponge to wash off the paint and patted it dry with a towel. We also put a towel on the ground to catch all the wet sponge runoff. Then we repeated this process a number of times.
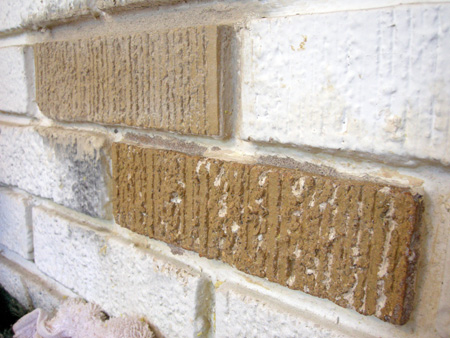
Here is the result of our test Peel Away brick! The top one is the two day Kleanstrip chemical brick, but while it looks nice in the photo it was still covered in tan paint. The bottom one is the Peel Away brick. We were pretty pleased with the results considering the time and effort involved compared to the other one.
So now we’re ready to tackle a larger area!
