Category Archive: Our Bungalow

Building a Cold Frame

This past weekend we finally got around to a project we had been planning since last winter – we built a cold frame. If you’re not familiar with cold frames they are basically mini greenhouses that allow you to garden outside during the cooler months. We’ll probably use ours to grow lettuce and other veggies in the late fall/early winter and then start seeds in the late winter/early spring.

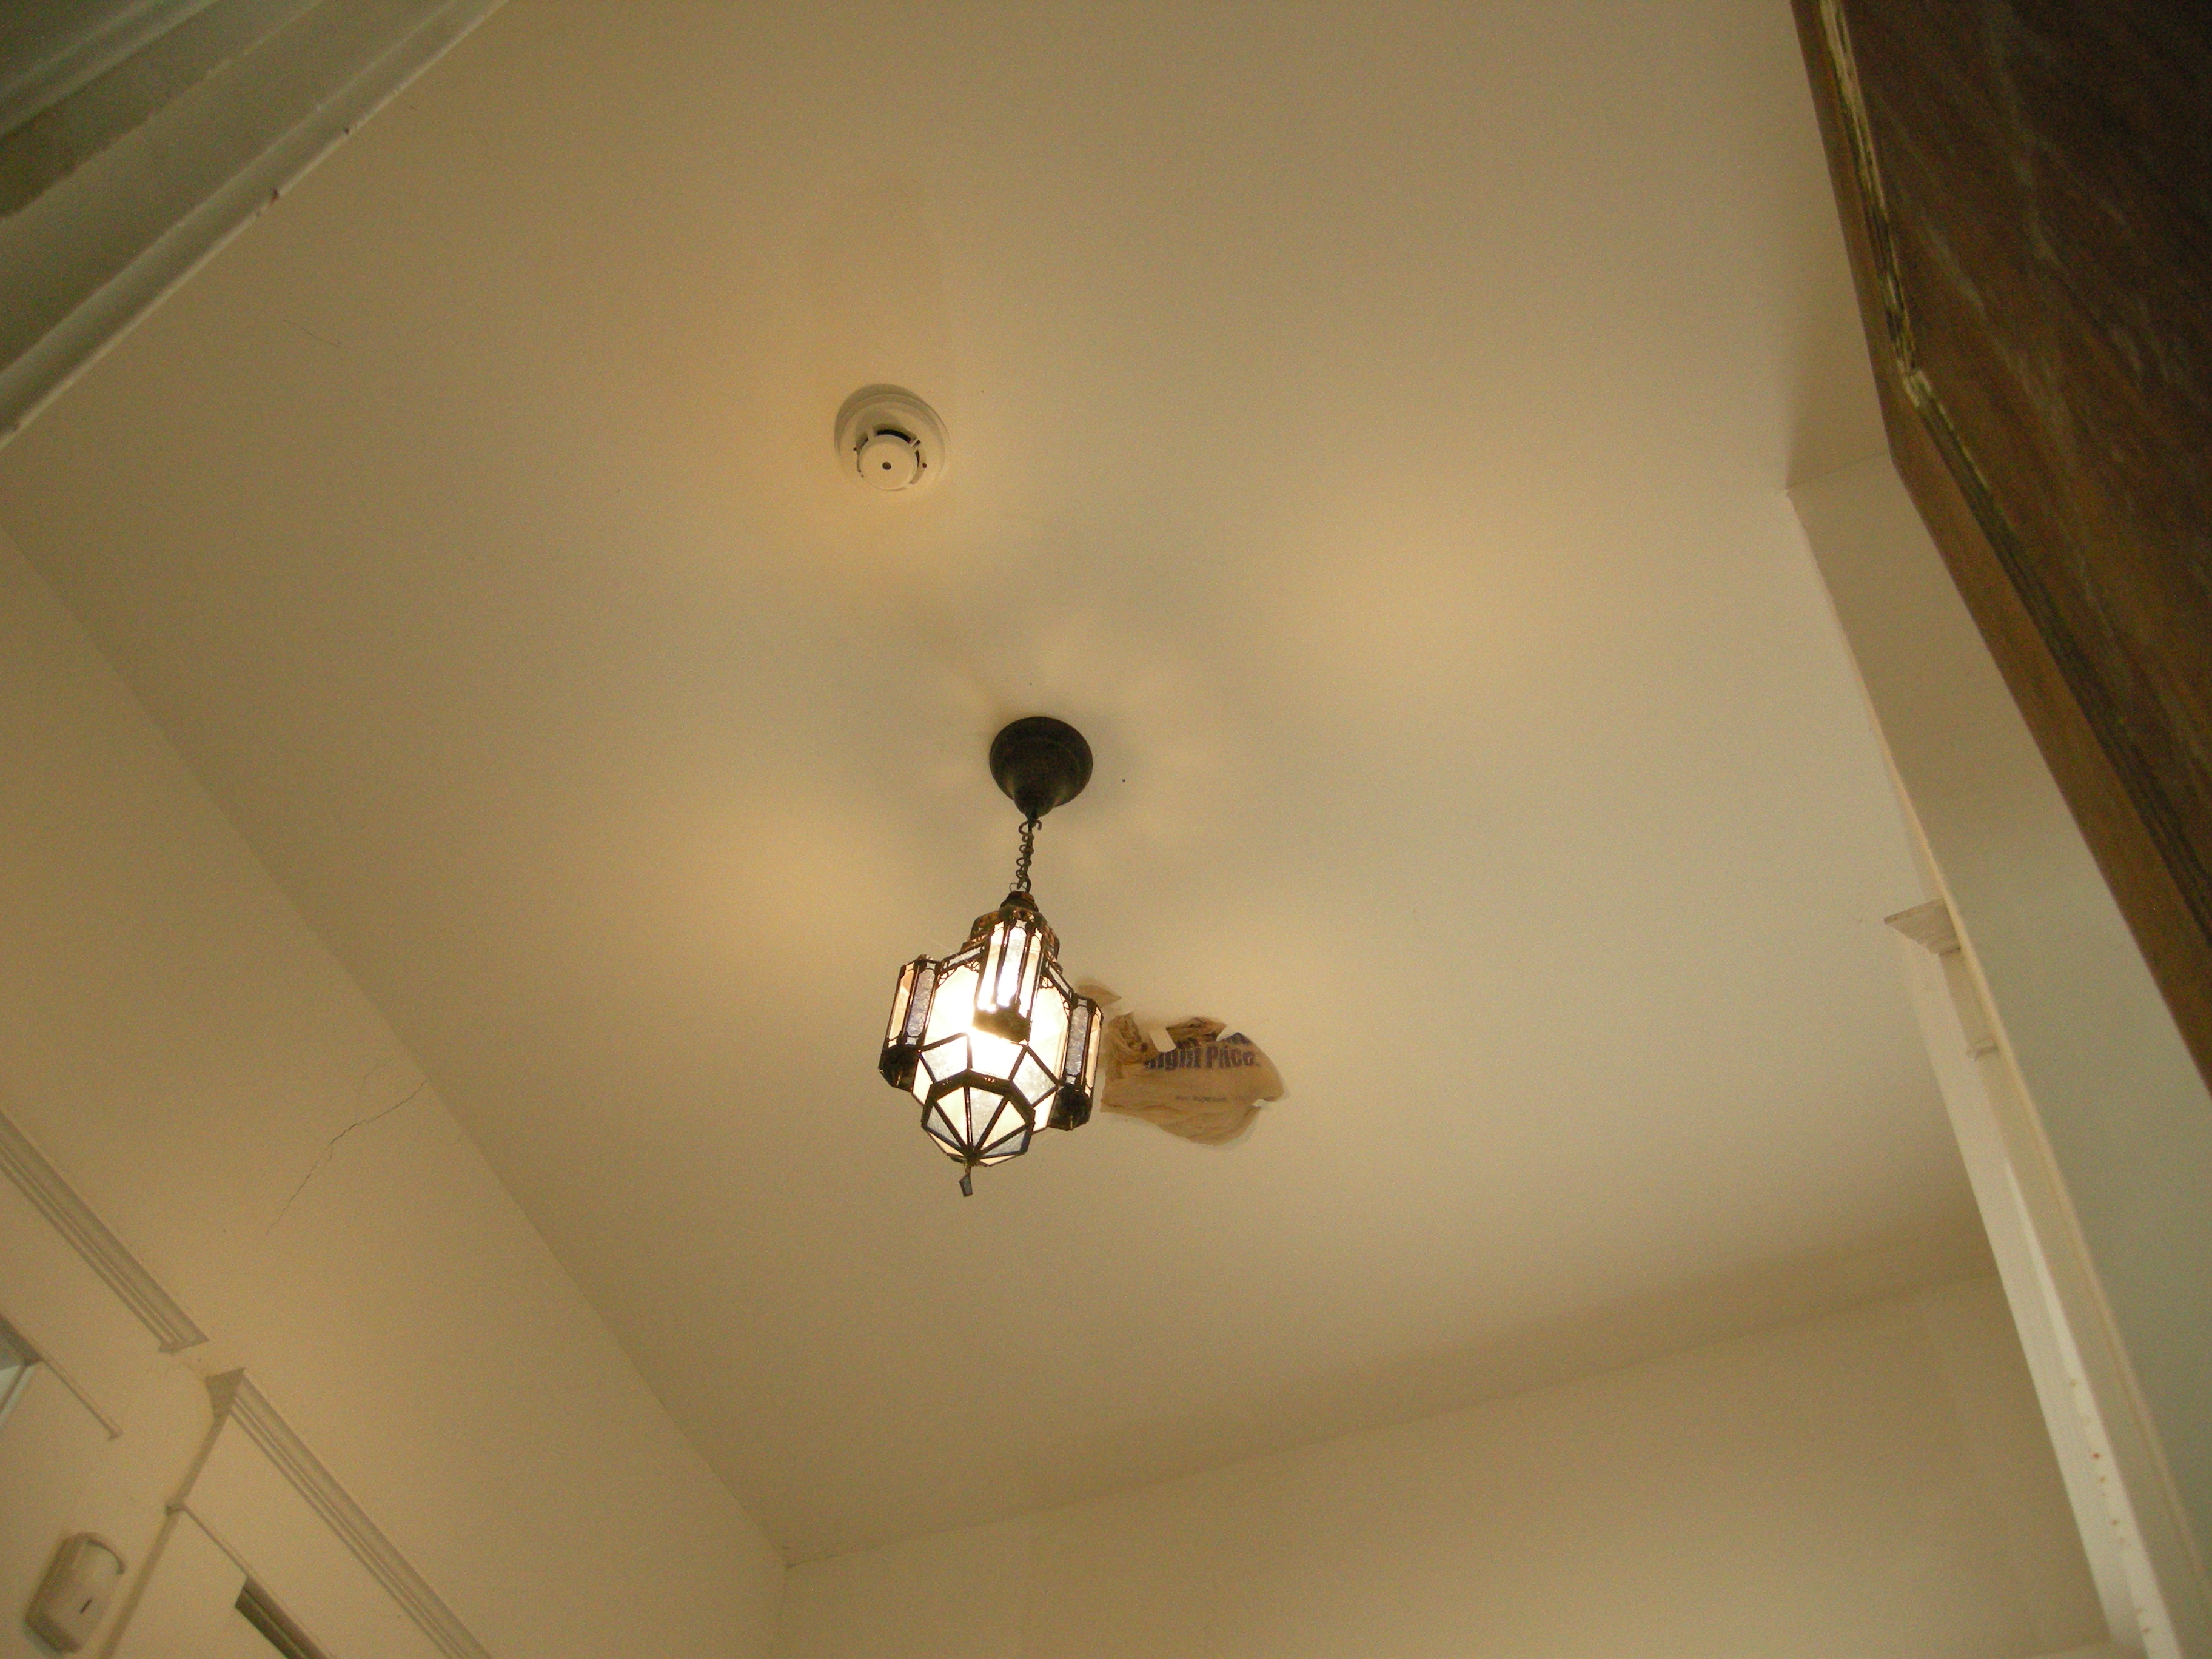
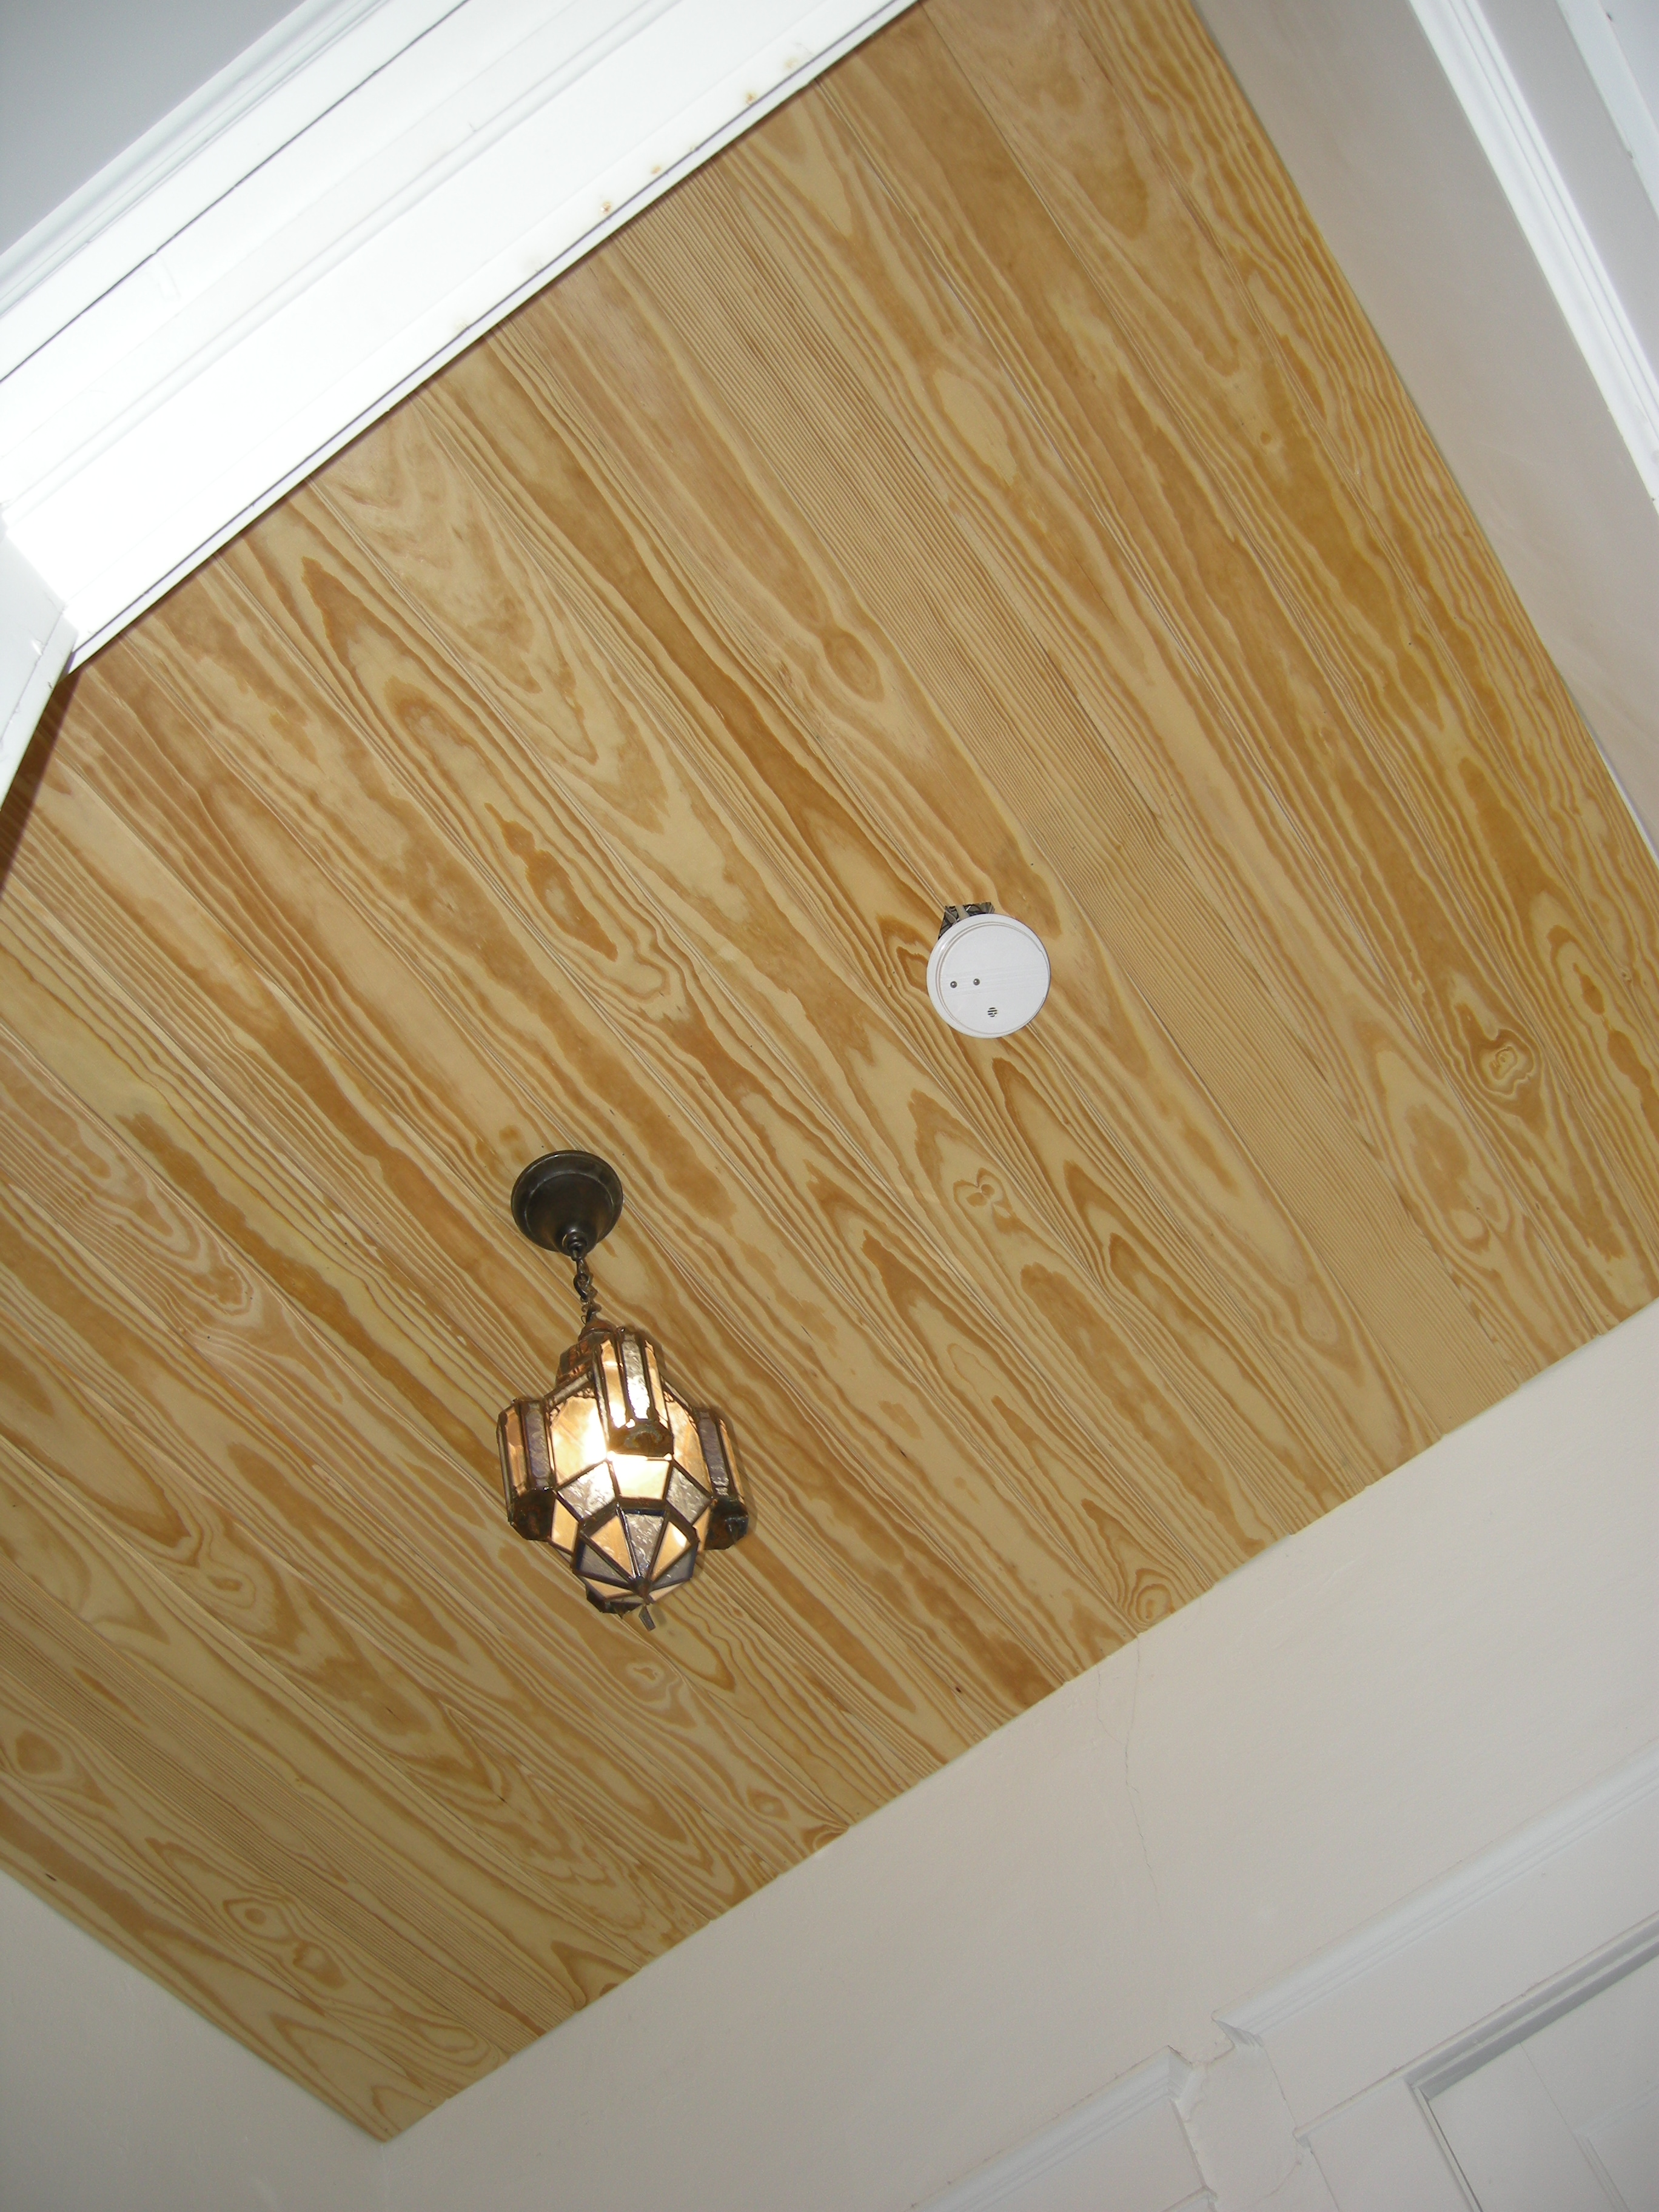
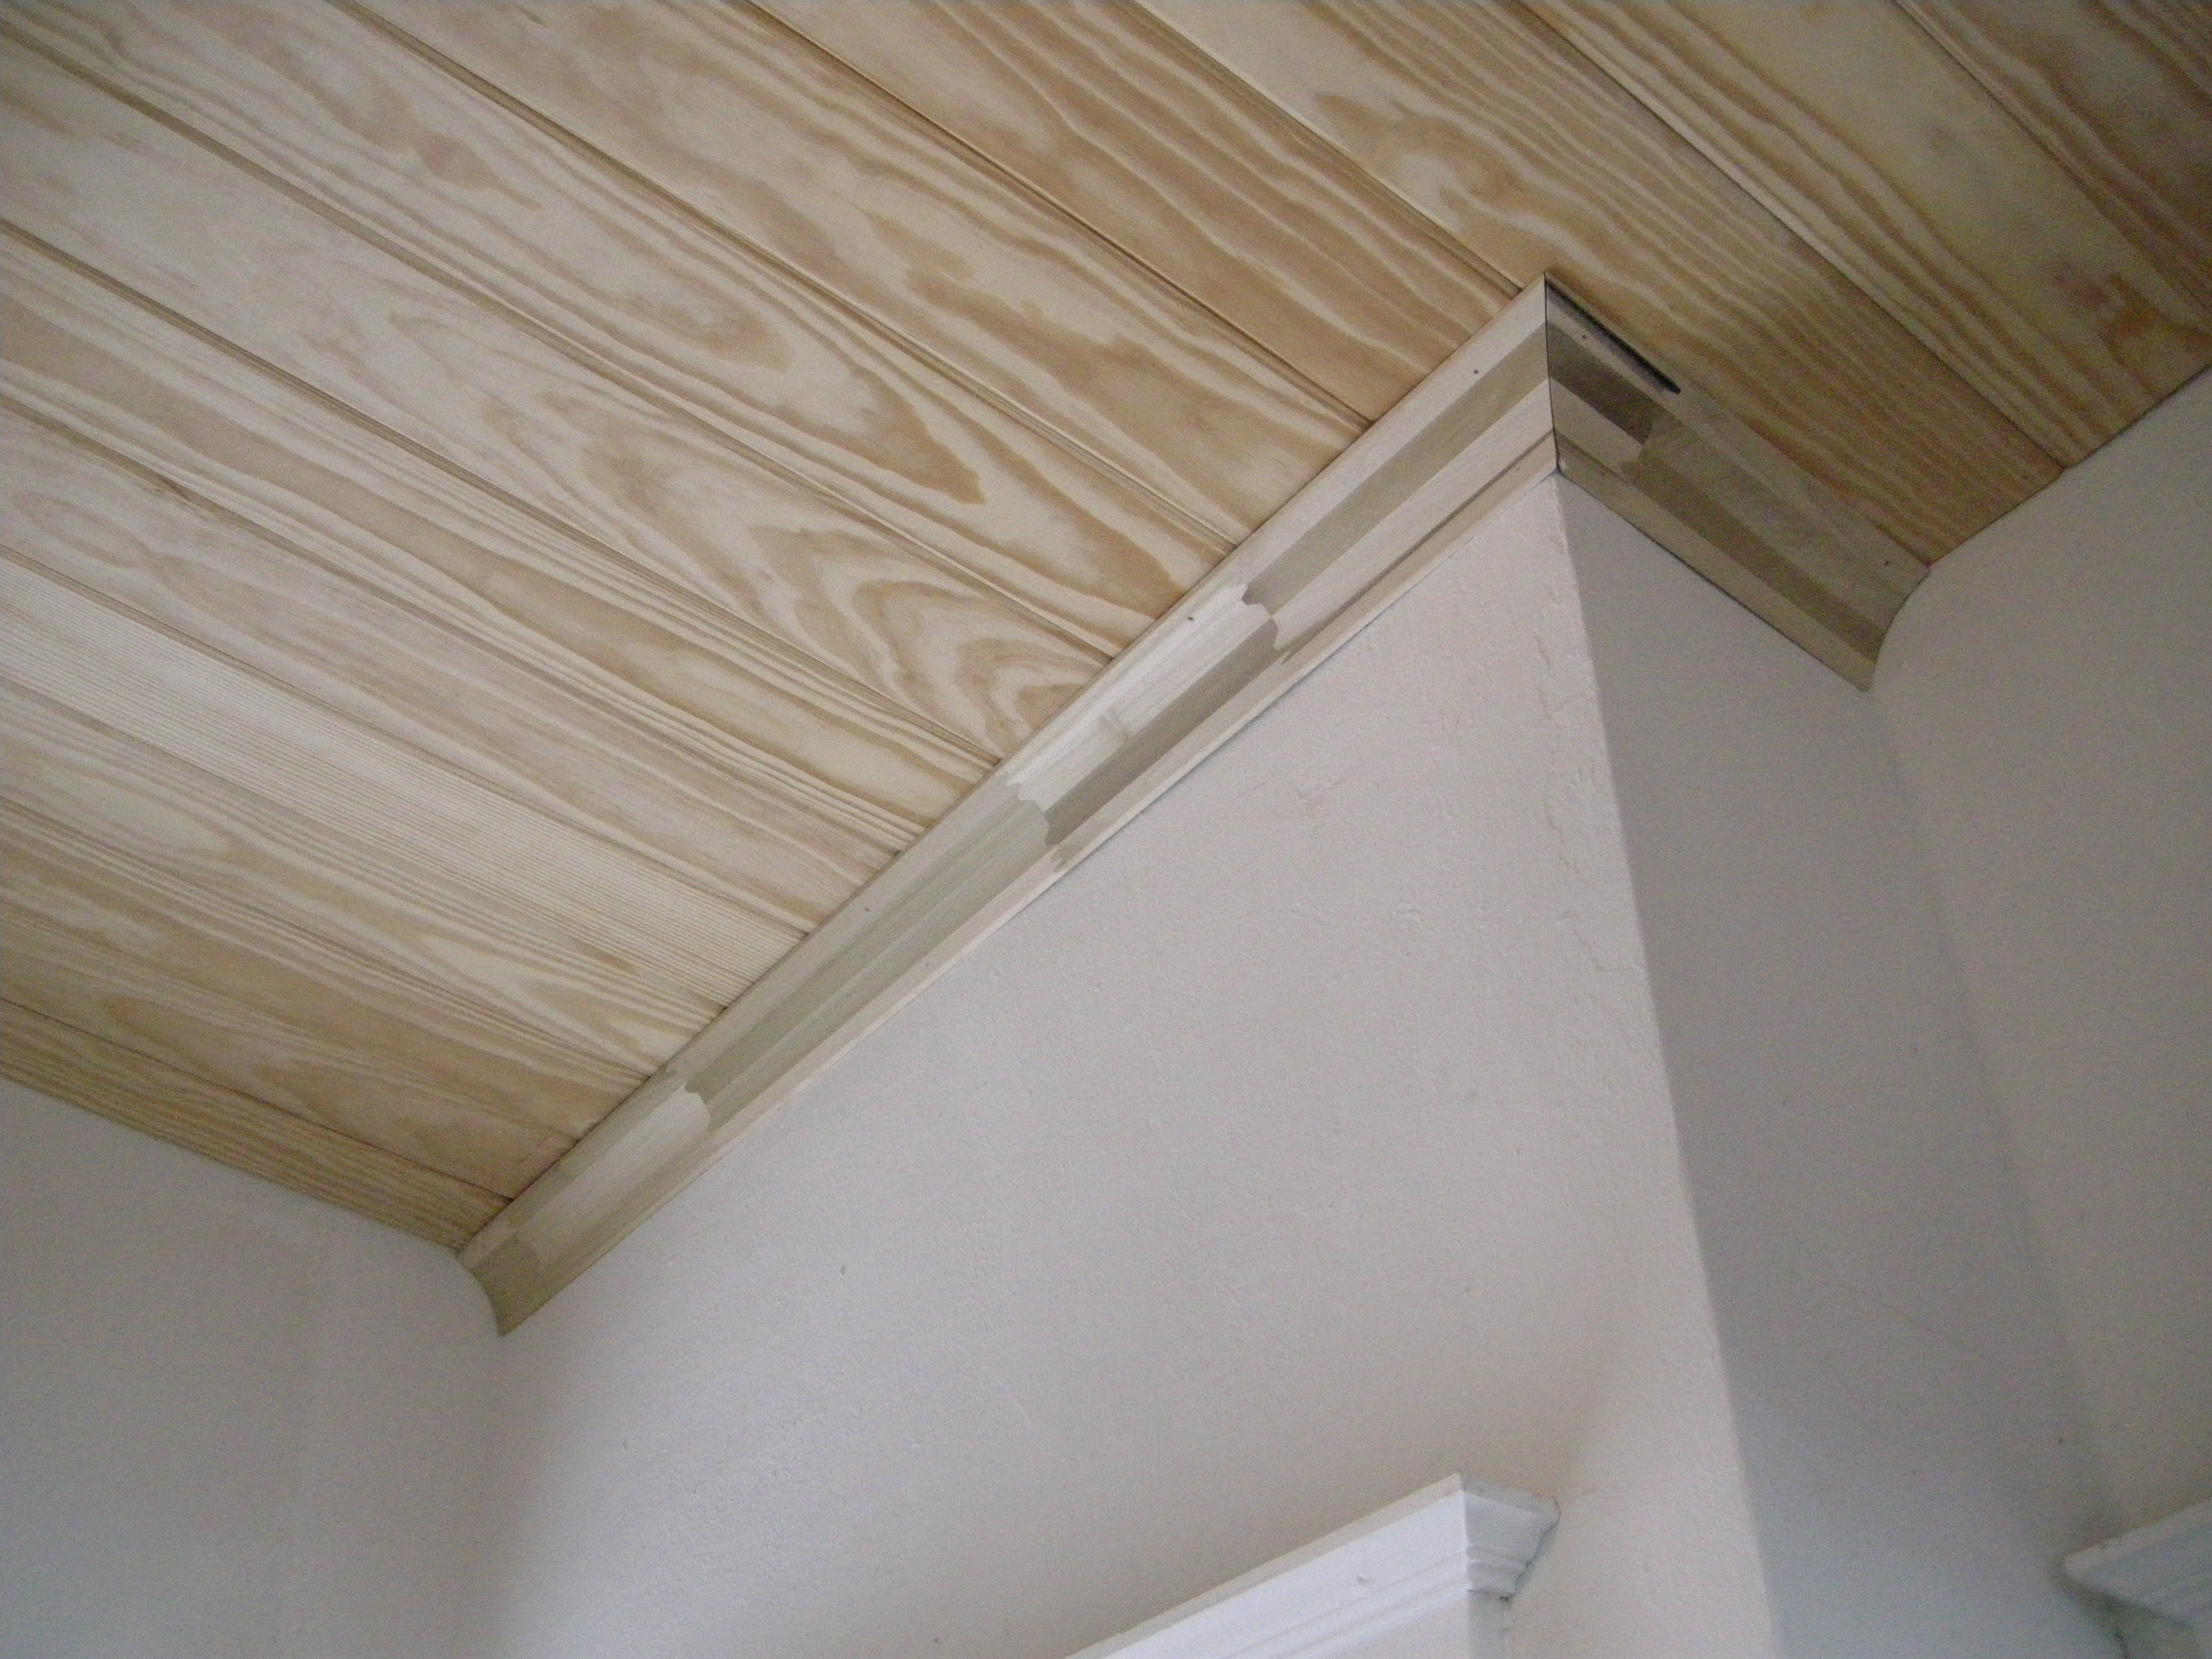
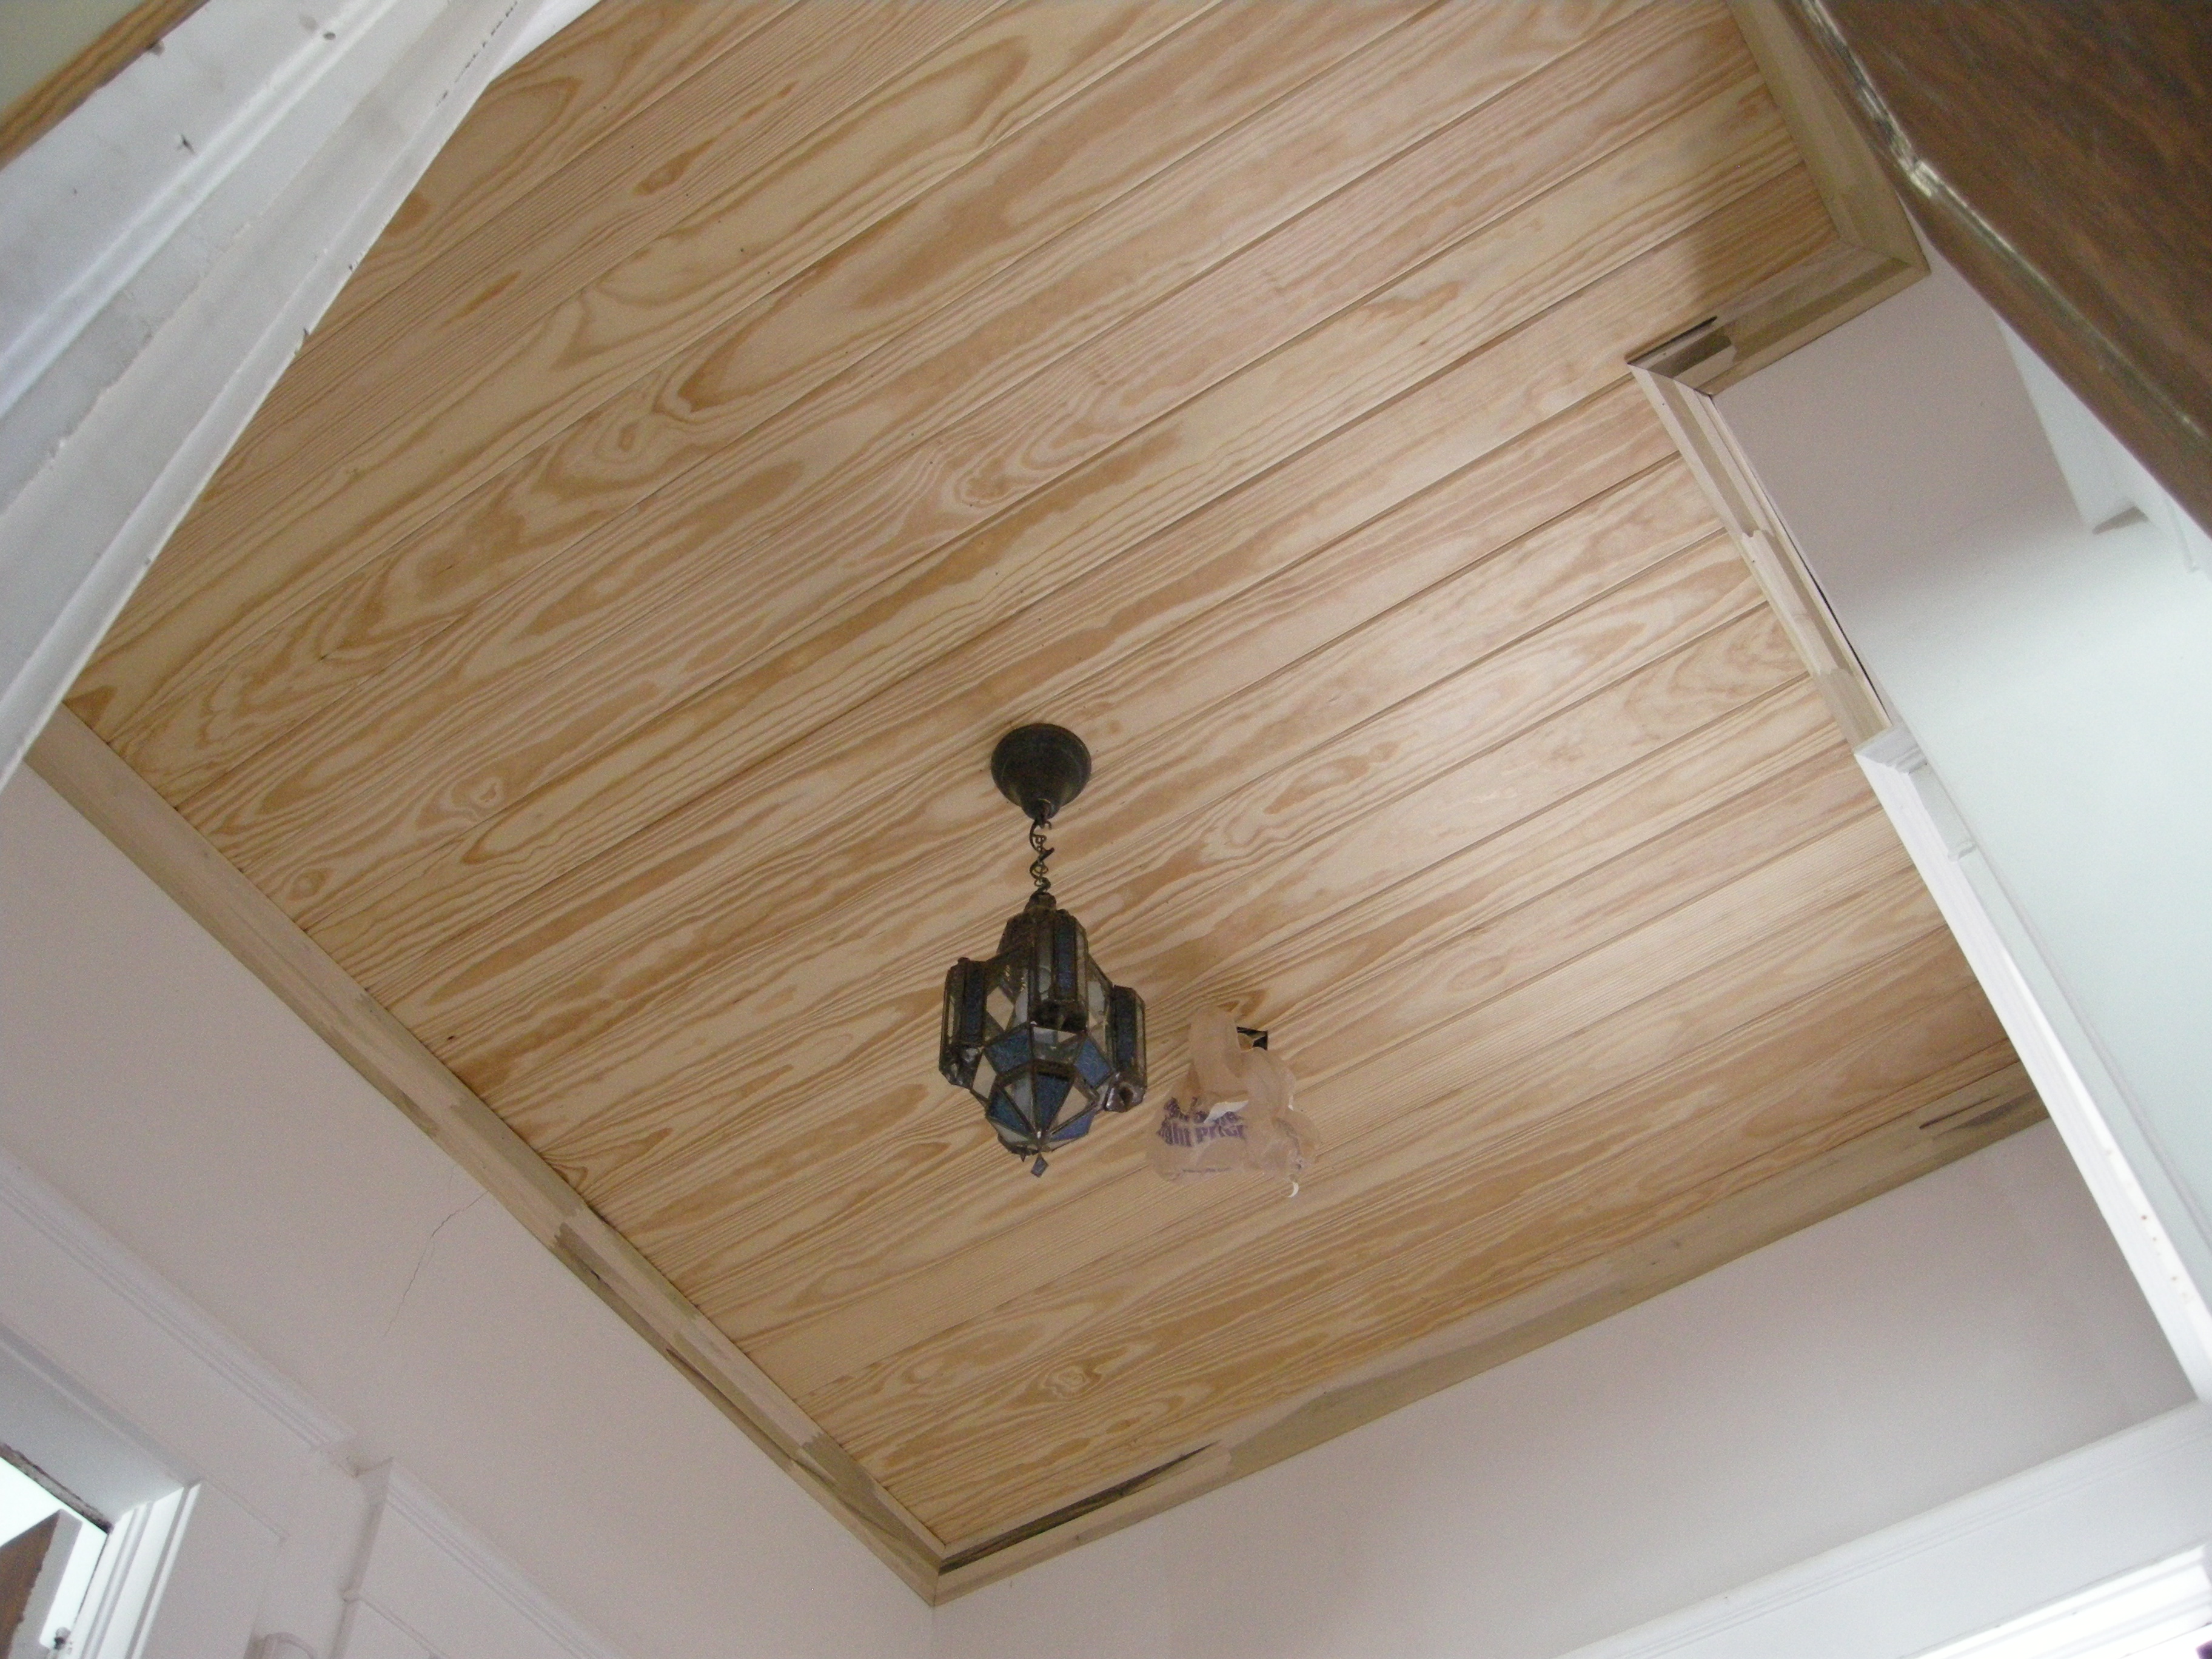
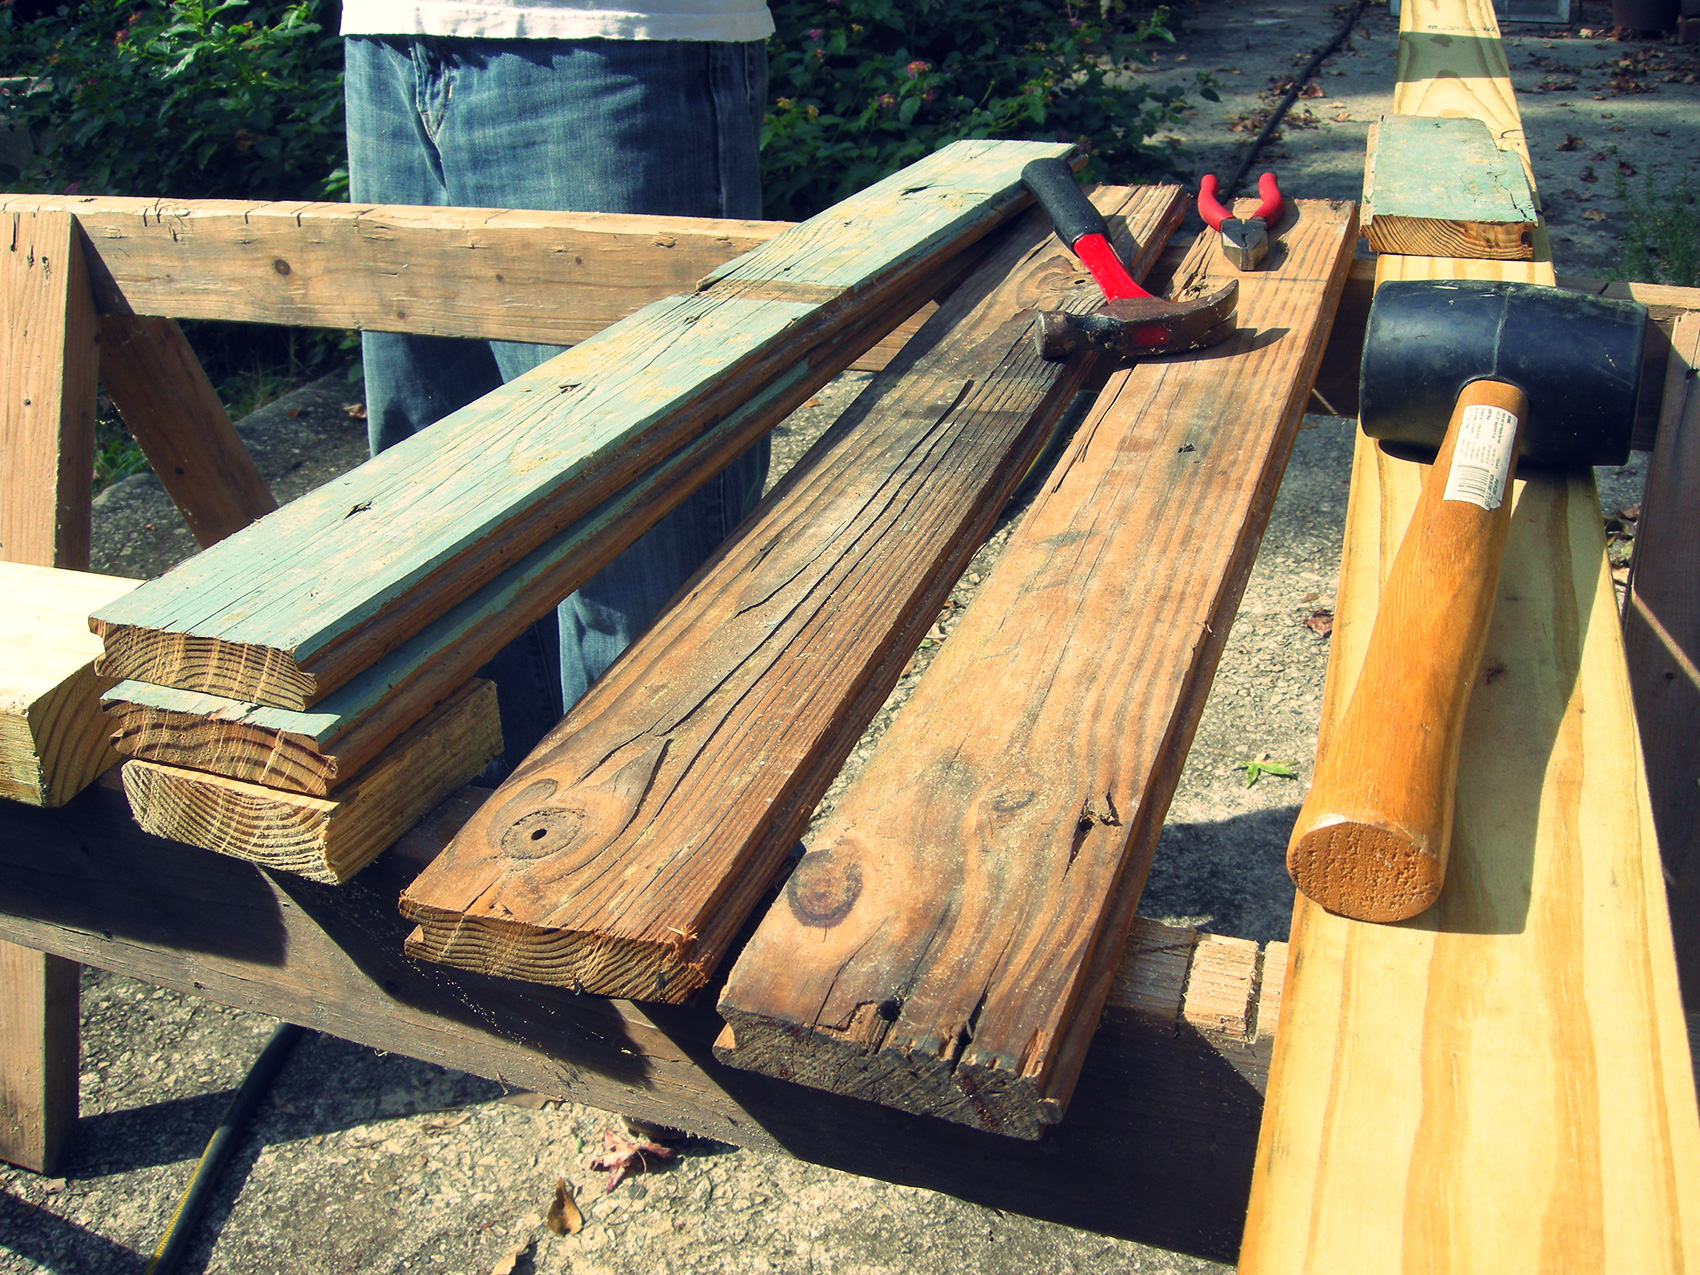
We’re always collecting old architectural materials that would otherwise be headed to a landfill, so we just drug what we needed for the project out of the basement. The materials included one 2×4, tongue and groove paneling, an old window, two galvanized hinges (from Lowes) and a lot of nails. In a previous life the tongue and groove paneling was the ceiling of our next door neighbor’s back porch. It is still painted the original sky blue. The window came from a house at the end of our street.

Tongue and Groove Ceiling

Tongue and Groove Ceiling

We first built the front and back walls by nailing the tongue and groove boards to 2x4s. We made sure to leave overlap on each end for the sides. We wanted to hide the ends of the boards on side walls behind this lip. Once we had the front and back walls built we setup the cold frame so we could measure the width of side walls. This allowed us to skip the geometry lesson required to figure out angles and such.

Cold Frame Front and Back

Setting up the front and back walls.

Once we cut the boards to the correct length we went ahead and nailed them to the sides.

Cold Frame Side Walls

Adding the side walls.

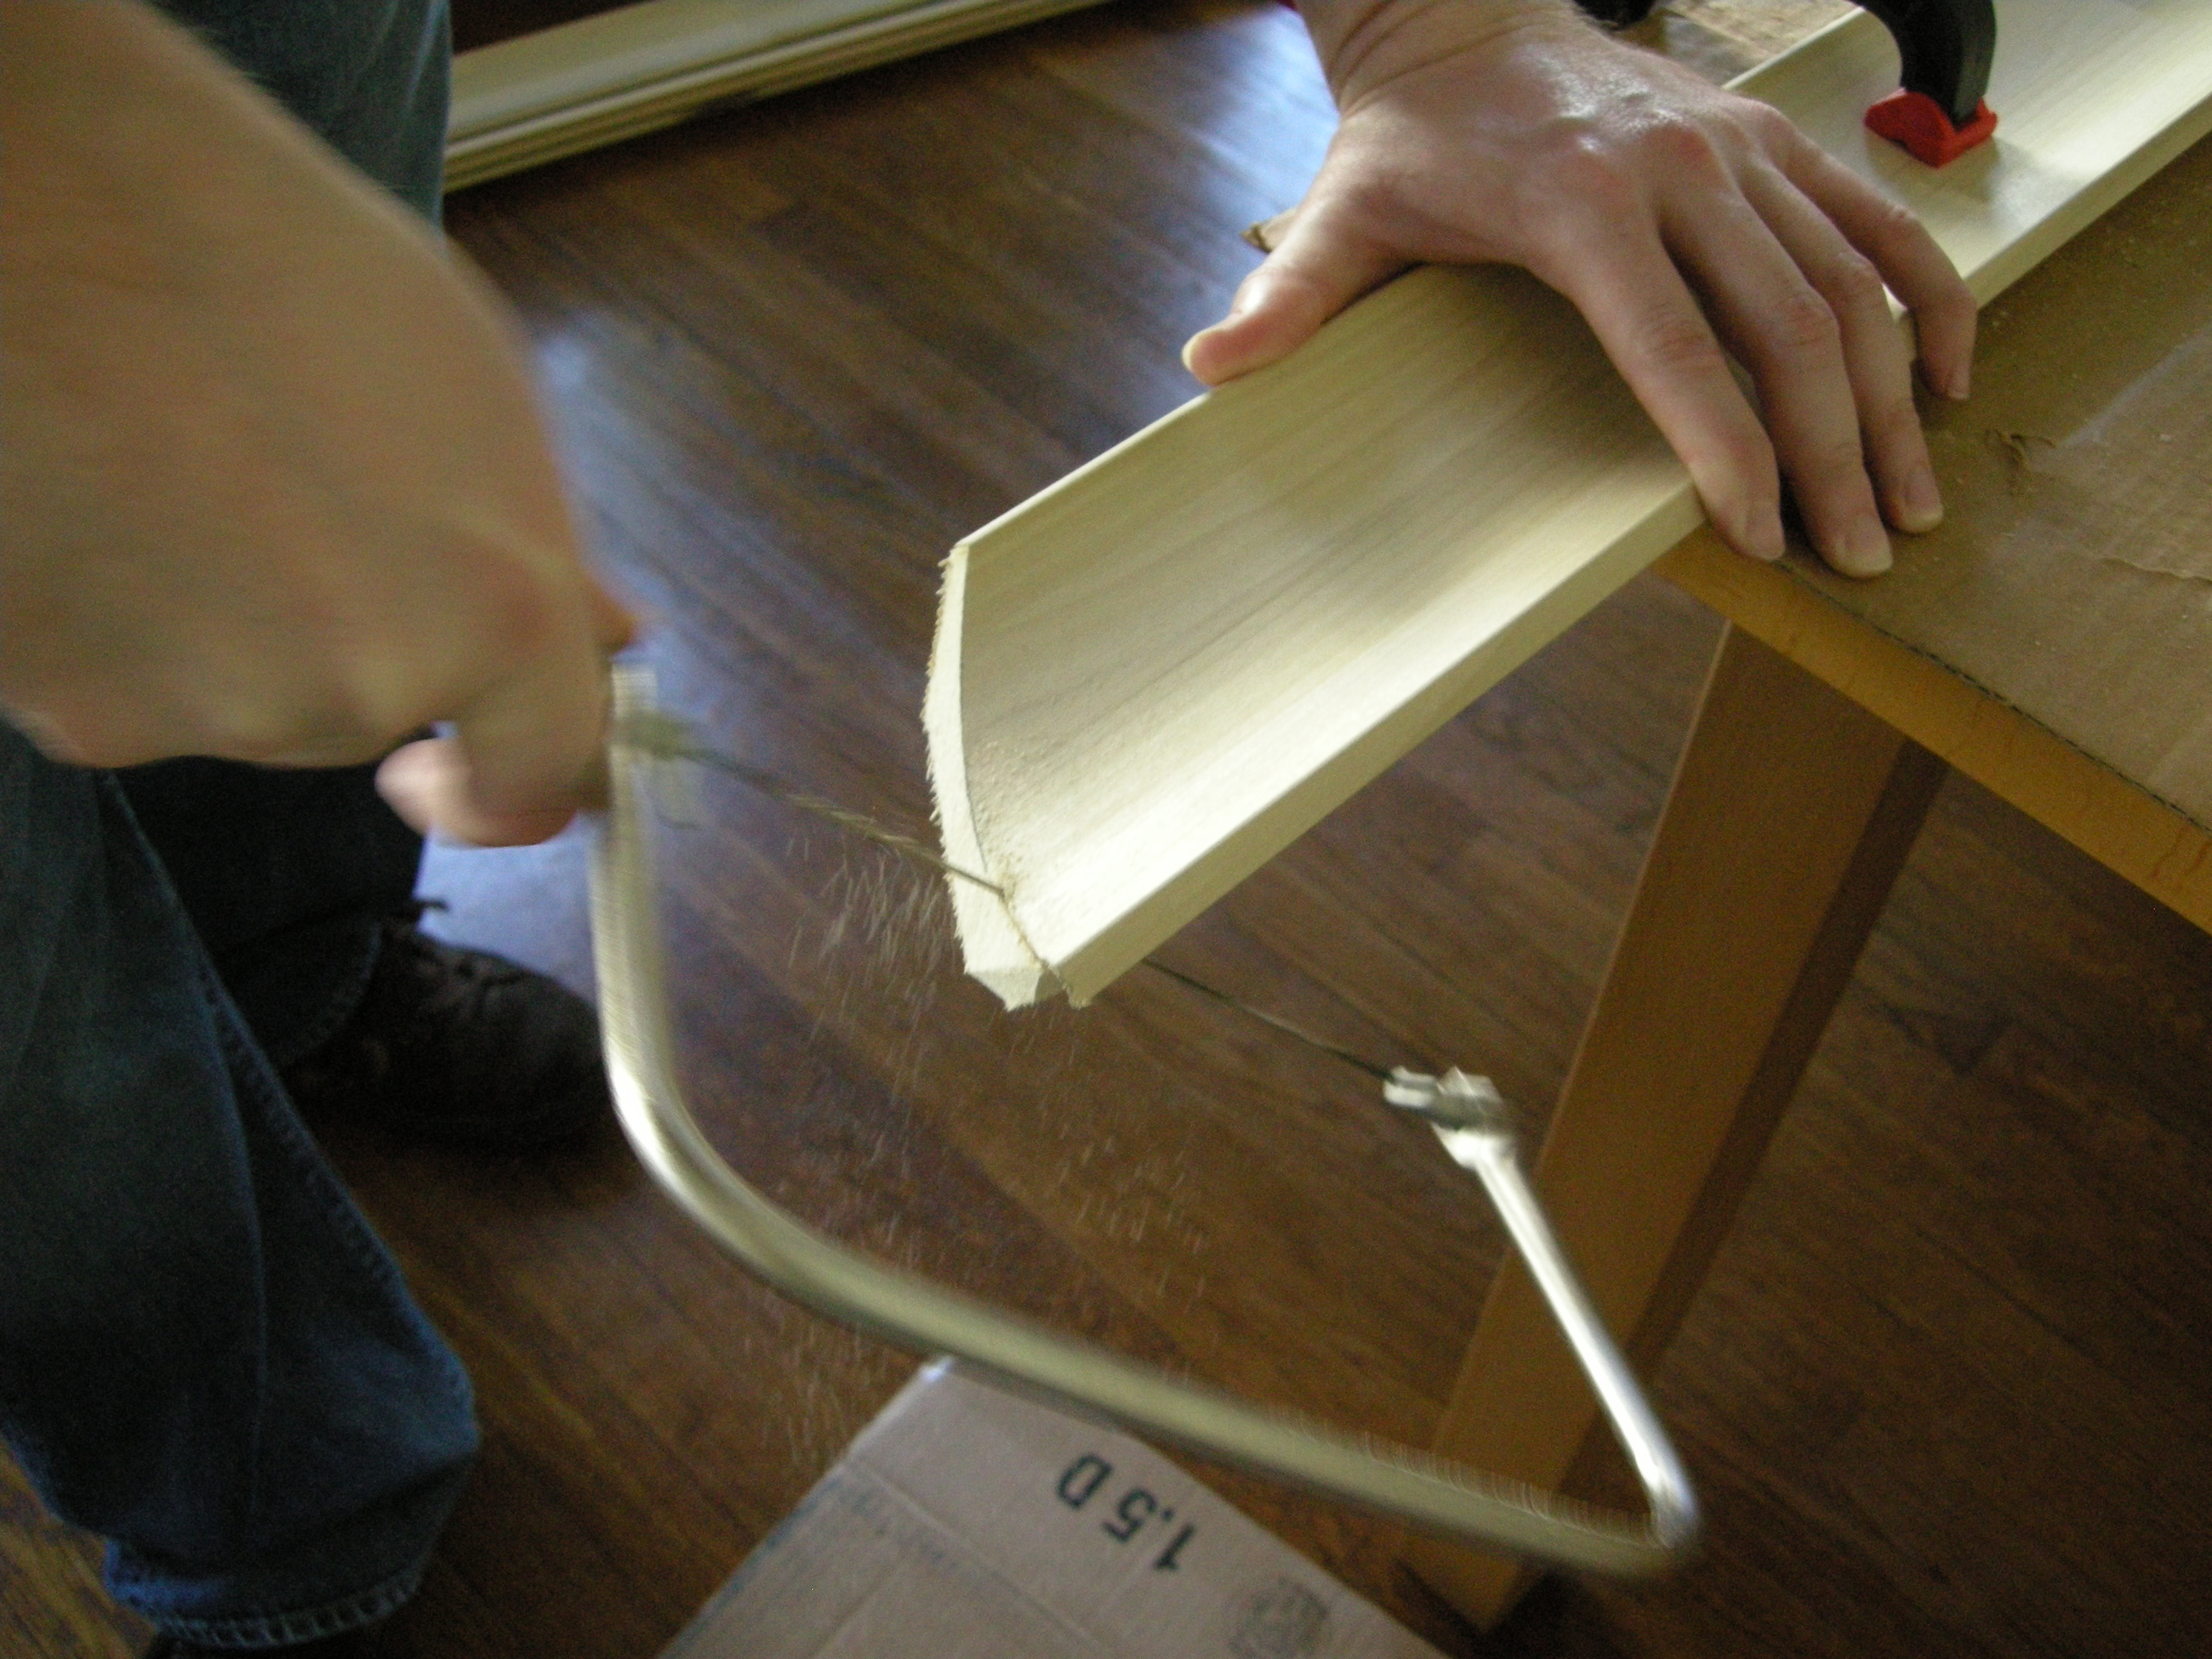
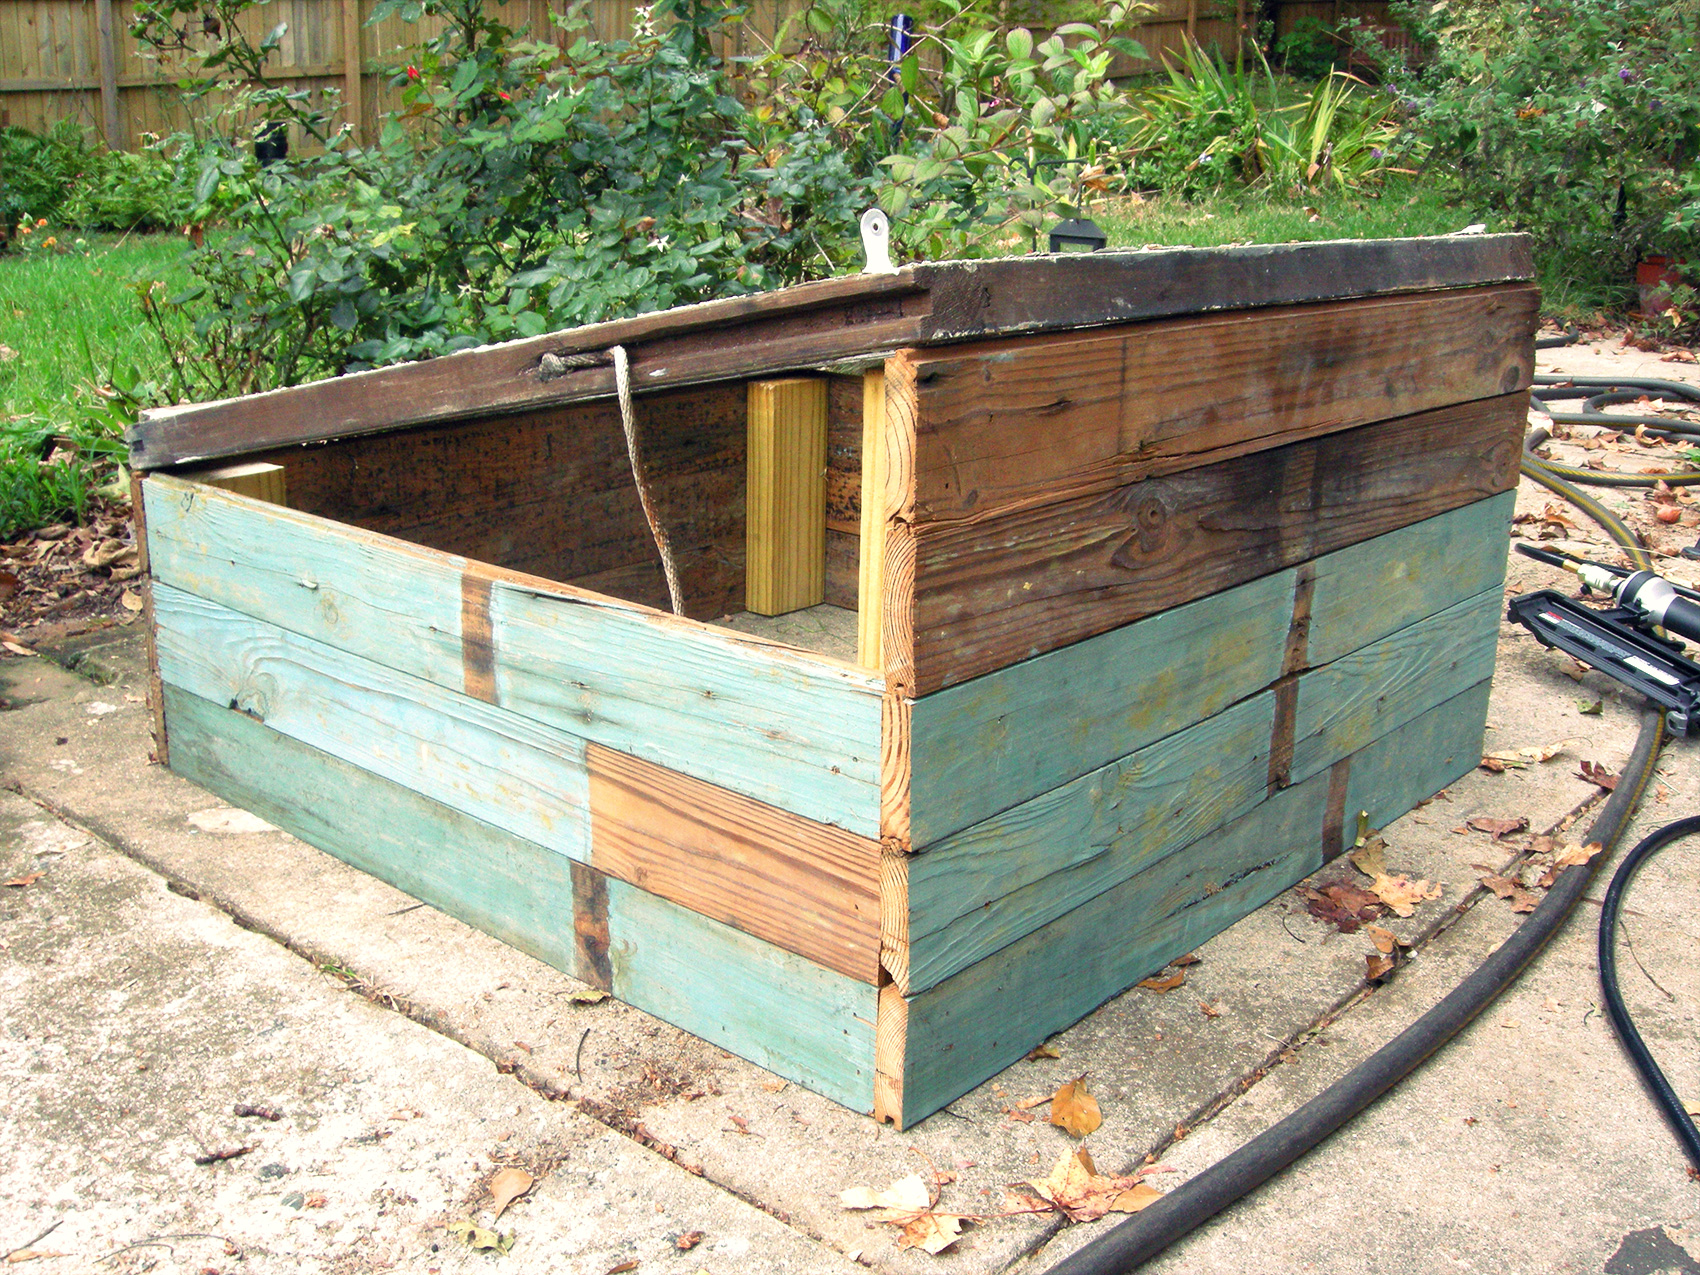
The only boards left to cut were the angled pieces at the top. This seemed like it would be tricky at first, but it’s not really. You just measure the height and width and connect the dots. We used a 2×4 as a straight edge to mark the angled side. The cut was long and it crossed two board, which presented a little challenge, but it wasn’t all that difficult.

Cold Frame Side Walls Finished

The finished sidewalls.

With the construction of the box complete the only thing left was to add the hinges. We picked up a pair of four inch galvanized t-hinges at Lowes.

Cold Frame Hinges

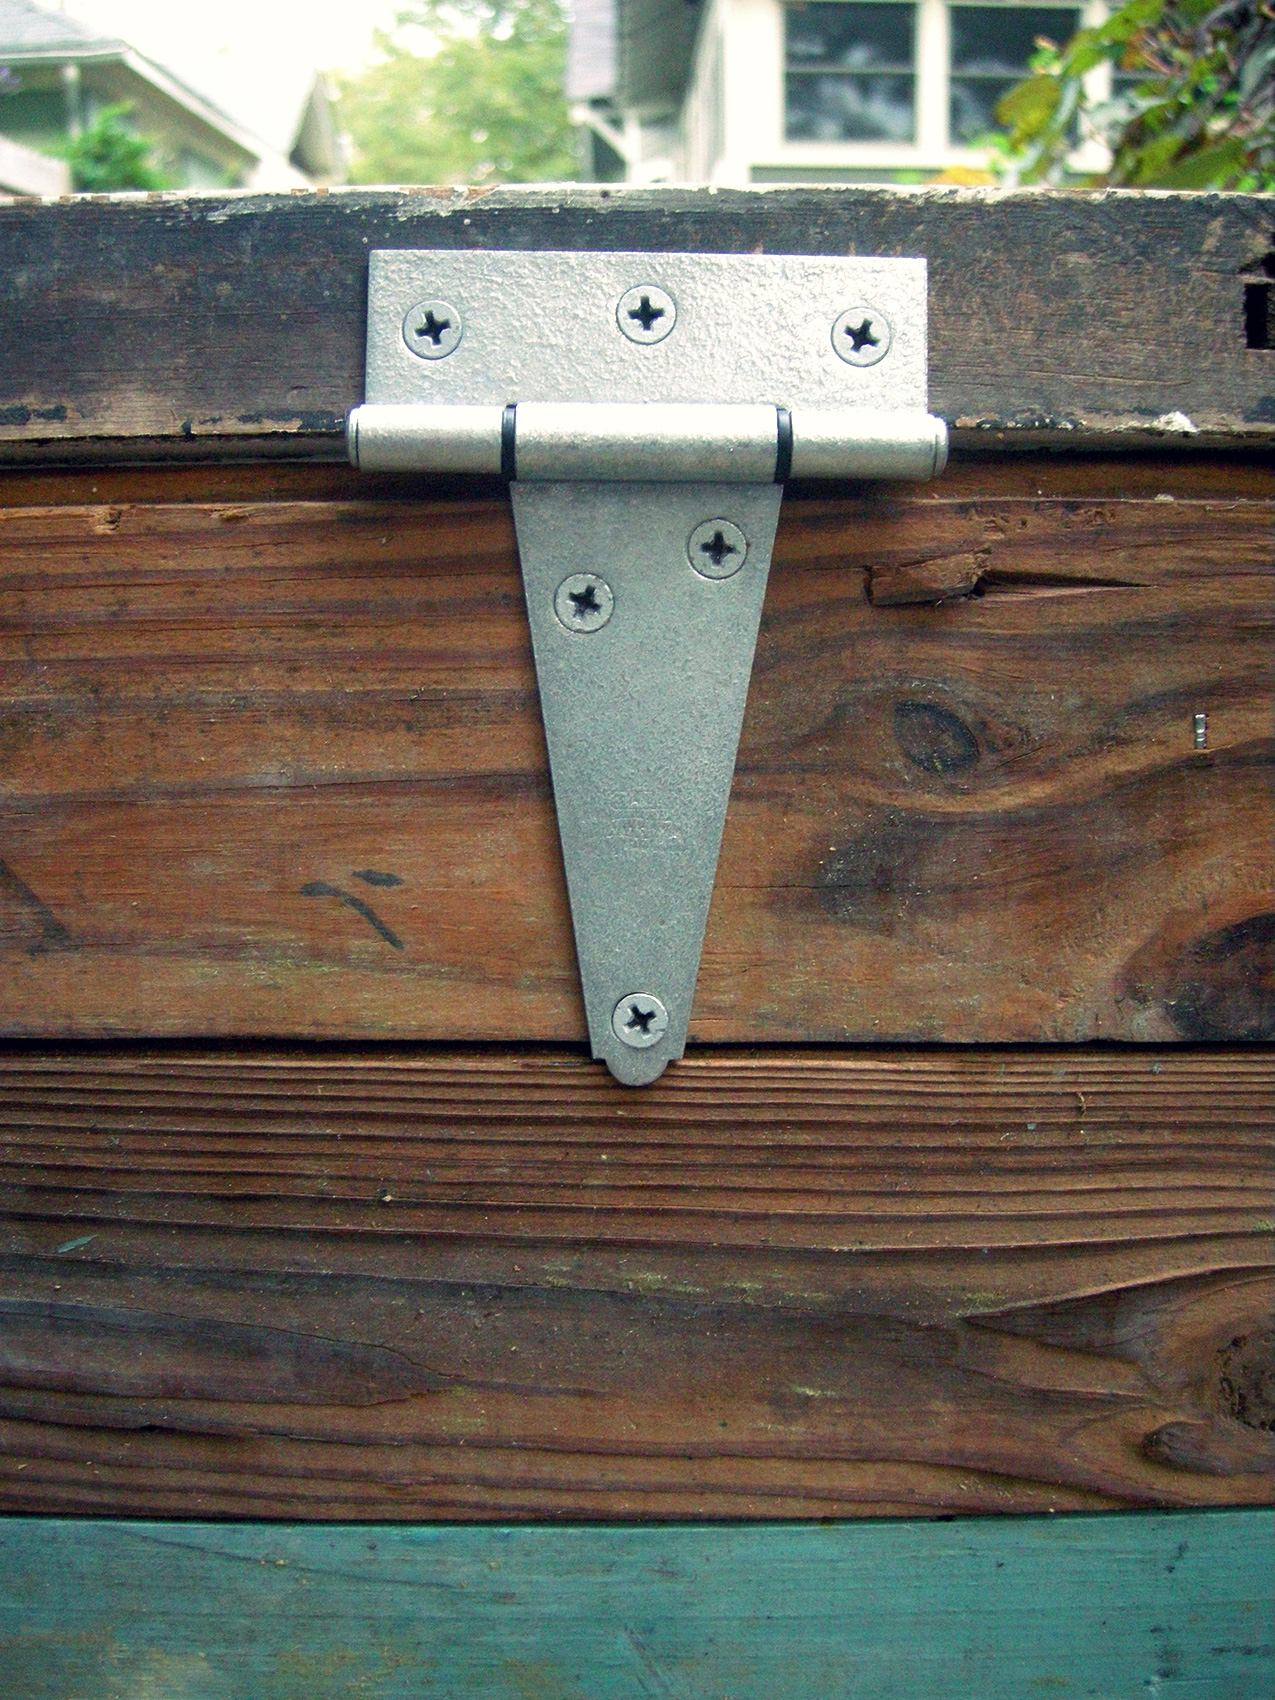
Attaching the hinges.
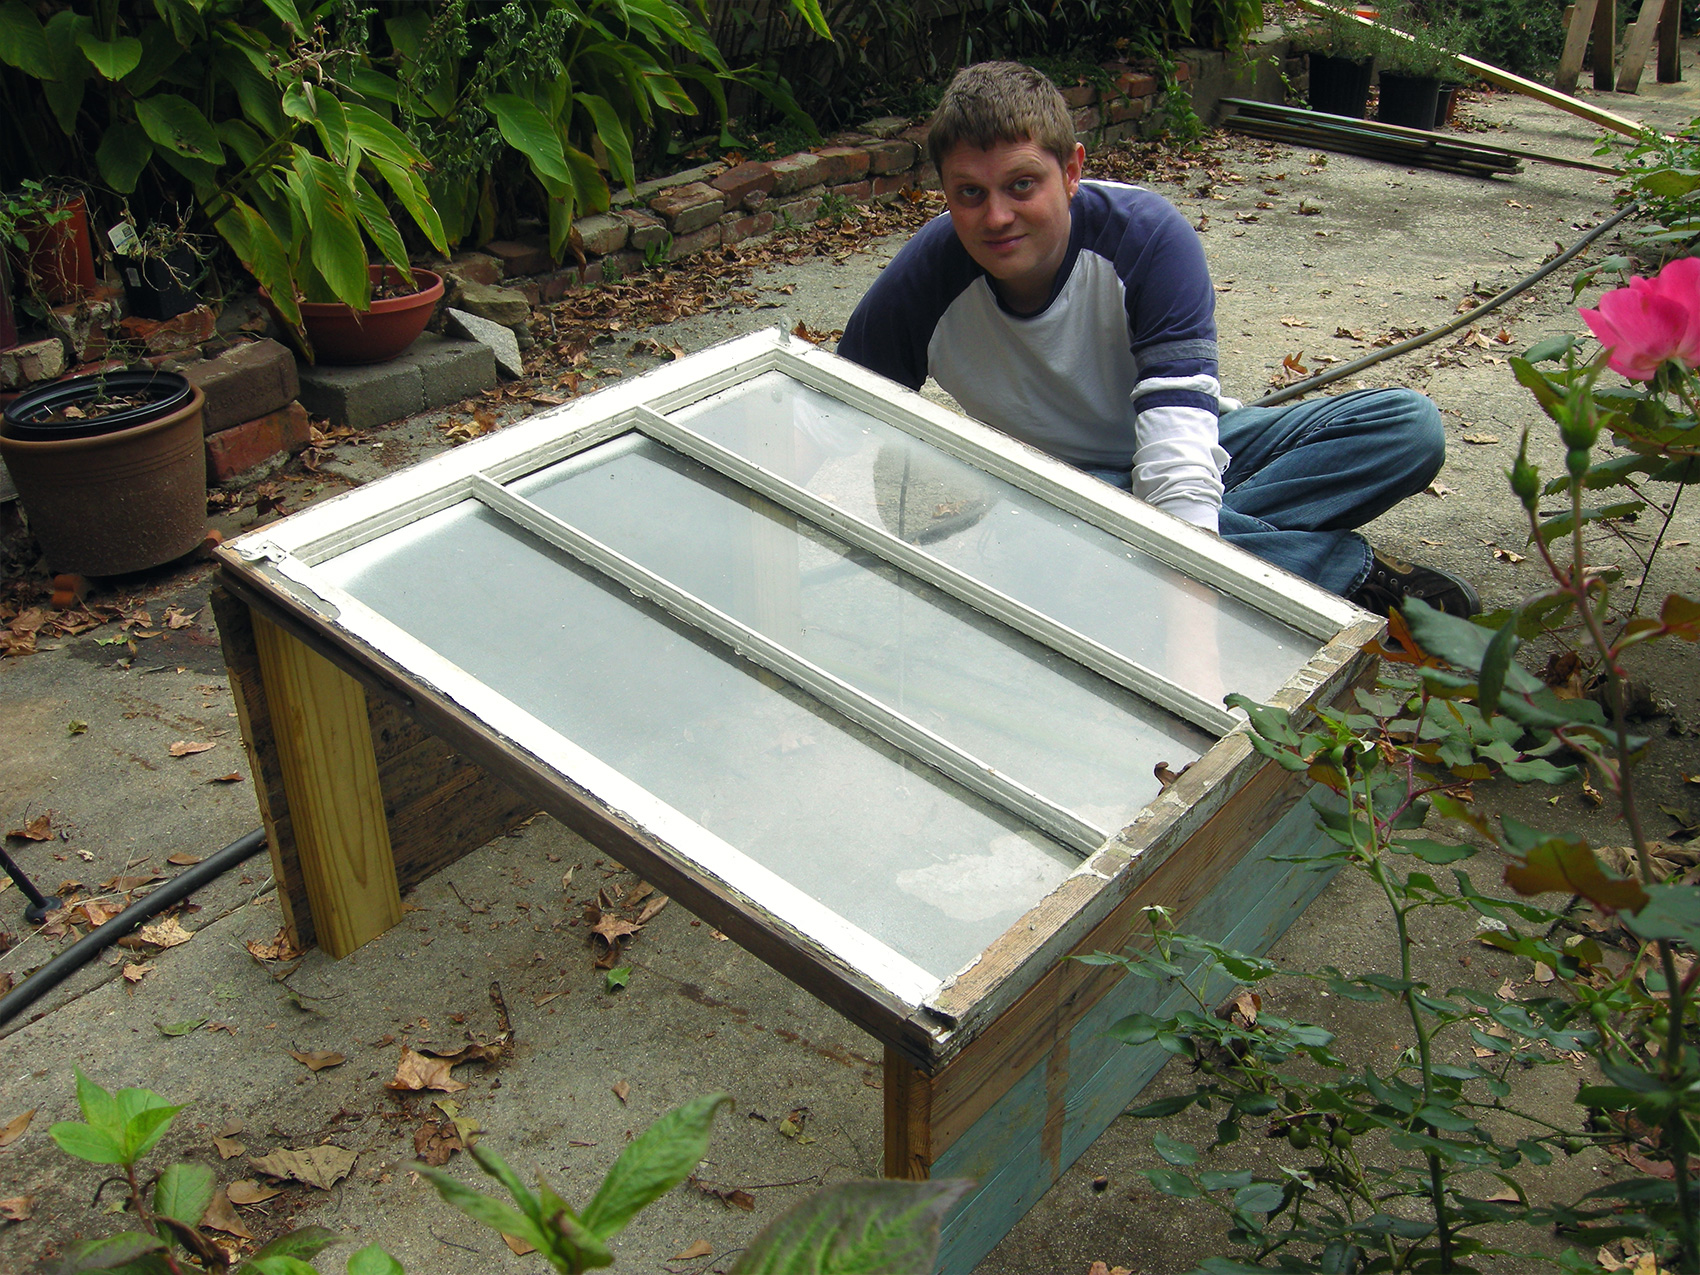
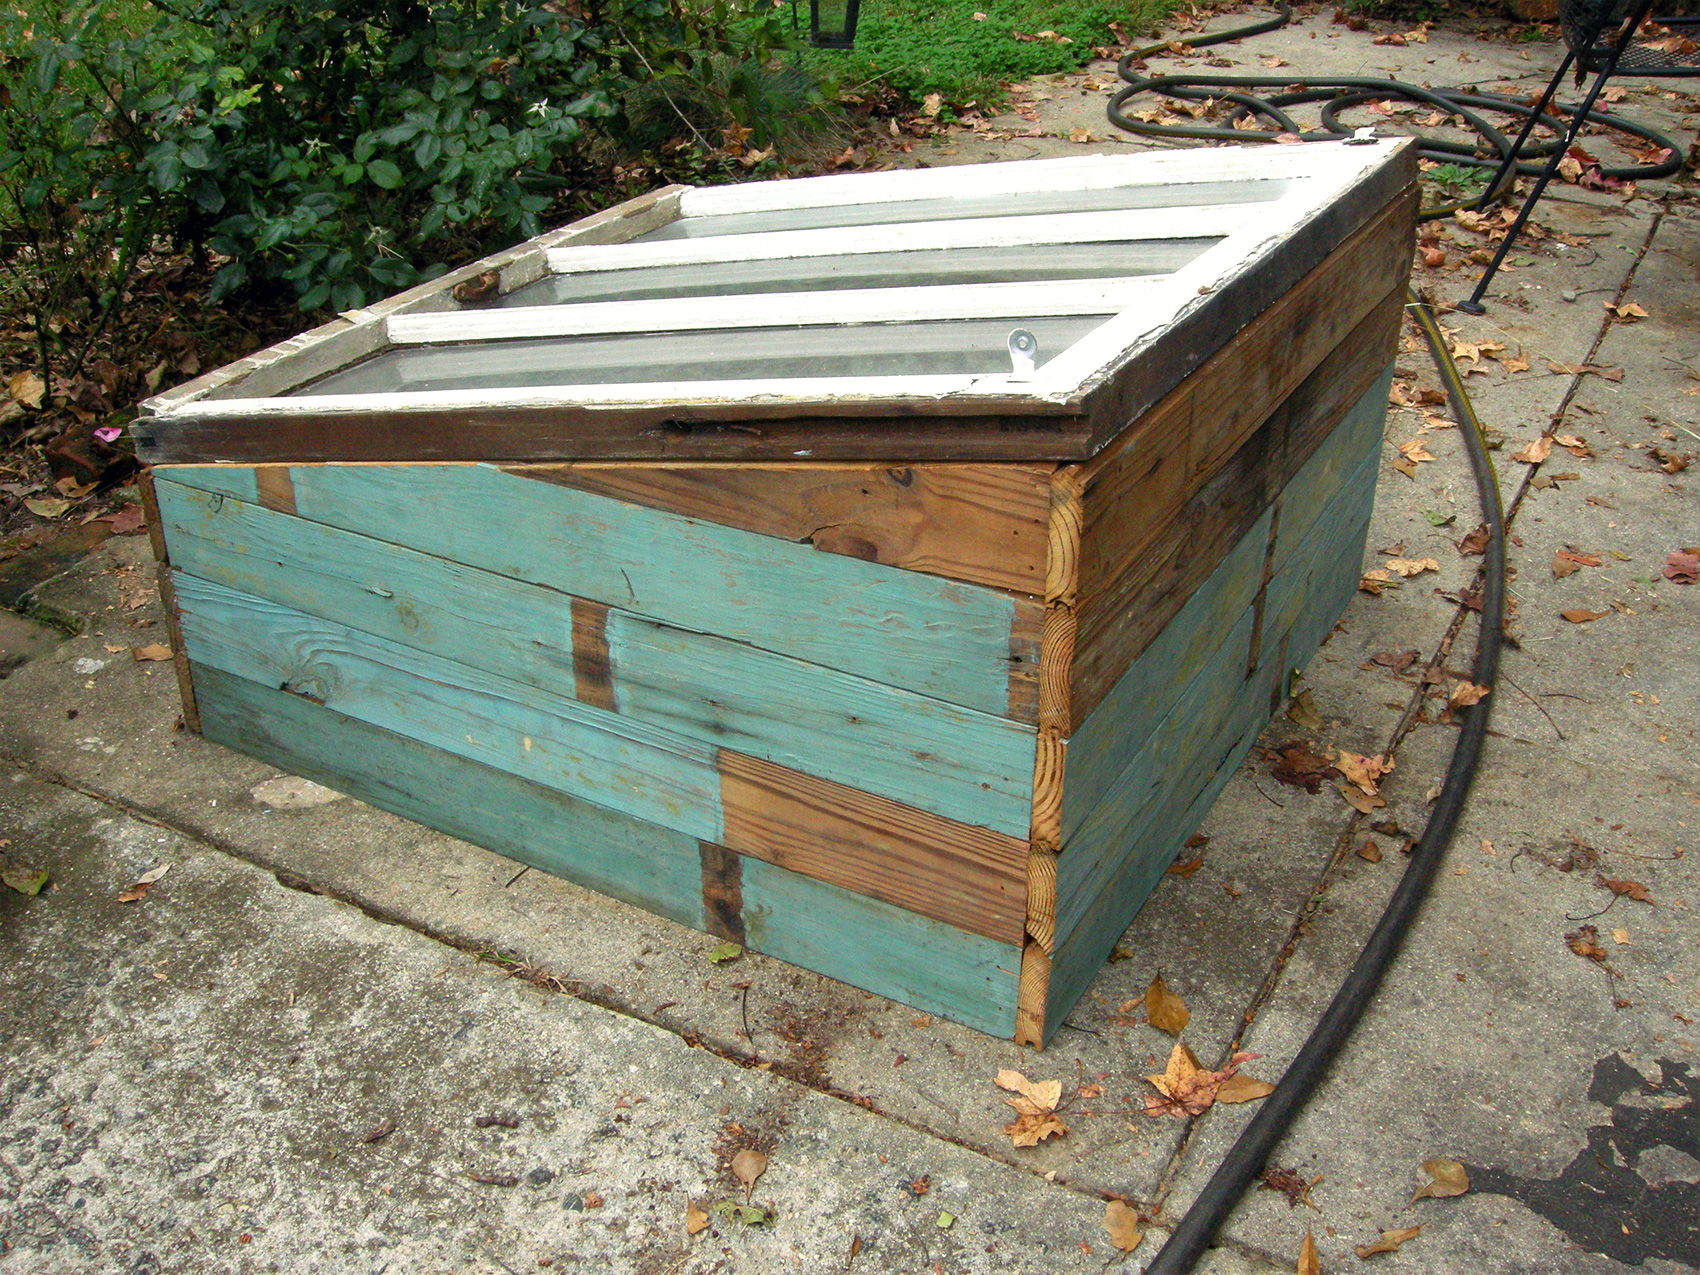
And we’re done!

Finished Cold Frame

Ready for some plants!

Posted in Gardening, Our Bungalow, Photos, Westview Bungalow | Comments Off on Building a Cold Frame

Early Fall Update

We don’t have a lot to report, but we wanted to make sure you know we’re still here! The garden was quite productive this year. We had a good crop of cucumbers and tomatoes.

Summer Harvest
Backyard summer harvest!

We’ve also had a non-stop butterfly garden for the past month or so.

Butterfly on Butterfly Bush
The butterfly bush lives up to its name!

As the temperatures cool off we’ll probably focus our efforts indoors and start (or rather continue) some house projects. So check back for updates, and don’t forget to follow us on Facebook for small updates in your news feed.

Posted in Gardening, Our Bungalow, Photos | Comments Off on Early Fall Update

Quick Patio Update

I wanted to give a quick update on the progress on our new patio. We’ve been loving this new addition to our yard, and it has provided us a lot of extra space for landscaping. We’ve been busy tilling, plant shopping, hole digging, planting and mulching.

To get started we made a trip to our favorite garden center, Grower’s Outlet, to pick out some plants. Since part of the area around the patio is sun/part-sun and part of it is shade we were able to get a nice variety of shrubs and perennials.  When we got home we set them out to determine the size of the new bed.

New Patio Plants

Setting out new plants around the patio.

The next stop was to Northside Tool Rental to pick up a tiller. This was our first time renting from them, and the experience was very positive. I called ahead to make sure they had the tiller we wanted, and in no time we were busy tilling. We rented the Mantis, which I would highly recommend for projects of this size. If you need to do a bigger space I would probably recommend something larger, but for creating flower beds it was perfect.

The Mantis tiller hard at work!

The Mantis tiller hard at work!

Once the initial tilling was done we used the garden rake to shift some dirt around, and then I went over it again with the tiller to ensure the dirt was nice and loose.

Steffi raking the dirt in the new flower bed.

Steffi raking the dirt in the new flower bed.

And finally we can start planting! For the shade area we planted some white azaleas, hostas, ferns and a lacecap hydrangea.

Azaleas, hostas, ferns, and a hydrangea in the shady area behind the patio.

Azaleas, hostas, ferns, and a hydrangea in the shady area behind the patio.

For the sunny spots we have a forsythia, purple coneflowers, small “soft touch” holly bushes…

Steffi Planting New Patio Flower Bed

Steffi working on planting the cone flowers.

And this amazing David Austin “Bishop’s Castle” rose that we bought at Pike Nursery. It is extremely fragrant, so we hope we will be able to smell it while sitting on the patio.

David Austin Bishop's Castle Rose

David Austin Bishop’s Castle Rose

Last but not least, we put down a lot of mulch. Hopefully it will help with weeds, moisture, splashing mud, etc. We still have a few more plants to add, so check back soon for more updates! Also, we setup a Facebook page for Westview Bungalow so you can stay in touch and always be alerted when we have new updates, so hop over there and “like” us!

Patio Flower Bed Mulch

It always looks so nice when freshly mulched! If only it would stay that way…

Posted in Gardening, Our Bungalow, Photos, Westview Bungalow | Comments Off on Quick Patio Update

A New Patio for the Backyard

For years we’ve had a “Path to Nowhere” in the backyard. It led through the yard and flowerbed to a flat round spot in the yard with just a table and chairs sitting in the grass. It served its purpose, but after years of planning and dreaming we finally have an actual patio! And it’s AWESOME!!

The path to nowhere.

The path to nowhere.

This past winter KIPP STRIVE, our local charter school, was demolishing a house to make room for their new elementary school building. They kindly gave Steffi and I permission to salvage what we liked from the building before it headed to the landfill. We initially were looking inside the house for architectural salvage and heart pine floors, but then we started collecting bricks from the foundation. We love salvaged bricks, so it was an opportunity we just couldn’t turn down. Through the freezing temperatures and rain we collected bricks and scraped mortar. Then we had the grand idea to use the bricks for our patio, so we carefully calculated how many we would need and came up with a plan. We laid out the bricks to make sure we had enough, and after a few more trips to the house/demolition site we were set.

Collecting bricks from the KIPP Strive construction site. Removing mortar is hard work.

Collecting bricks from the KIPP Strive construction site. Removing mortar is hard work!

Steffi laying out the bricks to create the pattern for the patio.

Steffi and Buster laying out the bricks to create the pattern for the patio.

The next step was to find a contractor to install the patio and build a granite retaining wall. This is harder than it sounds. I always get frustrated when I search for contractors in “Atlanta” only to find a bunch of people with 770 numbers and statements on their website saying they serve Roswell, Sandy Springs, Lawrenceville, etc. If you’re not actually in Atlanta or not serving Atlanta don’t put Atlanta on your website. *end rant*

After a lot of searching I finally found a few local stone contractors in the actual city of Atlanta – not the burbs. The first estimate we received was disappointing. I won’t name the contractor, but as a rule of thumb you should pay attention to what your potential clients are telling you. Providing an estimate that is way off scope is not a good start.

Our second estimate was from Ray Hall at Eclectic Stoneworks. We really liked what we saw on Ray’s website – lots of experience, an understanding of historic preservation, and creativity. When Ray showed up he carefully listened to what we wanted and offered his advice. After about 20 minutes he had calculated the cost on the spot.

After thinking about it for a week we decided Ray was our guy for the job. He was still working on another project, so we got in line. Once they wrapped up the job the process went pretty quickly. We were excited to see the day by day progress.

Ray and Chipper laying the foundation for the wall.

Ray and Chipper installing the edge granite and laying the foundation for the wall.

The foundation and a few concrete blocks for the part that will be buried.

The foundation and a few concrete blocks for the part of the wall that will be buried.

The granite wall starting to come together! Ray was able to find reclaimed granite from a 1910 house that had been demolished near Decatur.

The granite wall starting to come together! Ray was able to find reclaimed granite from a 1910 house that had been demolished near Decatur. Perfect!!

The wall cap was made from granite used as ballast for boats coming from India.

The wall cap is made from granite used as ballast for boats coming from India.

Chipper dug a giant hole for the granite dust to support the brick patio.

Chipper dug a giant hole for the granite dust to support the brick patio.

Ray adding the grout between the granite. They then went back and scraped it to create the finished look.

Ray adding the grout between the granite. They went back and scraped it to create the finished look.

With the grout in place the wall looks amazing!

With the grout in place the wall looks amazing!

A ton of granite dust filled up the hole to create the foundation for the patio. Lots of strings and levels were used to make sure everything was nice and flat.

A ton of granite dust filled up the hole to create the foundation for the patio. Lots of strings and levels were used to make sure everything was nice and flat.

The wall and the patio in their final state with our patio furniture.

The wall and the patio in their final state with our patio furniture. Our cat Foster is carefully inspecting the work.

The view from the patio is without a doubt one of our favorite spots in the yard!

The view from the patio is without a doubt one of our favorite spots in the yard!

Posted in Before and After, Gardening, Our Bungalow, Photos, Westview Bungalow | 3 Comments

Wood Panel Ceiling

I’ve always wanted a wood panel ceiling in our little hallway. It’s not a big space, but it acts as the hub of our home. There are six doors in a space that’s less than 60 square feet. We don’t spend a lot of time in there, but we do spend a lot of time passing through. So I always thought a v-groove wood panel ceiling would be a nice accent to tie the room together.

We knew Randall Brothers would have the exact v-groove paneling we wanted, but Randall Brothers is only open Monday thru Friday – when we’re at work, of course. Needless to say, it took a while before we could find time to get over there and get the materials. During the holidays we finally managed to make a trip to Randall Brothers to pick up the materials we needed, so we were ready to start the project.

Just a quick side note on Randall Brothers. Even though they have a reputation for being expensive I still love going there. They have been making moulding for 125 years. If you want authentic period moulding go to Randall Brothers – not Home Depot or Lowes. If they don’t have exactly what you’re looking for they can custom mill it. All of this in the heart of Atlanta. I love it.

So without further ado, here’s what it looked like before… just your standard plaster ceiling.

Before Hallway Ceiling

The v-groove paneling we bought is tounge and groove style paneling, so you start with one piece and work your way across the surface. Just keep a rubber mallet handy to knock in each board as you go. And of course a nailgun makes the job go faster. If you have a light or smoke detector you’ll have to get creative with your holes.

Steffi Nailing

My kind of woman. She’s not afraid to use the nailgun!

And here’s what it looked like when we finished the paneling.

Wood V-Groove Panel Ceiling

Next up, some basic crown moulding around the edges. Back to Randall Brothers for our favorite cove moulding. It’s simple moulding, and it was original to the house in various places.

We started off with the easy pieces. Butt cuts and miter cuts. No real explanation needed other than always cut with the ceiling side on the bottom of the miter box. Yes, I cut these all by hand with a miter box. Got to stick with the historic handmade process of the house.

Cove Moulding

The next pieces of moulding require a cope joint. This is a much more challenging cut. First you have to miter and then you have to cope. I’m not going to explain the process because this awesome YouTube video (that I watched over and over) does a good job at showing you how to do it: http://www.youtube.com/watch?v=9aeAVe3fEtw. I practiced a few times on a scrap piece of moulding until I understood the technique. It’s kind of abstract, but a little bit of practice goes a long ways.

Coping Crown Moulding

Here’s the finished project. It only took us two weekends to complete. (The paint and caulk will come later.)

Wood Panel V-Groover Ceiling

**EDIT: I forgot to add one image. We left a little note under the paneling for any future owners of our home.

A note to future owners

Posted in Our Bungalow, Photos, Westview Bungalow | 1 Comment